Showing posts with label mixed media paste. Show all posts

Wednesday, August 22, 2018

Hope- Mixed Media Altered Folder - Video Tutorial


Hey Friends !!!
Greetings from India !!! Hope you all are doing well and are ready for mixed media tutorial which I enjoyed a lot as it was quite different from my usual work. I really wish you all try this at least once on anything that u have at home - like a diary or box or any plain canvas.


I had a bank folder lying around and I had kept it thinking that I would use it for some art work for sure. So today is the day !!!
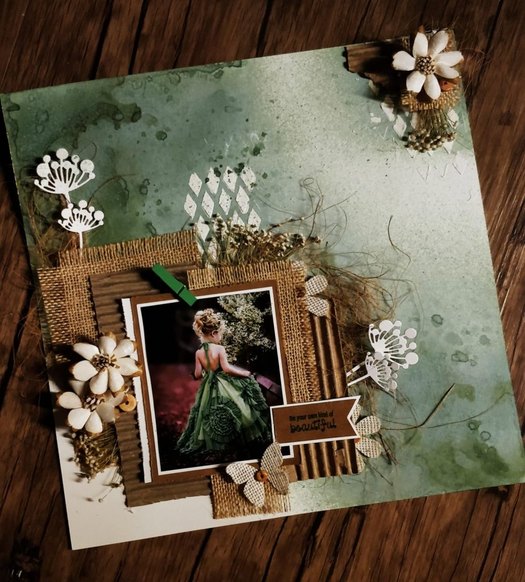
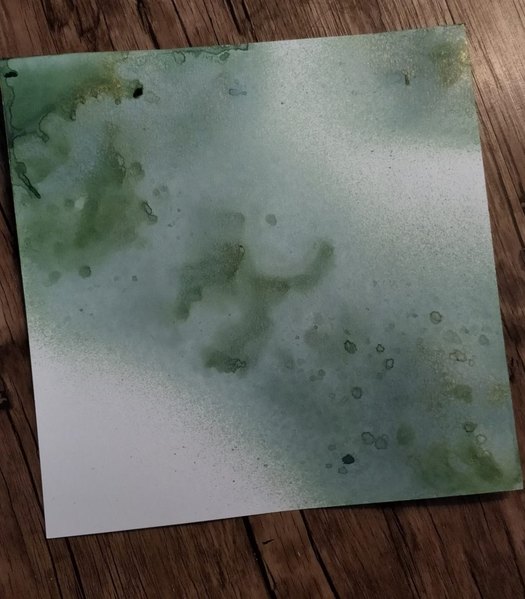
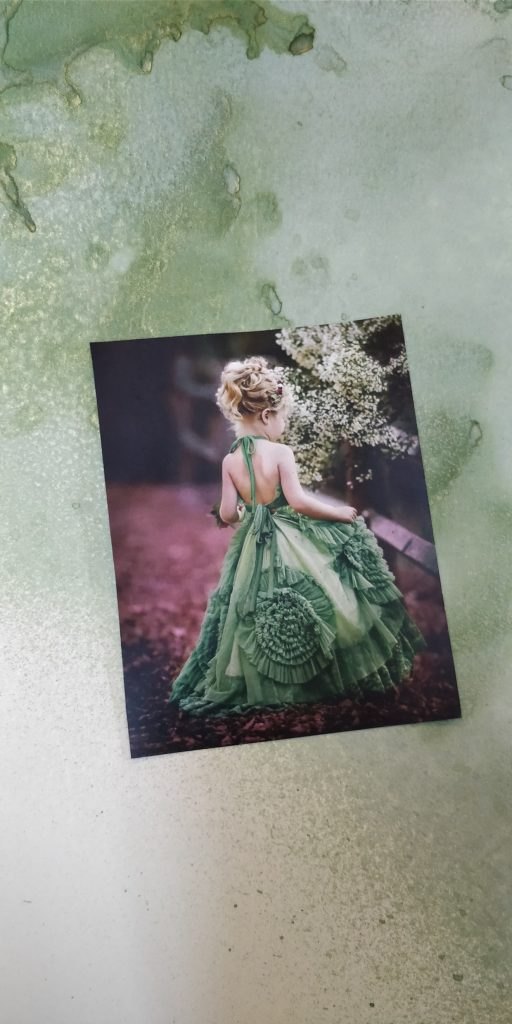
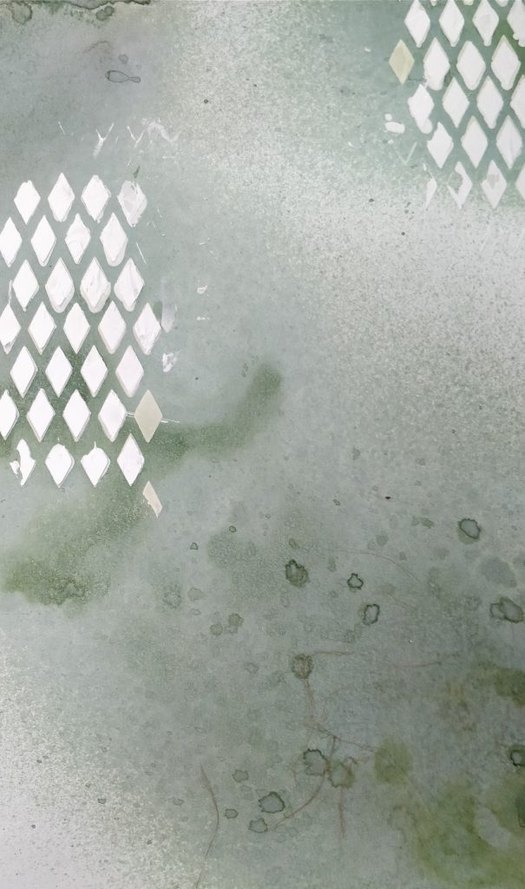
I am totally in love with it as it turned out much different and far more better than I had in my mind. So here's a walk through how I did it and u can check out the video for the tutorial. I started by using grainy texture paste with the stencil to give some texture to the base as the folder was just plain . to add little more interest in the empty space I added few die cuts. then I started with using some twigs , some metal and some steampunk gears for building up my composition.
Added black gesso for priming . I thought to finish the whole piece with metallic tints. Since I didn't have the metallic color in teal  added gold to my plain acrylic paint. I dint want my embellishment to merge with the base and wanted them to stand out so I did black gesso on it again and gave metallic tint to all my embellishments. Added little gold touches to the background for a more balanced look.

In the end I wanted everything to look perfect so added gesso with sponge on the edges as the inside of the folder is also black. For more distressed and worn out look I added little bit of black from the sponge on the textures too till I achieved the look that I wanted.

I hope you all give this project a definite try. Don't forget to show some love in form of comments. If you don't understand something you all know where to find me :) I will be more than happy to help.
Check out the complete video Tutorial on the link below: leave some love & comments for more motivation if you like the project.

Love & Hugs
Bela


Friday, April 6, 2018

Be your own kind of Beautiful ( mixed media layout)-step by step tutorial

Hey Friends,
Today I am here to present you with one more beautiful layout that I did for Itsybitsy . I absolutely enjoyed making this one ... Absolutely in love with the colors and compilation, love the ways its turned out simple and classy. This is the perfect example which shows that you don't need anything expensive to create a beautiful layout like this one.


Here's the step by step tutorial and the products used to make this layout are listed below:-
         
  1. Natural craft set
  2. Corrugated sheet
  3. Silicon glue
  4. Soft Gel Medium – Matte
  5. Mixed Media Paste – White
  6. Color splash
  7. Handmade Flowers
  8. Coconut Fiber
  9. Die-cuts
  10. Dry fillers
  11. Distress ink
  12. Sentiments Clear stamps
  13. Archival ink

Step 1: For this beautiful layout I have made my own background paper. Take a 12×12 Inch 270gsm Iris paper. Now spray it with the color splash from the top left side corner till right bottom side corner. I added little color to the top right-hand corner to and let the splash do its magic. This is how it should look after you are done.


Step 2: Select a photograph of your choice that you wish to make the focal point of your project. I have used a picture of a cute little girl (free stock photo). Do not paste the picture now. We will create a layered base and paste it in the center of our layout in the end.


Step 3: Now I have used Mixed Media Paste – White for doing stenciling in the center and right hand top corner of the page. I used diamond shaped stencil from Itsy Bitsy. Feel free to use any stencil of your choice.


Step 4: Now let’s put together the layered base for our photograph. Take a thick brown cardstock and stick the photograph on it. For the second layer, I have used a piece of off-white cardstock. The third layer is made from corrugated sheet, placing it slightly outside the photo mat (layer 1 & 2). Refer image for the final look of the layered base.


Step 5: After this I used the burlap cutouts/ pieces from the Natural Craft Set, behind the corrugated sheet in different bits n pieces till I was happy with the arrangement. You can add more corrugated sheets or layers. I added small pieces of burlap on the right hand top corner too. Used the coconut fiber for finer details and to give it a shabby chic look.

Once you are happy with the arrangement and placement of the layers, embellish the layout with buttons, burlap flowers, burlap butterflies and die cuts. I have used dried fillers from my stash.

Finallly, add a sentiment of your choice – I have used a sentiment clear stamp “Be your own kind of beautiful” on white cardstock with  green archival ink. Add more layers to it if you wish. Distressed all the edges with brown color ink for a finished look.


Hope you all like it and get inspired with it to create something equally beautiful for yourself.

Love & Hugs
Bela 

The Positive Vibes Hop - BLESSED - An Altered Telephone in Mixed Media Pictorial

Hello !!! I am Bela shah. Welcome to The Positive vibes hop. The purpose of our blog hop is to start the new year on a colorful & ...