Friday, May 10, 2019

Decoupaged Make Up Organizer step by step Tutorial.


Hello Hello !!!
I am very excited about today's post ... as I have used super cool new releases for my project....  Also coz its super simple with simple techniques and very much doable... so I hope to inspire everyone out there and create something cool with yummy goodies from the store.
I took a wooden base with four partitions. You can use it as a pen stand, cutlery stand, makeup organizer etc.....
I have made it to keep my make up ;)

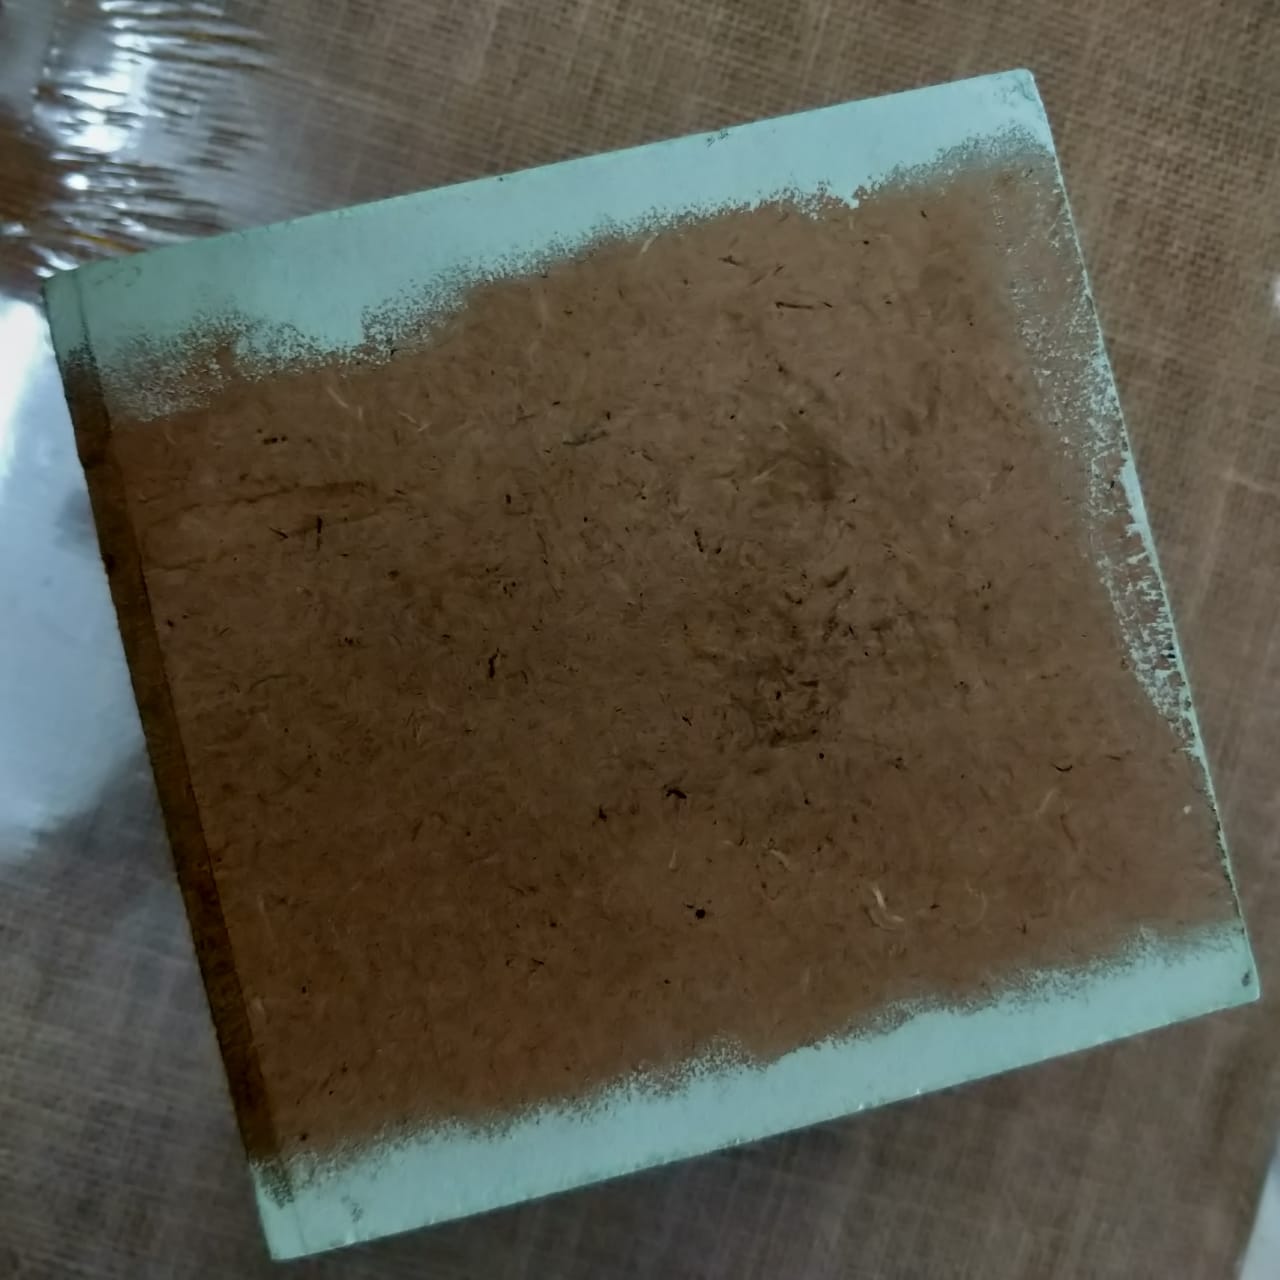
so first step is to cover the inside with chalk paint. I have used Aqua Medley paper pack for my project instead of any decoupage paper or tissue....

Also apply the chalk paints to the corner edges as shown in the picture.


I chose two different papers(2 each) with little contrast... I wanted to use both the sides with different materials n technique.


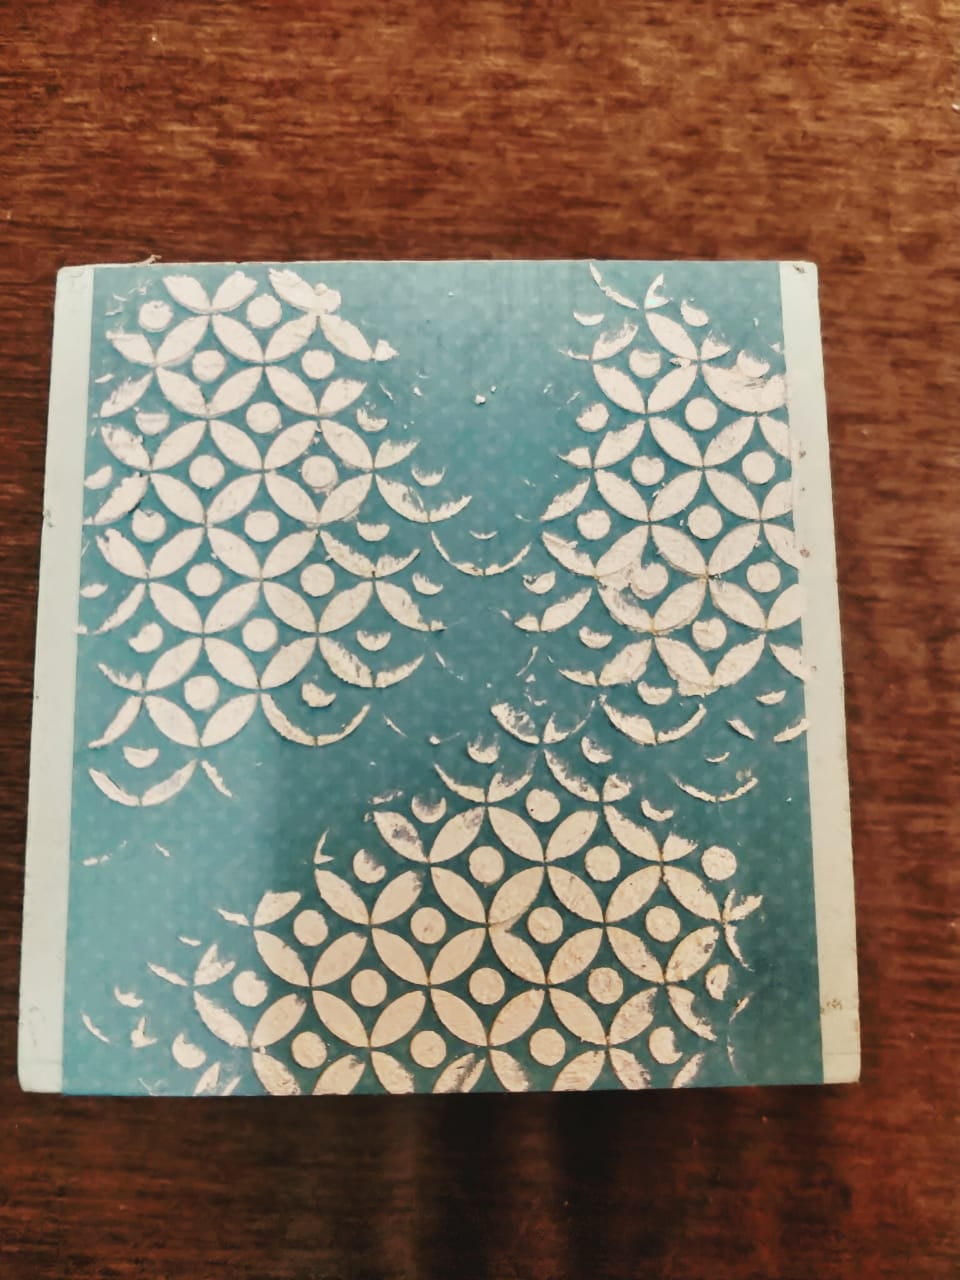
I chose one with flowers and the other with dots... cut them little smaller from the sides and kept top n bottom same as the organizer size.


Adhered paper on all the 4 sides with deco magic glue.  sealed it with matte varnish to the whole organizer. insides too.

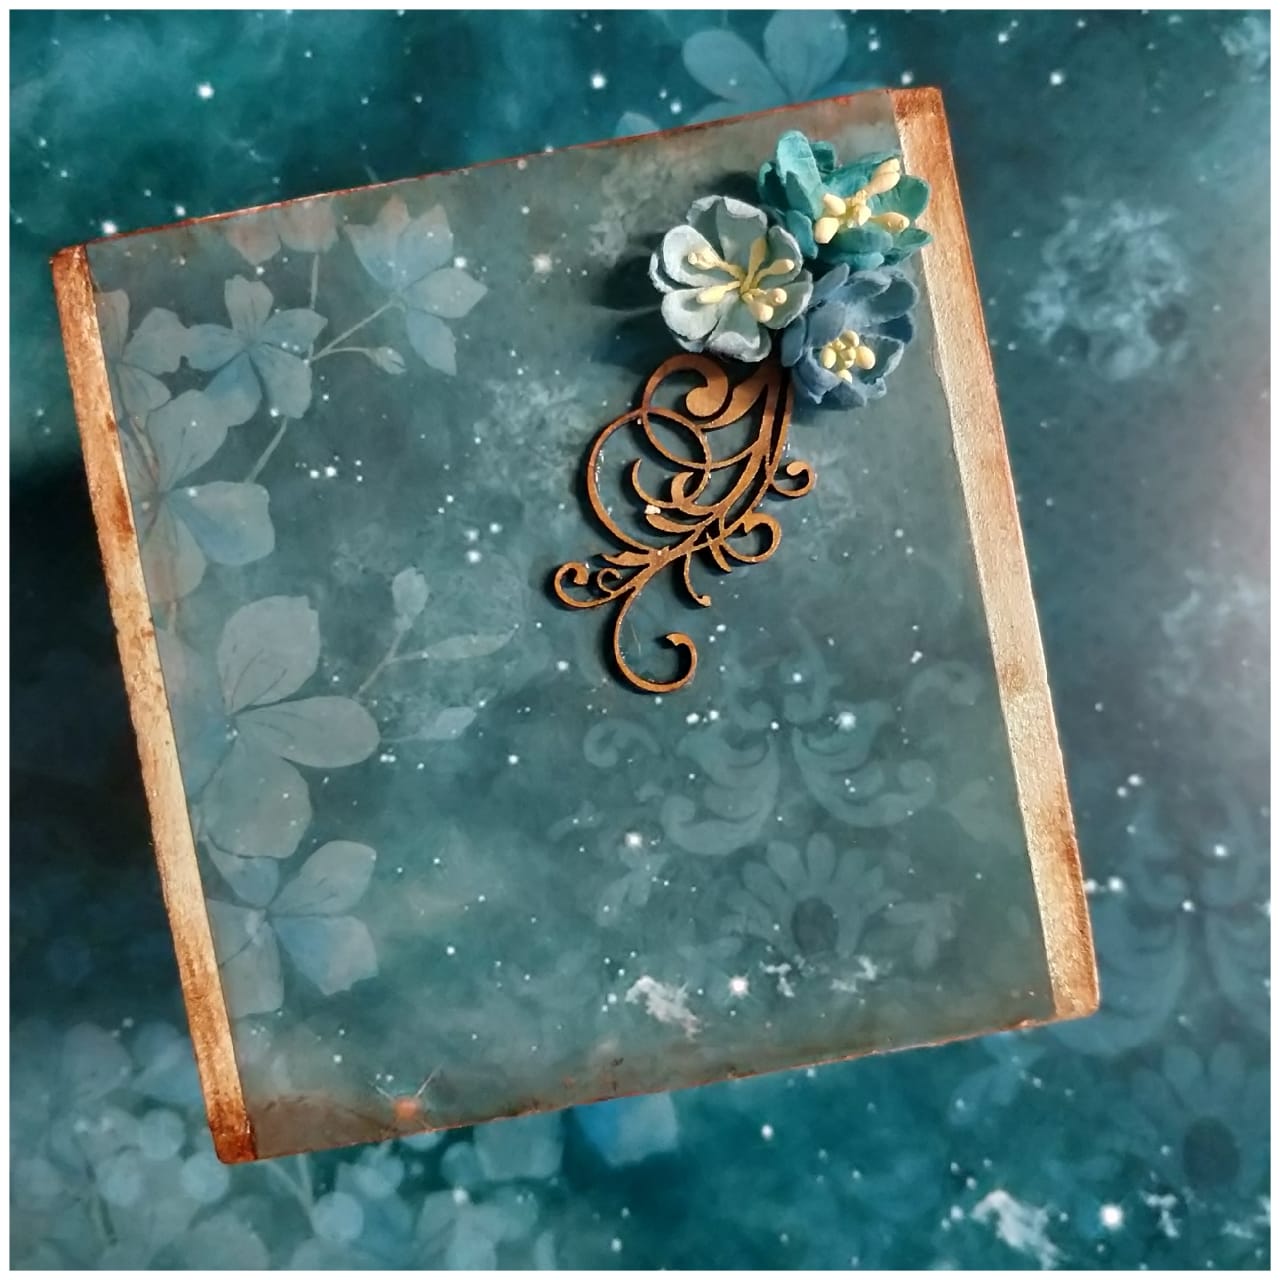
Then  I added texture with grainy texture paste on the paper with polka dots with the stencil.... and for the other side chose beautiful tiny little flowers from aqua medley and adhered them at the corner with a beautiful mdf flourish cutout.


Once this was done I added little diluted mocha color splash and metallic wax in copper to the edges to give it a distressed look ......... added varnish again to seal it.


I love the way this simple project with super simple technique can look so amazing.... I hope you all like it the way I do...... Please do try ...I world love it.


Love & Hugs

Bela


Sunday, April 21, 2019

A Beautiful Sun mandala - Video Tutorial

Hello, Its Bela here today!


I am super excited about today's DT post as the subject is very close to my heart. if you know me then you also know that off late I have been very high on Mandalas. Mandala is a form of doodle or zentangle. I have tried a very different mandala this time.

Importance of Mandala
The word Mandala basically means circle and it represents a wholeness in a cosmic diagram that can remind individuals of their direct relation to infinity. A mandala can also symbolize the idea of life energy. The circular design in Mandalas can represent the life force as a whole and how it retains a never ending energy. it can be a tool for spirituality and also used for meditation.
Since I was getting loads and loads of questions about ...how I start, how I finish, what products I use to create them I thought of giving a detailed tutorial as my DT post.

So without further ado lets start the process. For the base I have used a beautiful Little Birdie watercolor panel. These panels available at the store are completely handmade with 100% cold pressed paper. I have used 8x8 ... however, there are various sizes available at Itsy Bitsy.

First I drew a circle in the center with a pencil and made quite a few equal partition just eyeballing it.... you can also draw one straight and vertical line running through the center and then bisect the angle and get equal parts. These lines are my guide to make symmetrical shapes and perfect size.
I have always been asked if I use stencils or trace my shapes.... so the answer to this is 'No'.... I use guidelines and then whatever I draw is freehand.  I  then water colored it in the shades of the sun. Once I was happy with that, I started building the mandala with an uni ball 0.8mm black pen. I drew  around it by making circles bigger than the previous one. I have kept the design very simple yet intricate (to the eye) as I wanted the focus on the water colored sun. I didn't do bold lines on purpose. There, my mandala is done!


Once I finished the creating mandala around the sun and reached the edge I thought of adding the black watercolor on the empty areas on the edges. This was a very impromptu decision as I had never done this before and it could backfire. However, I always believe in going with my creative flow otherwise that idea bothers me till I don't give it a try. I was blown away with that decision. My sun and the mandala both started looking vibrant and it gave an amazing pop to the whole art work.
I am sure you all with agree with me!

Few More Pics:


Love & Hugs
Bela

Video link


Thursday, April 4, 2019

Altered Rings in Watercolors - Home Decor


Hello!

How are you all? Bela here! Today I have an amazing altered decor project made with rings and watercolors.  We usually use mixed media or decoupage to alter an object... but this time its totally different! I was amazed at the results when I used watercolors and the beautiful embellishments to alter the rings... You can use embroidery hoops too.

So lets get started....


I took three wooden rings of different sizes to start my project. Primed all the rings with white gesso to prep them up.  Also added a watercolor paper in the same size at the back to work on.


Then, I selected my embellishments and started painting them with watercolors.
I have taken individual pictures to show the detailing of the shading on the embellishments. Have a look...


Once the painting was done and I was happy with the way they looked I painted the watercolor papers which I placed inside the rings.

On the first ring, I painted sky, tree, bushes, and some foliage to make a background to compliment my embellishments.


On the second ring, I placed the window embellishment in the center and drew wall and shrubs with tiny flowers around it. I also painted the inside of the window to give it natural look.


Lastly I painted the smallest ring in evening tones and kept it simple because this ring was the smallest.

Once this step was done I just placed the embellishments on the ring appropriately and Bingo! My beautiful and cute project was done.
Sharing some more pictures with different backgrounds.


Thank you so much for stopping by. Hope this post creatively inspires you.

Love & Hugs

Bela


The Positive Vibes Hop - BLESSED - An Altered Telephone in Mixed Media Pictorial

Hello !!! I am Bela shah. Welcome to The Positive vibes hop. The purpose of our blog hop is to start the new year on a colorful & ...