colors-n-creations

Wednesday, July 31, 2019

All About Gel Mediums, Glues and Other Adhesives


POSTED ONJULY 30, 2019 BY BELLA

All About Gel Mediums, Glues and Other Adhesives

Hello everyone,
This is Bela and I am super excited to be a part of Itsy Bitsy Design Team once again this year….
Today I am not here with an art project. I’m here to explain a very important topic which you all must have understood by now from the title.
I am taking this opportunity to explain to you all about what I know about glues in this post. I hope this will be helpful and solve lot of dilemmas and answer lot of queries you have in your head about adhesives.
Usually when we think about glue what comes in our mind is sticking or pasting. However, with the emergence of beautiful art works like scrapbooking, mixed media, decoupage etc. there are several products out there which can not only confuse you but also overwhelm you, when it comes to choosing the right adhesive for different purposes. I also get lot of questions about gel mediums , Deco Magic, and silicon glue when I conduct demos in stores. So without further ado, lets jump into this topic and I hope the details will give you further clarity and help you use glues with more confidence. By the end of this post you will definitely know which glue, adhesive or medium you need to use for which kind of art and craft.
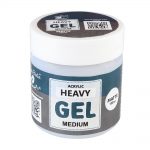
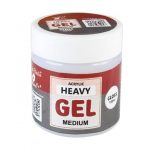
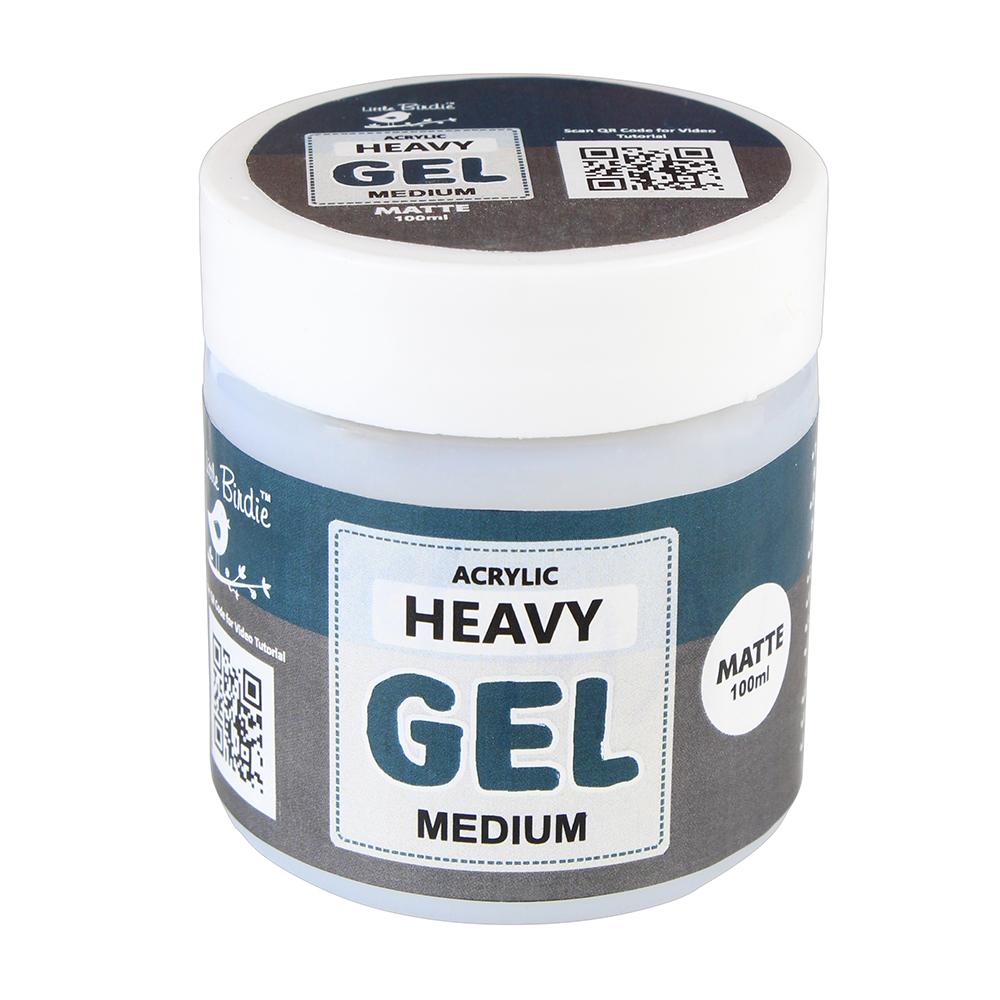
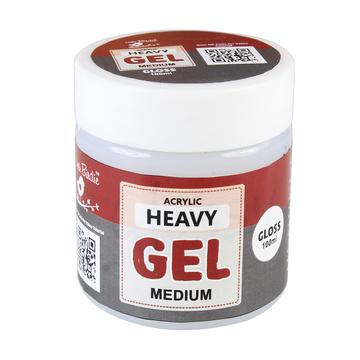
Heavy Gel Medium:
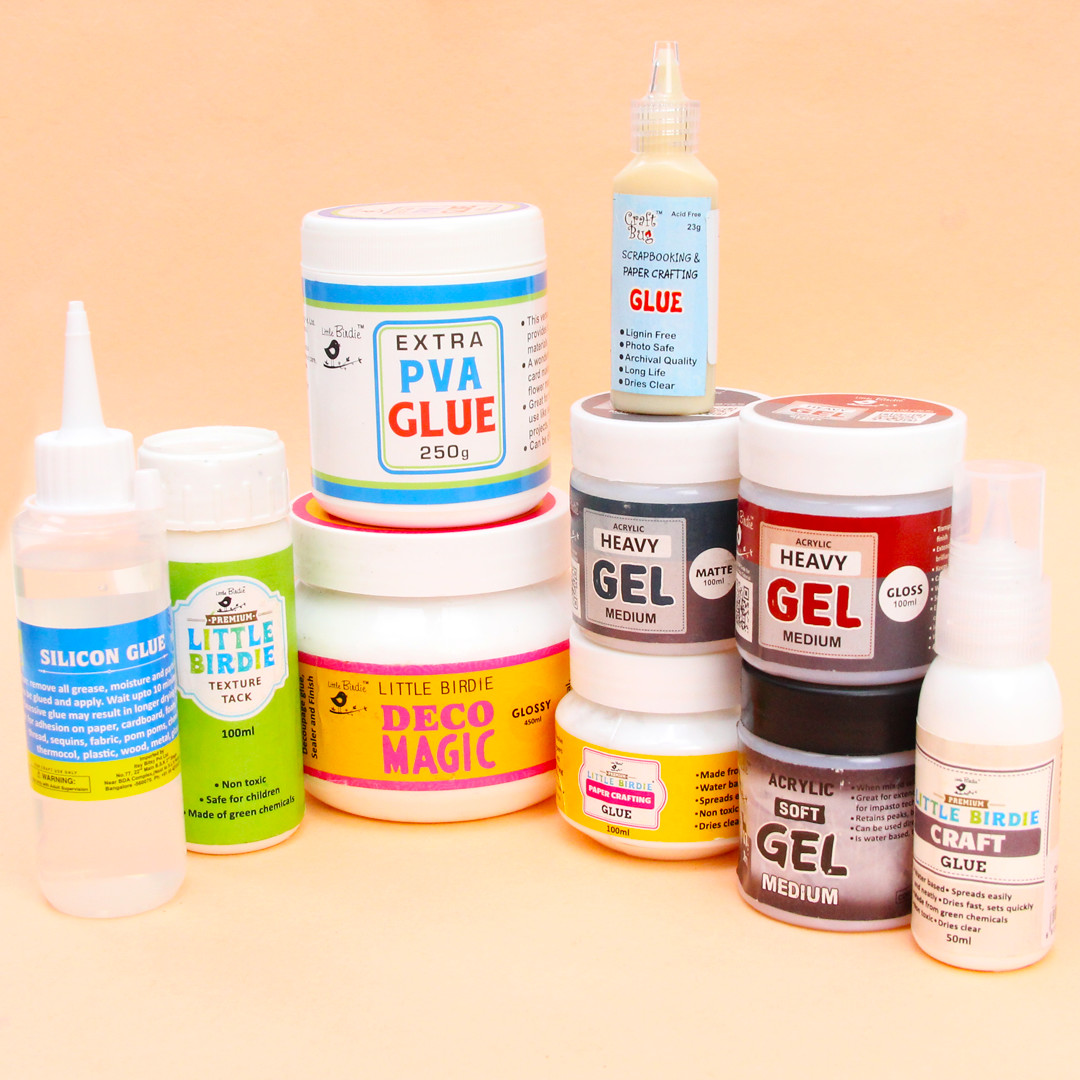
I always get maximum questions related to Gel Medium and since this medium can be used in crafting as well as painting let me cover it first. Basically, heavy gel medium exactly as the name says is used for adhering heavy objects. It is extensively used for mixed media as usually lot of 3D elements are used in mixed media for textures and layering. To stick heavy metal embellishments, MDF cutouts, chipboards, resin embellishments etc. this is the best medium. It dries clear and the bond is very strong. Therefore it holds all the embellishments very well in their desired positions.
When crafting, whether you are using the matte or glossy doesn’t matter. If you use it to adhere then it will go under the element so you can use either the matte or the glossy.
However, when it comes to painting, we can mix heavy gel medium in acrylics to give volume to the paint. So if you are paintings with lot of textures or the project involves knife painting, then the glossy or the matte finish matters. You can choose which finish do you need according to your requirement.
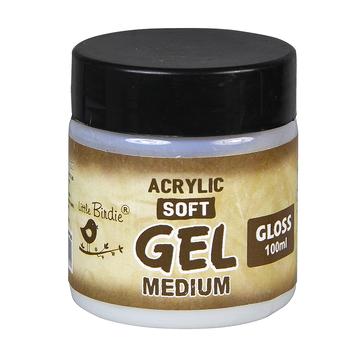
Soft Gel Medium:
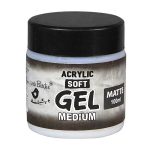
Just as the name says, the Soft Gel medium has a slightly more flowing consistency compared to the heavy gel. You can stick light weight things with this. It’s the best for scrapbooking , card making, etc.
I personally use it to give a coat to my pictures in scarpbooking layouts and mixed media. One coat of the matte or glossy, according to your preference can be applied on your photograph which will protect the photograph from the mediums that we use during process of creating the project.
Also, this gel is best for sticking small elements like craft pellets, art stones, microbeads, shimmer, glitter, sand, etc. Just apply the glue on the area and sprinkle the lighter elements on it or mix it along with craft pellets, art stones or microbeads or pearls and apply it on the desired areas with either a palette knife or a brush.
Now lets talk about its  use in paintings. Just like I have explained about the heavy gel medium you can use soft gel medium too in painting. The only difference is that you should use this when you are paintings something flat and don’t want dimension on your paintings. Just mix the glossy or the matte gel according to your preference with acrylics and paint away! It also gives more drying time to the paint and opens a window during which can play around with the colours if needed. You can achieve better shading on your canvas with acrylics which otherwise dries very fast.
 
Deco Magic:
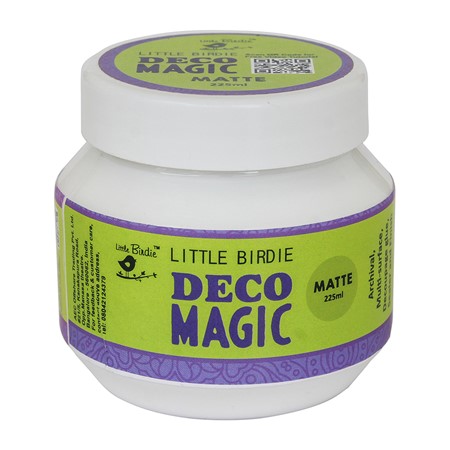
Deco Magic is a premium decoupage glue specifically used for decoupage. It’s available in glossy and matte finishes,  so you can select the one you need. It works well for decoupage napkins as well as decoupage paper which is a little thicket. It is also widely used for reverse decoupage. Other than that, this glue can be used for sticking regular craft elements on to various surfaces.
Silicon Glue:
This is a super strong glue and I reach out for it when I want to adhere something strongly but at the same time want the glue application to be precise. Its so easy to apply it right where you need, even in tiny areas…thanks to the precision nozzle. For small or tiny metals, MDF elements, paper flowers, microbeads, chipboard etc. I often use this glue.
Texture Tack:
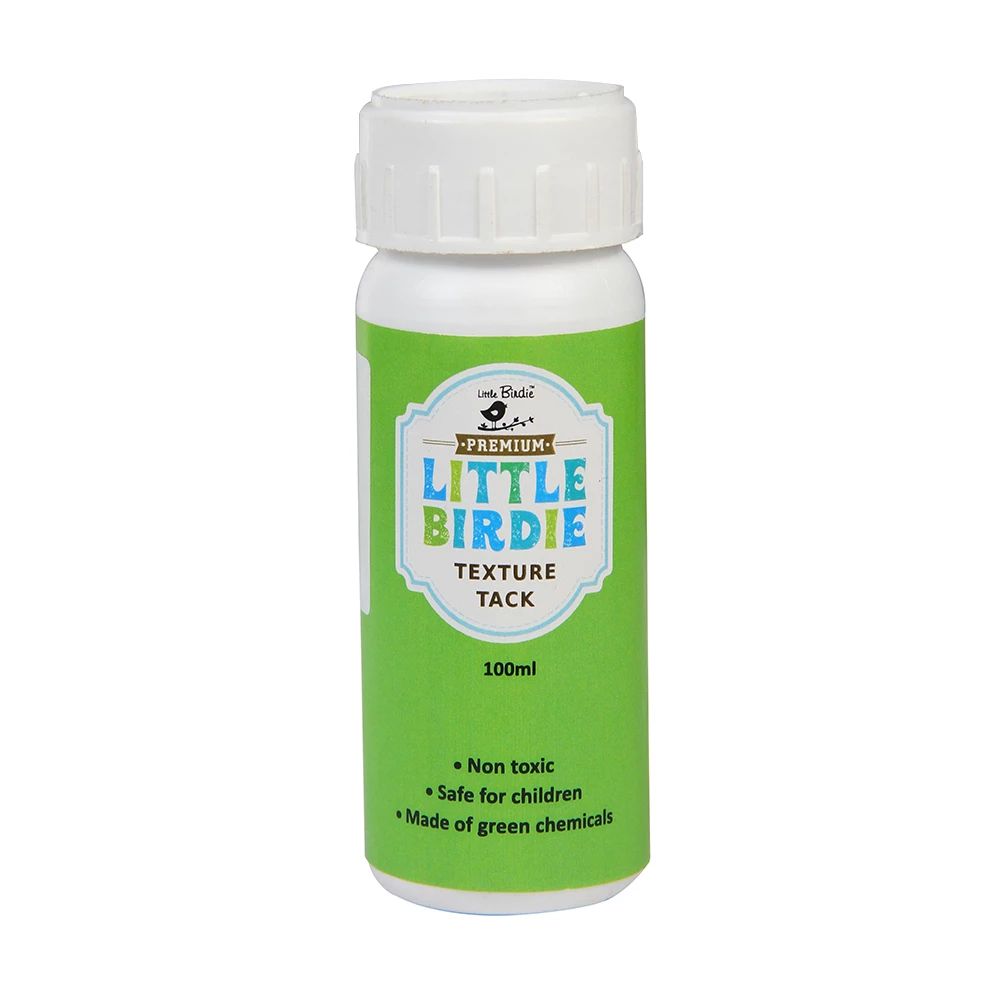
This  Glue is awesome and has strong adhesion if you have to stick tiny embellishments like sequins, glitter balls, microbeads, sand, sparkle or any other kind of sprinkles. Apply it generously on to the area, leave it for 15 to 20 minutes till tacky, after that sprinkle any of the tiny sprinkles as desired. Great for mixed media, paper crafting, general crafts and more.
Craft Glue:
Craft glue is used for basic crafting, for example, school projects, DIY’s, card making etc. It is ideal for sticking most craft accessories like crystals, craft sticks, buttons, sequins, ribbons, glitter, papers and general craft supplies which are usually used in school projects or by kids. It is non-toxic and water based so comes off easily if kids get it on their hands and is also safe for them .
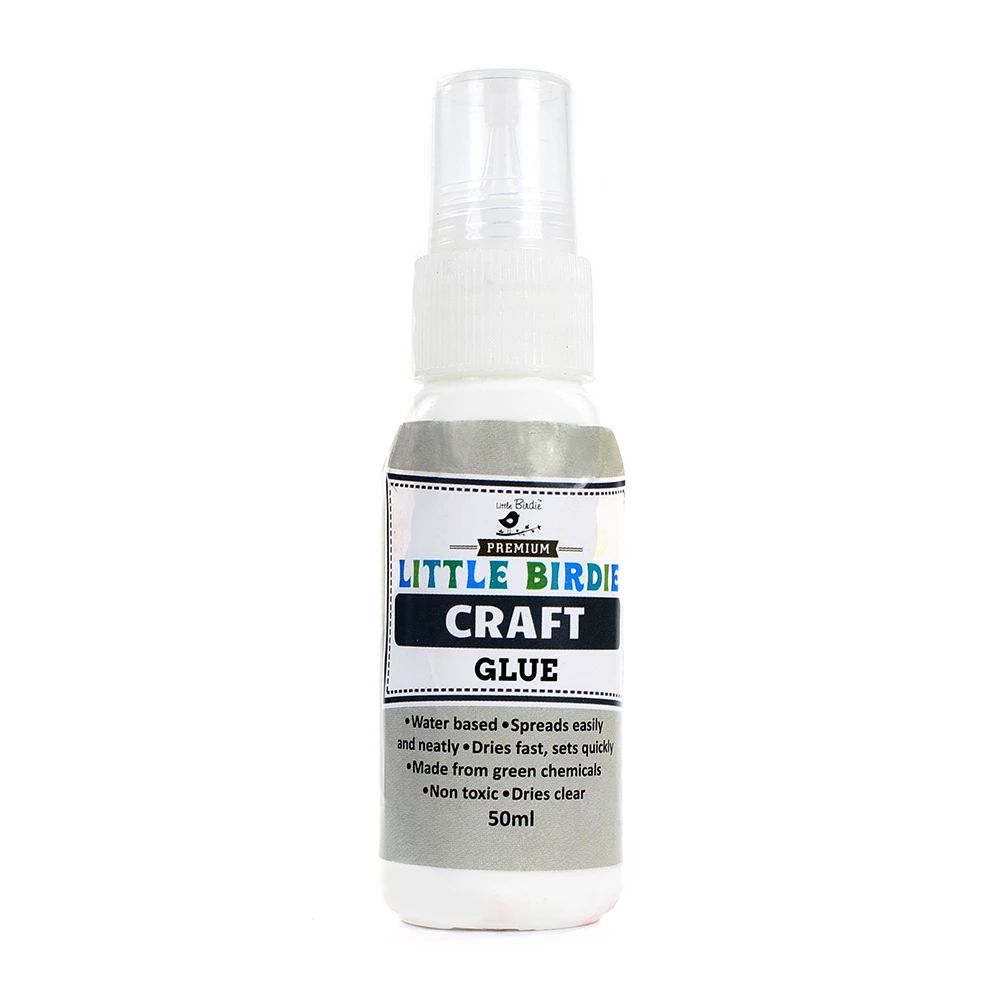
Paper Crafting Glue:
This glue again like craft glue is for paper crafting. It is water based and non toxic so safe for children. Spreads easily, best for scrapbooking, school projects, sticking light embellishments etc.
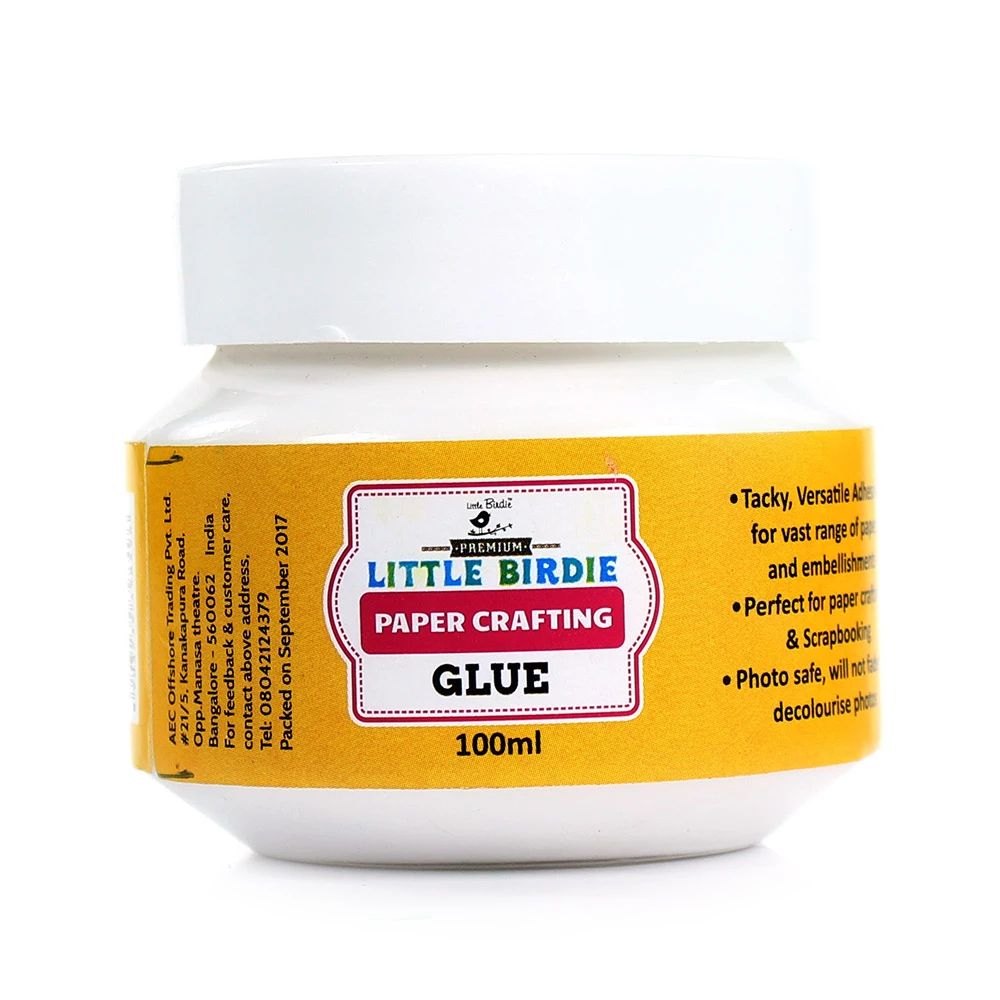
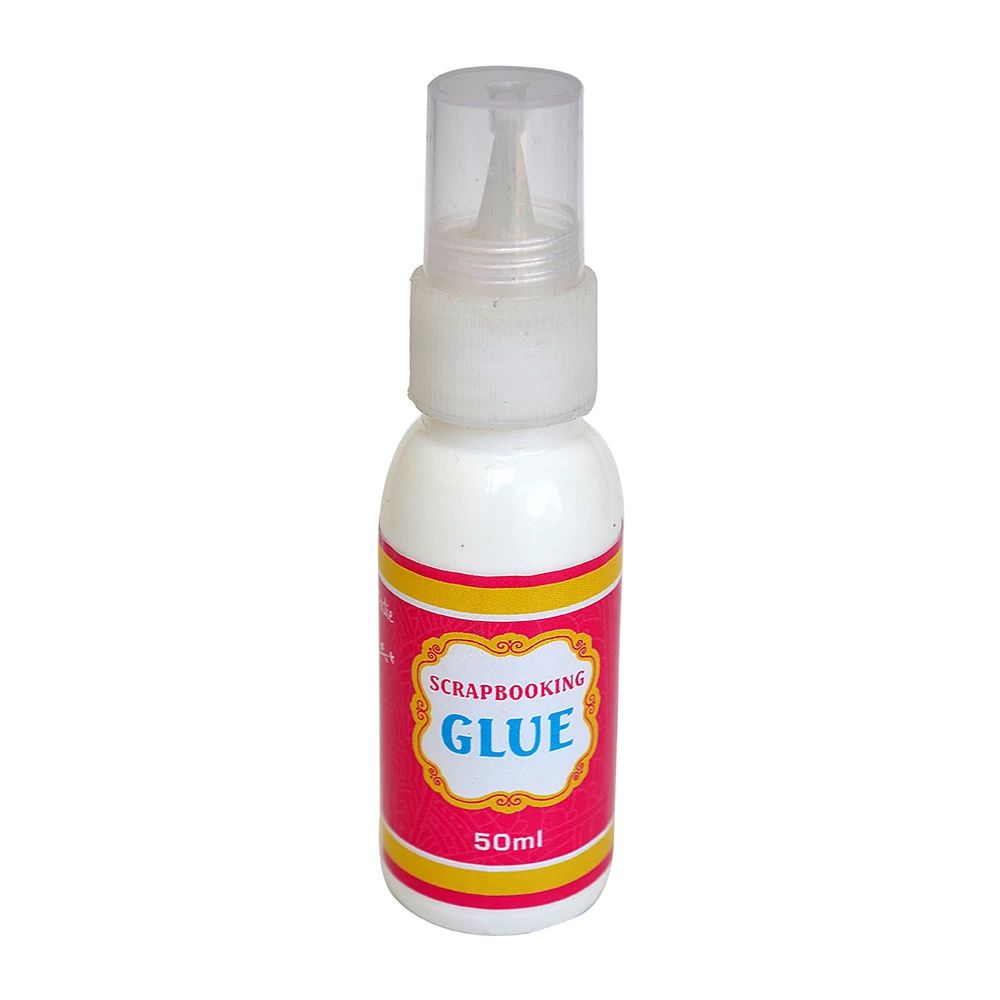
Scrapbooking Glue:
It is acid free and non toxic. The best part about this glue is that it has archival quality and is  photo safe. It dries quickly and is super strong. I absolutely love to use this glue for my art journals. As the name says it can be used for  scrapbooking and other paper crafts like quilling and punch craft because it has a precision nozzle which helps precise application.
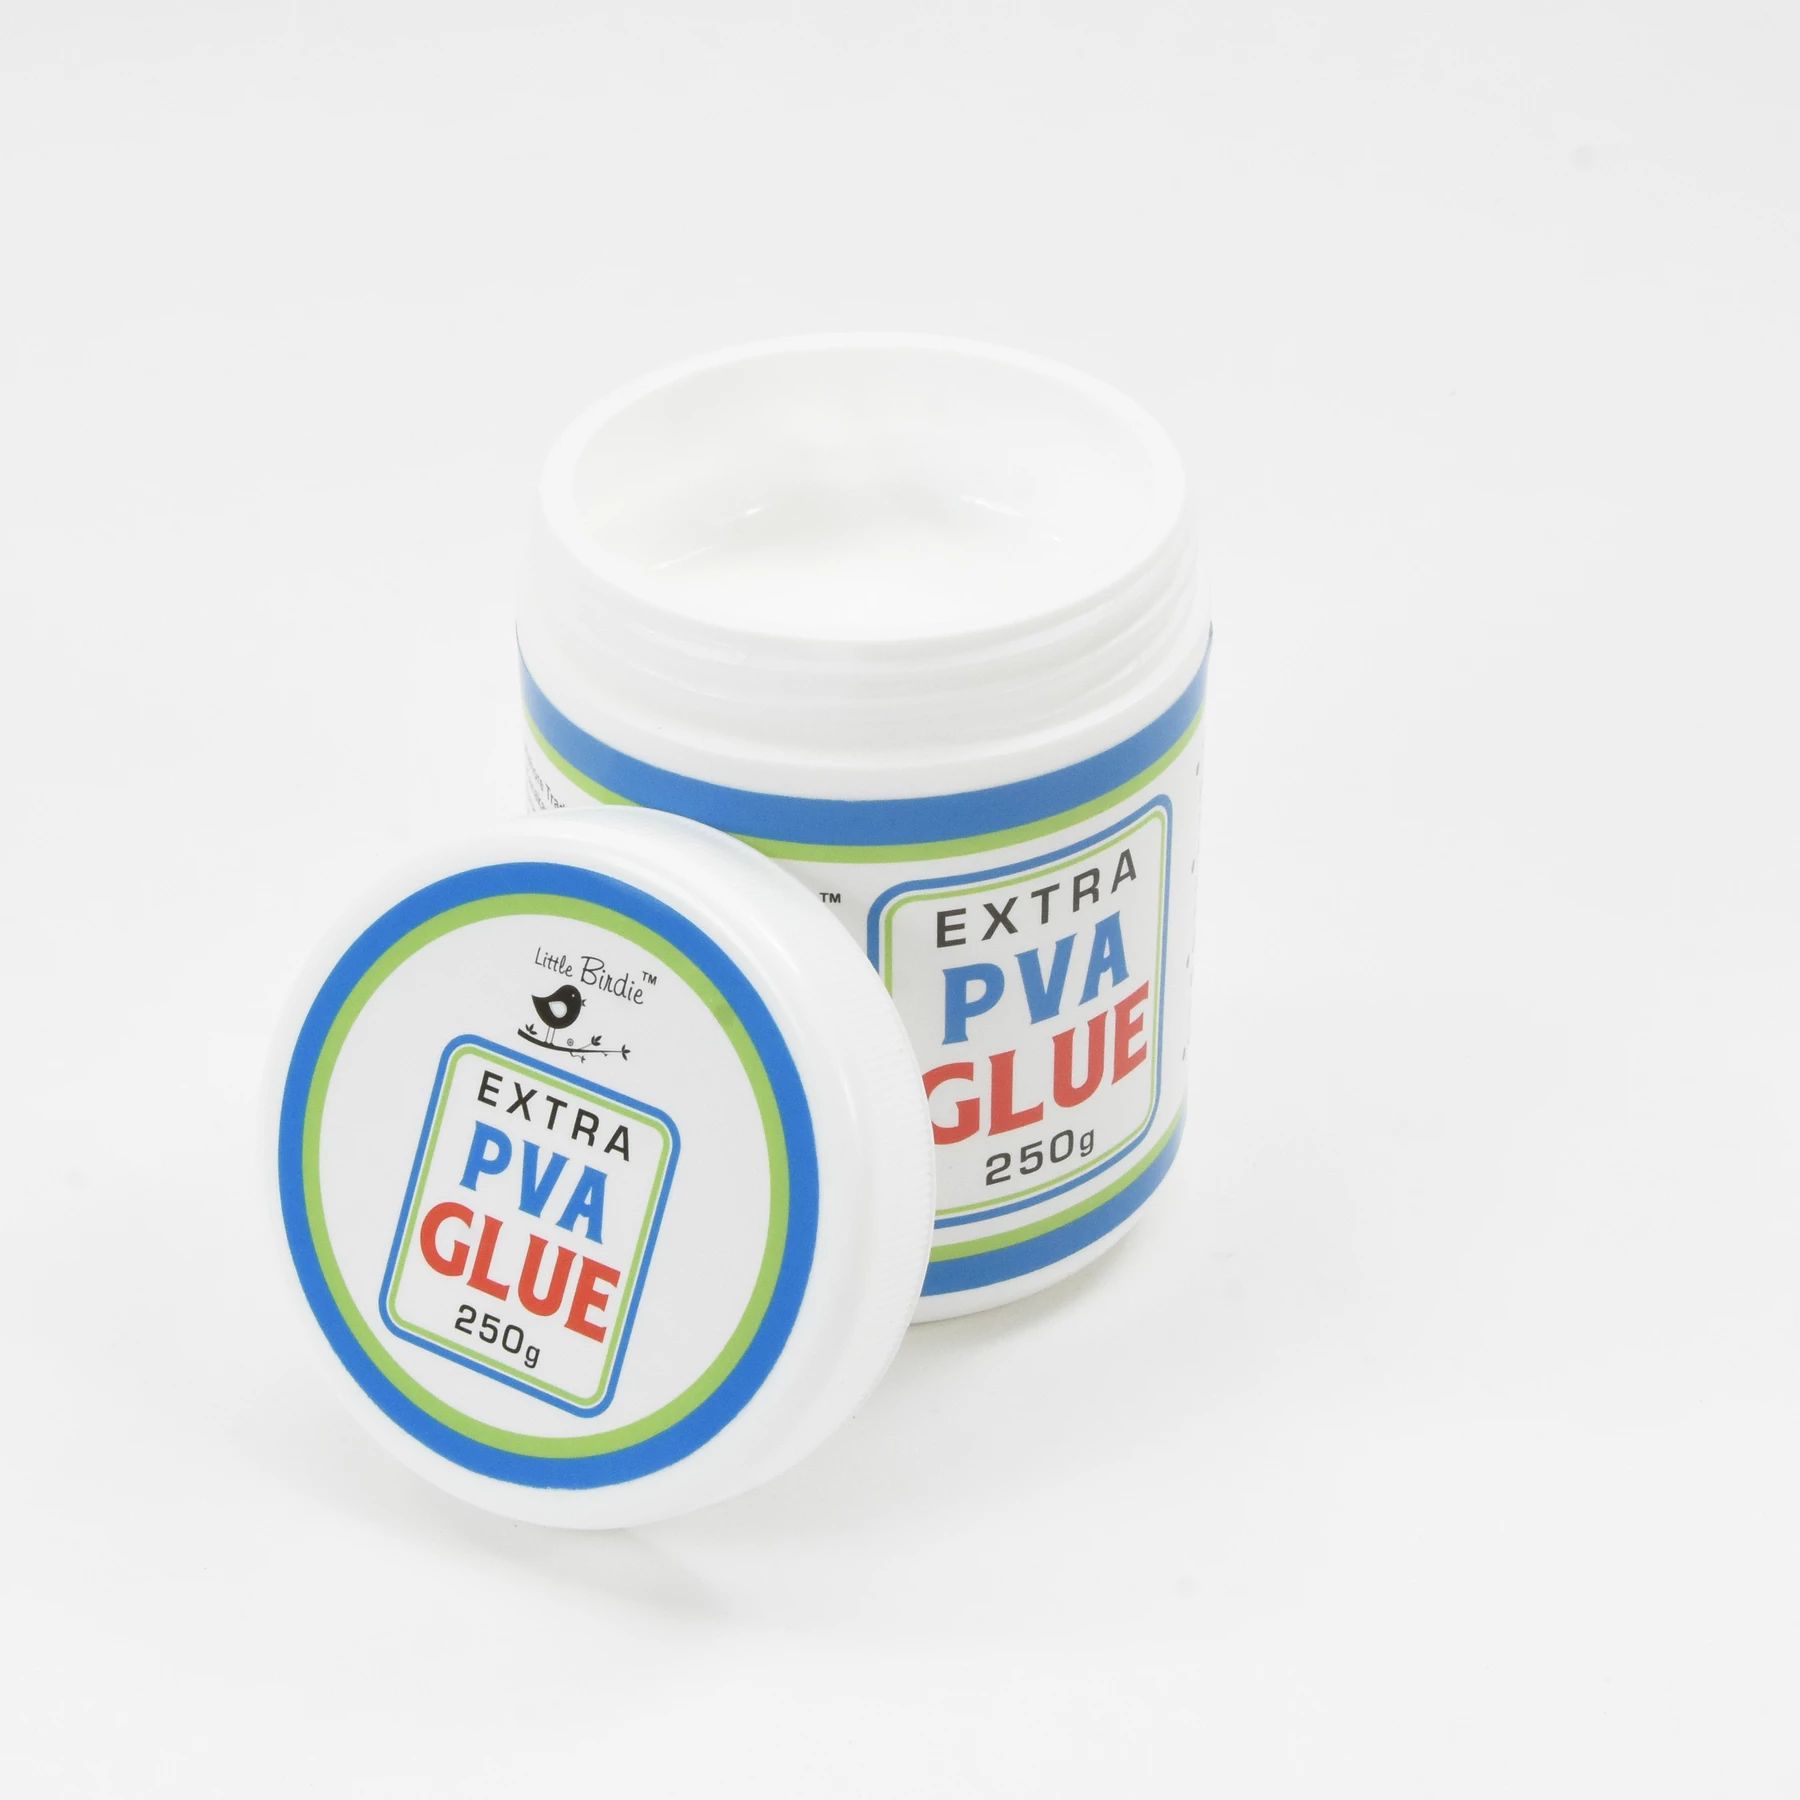
Extra PVA Glue:
This versatile, multi surface, extra PVA glue provides strong adhesion to most craft materials. Its concentrated is strong and can be used for any kind of crafting. Best for home and office use. It can be diluted with water for a free flowing consistency if needed.
Glue Gun:
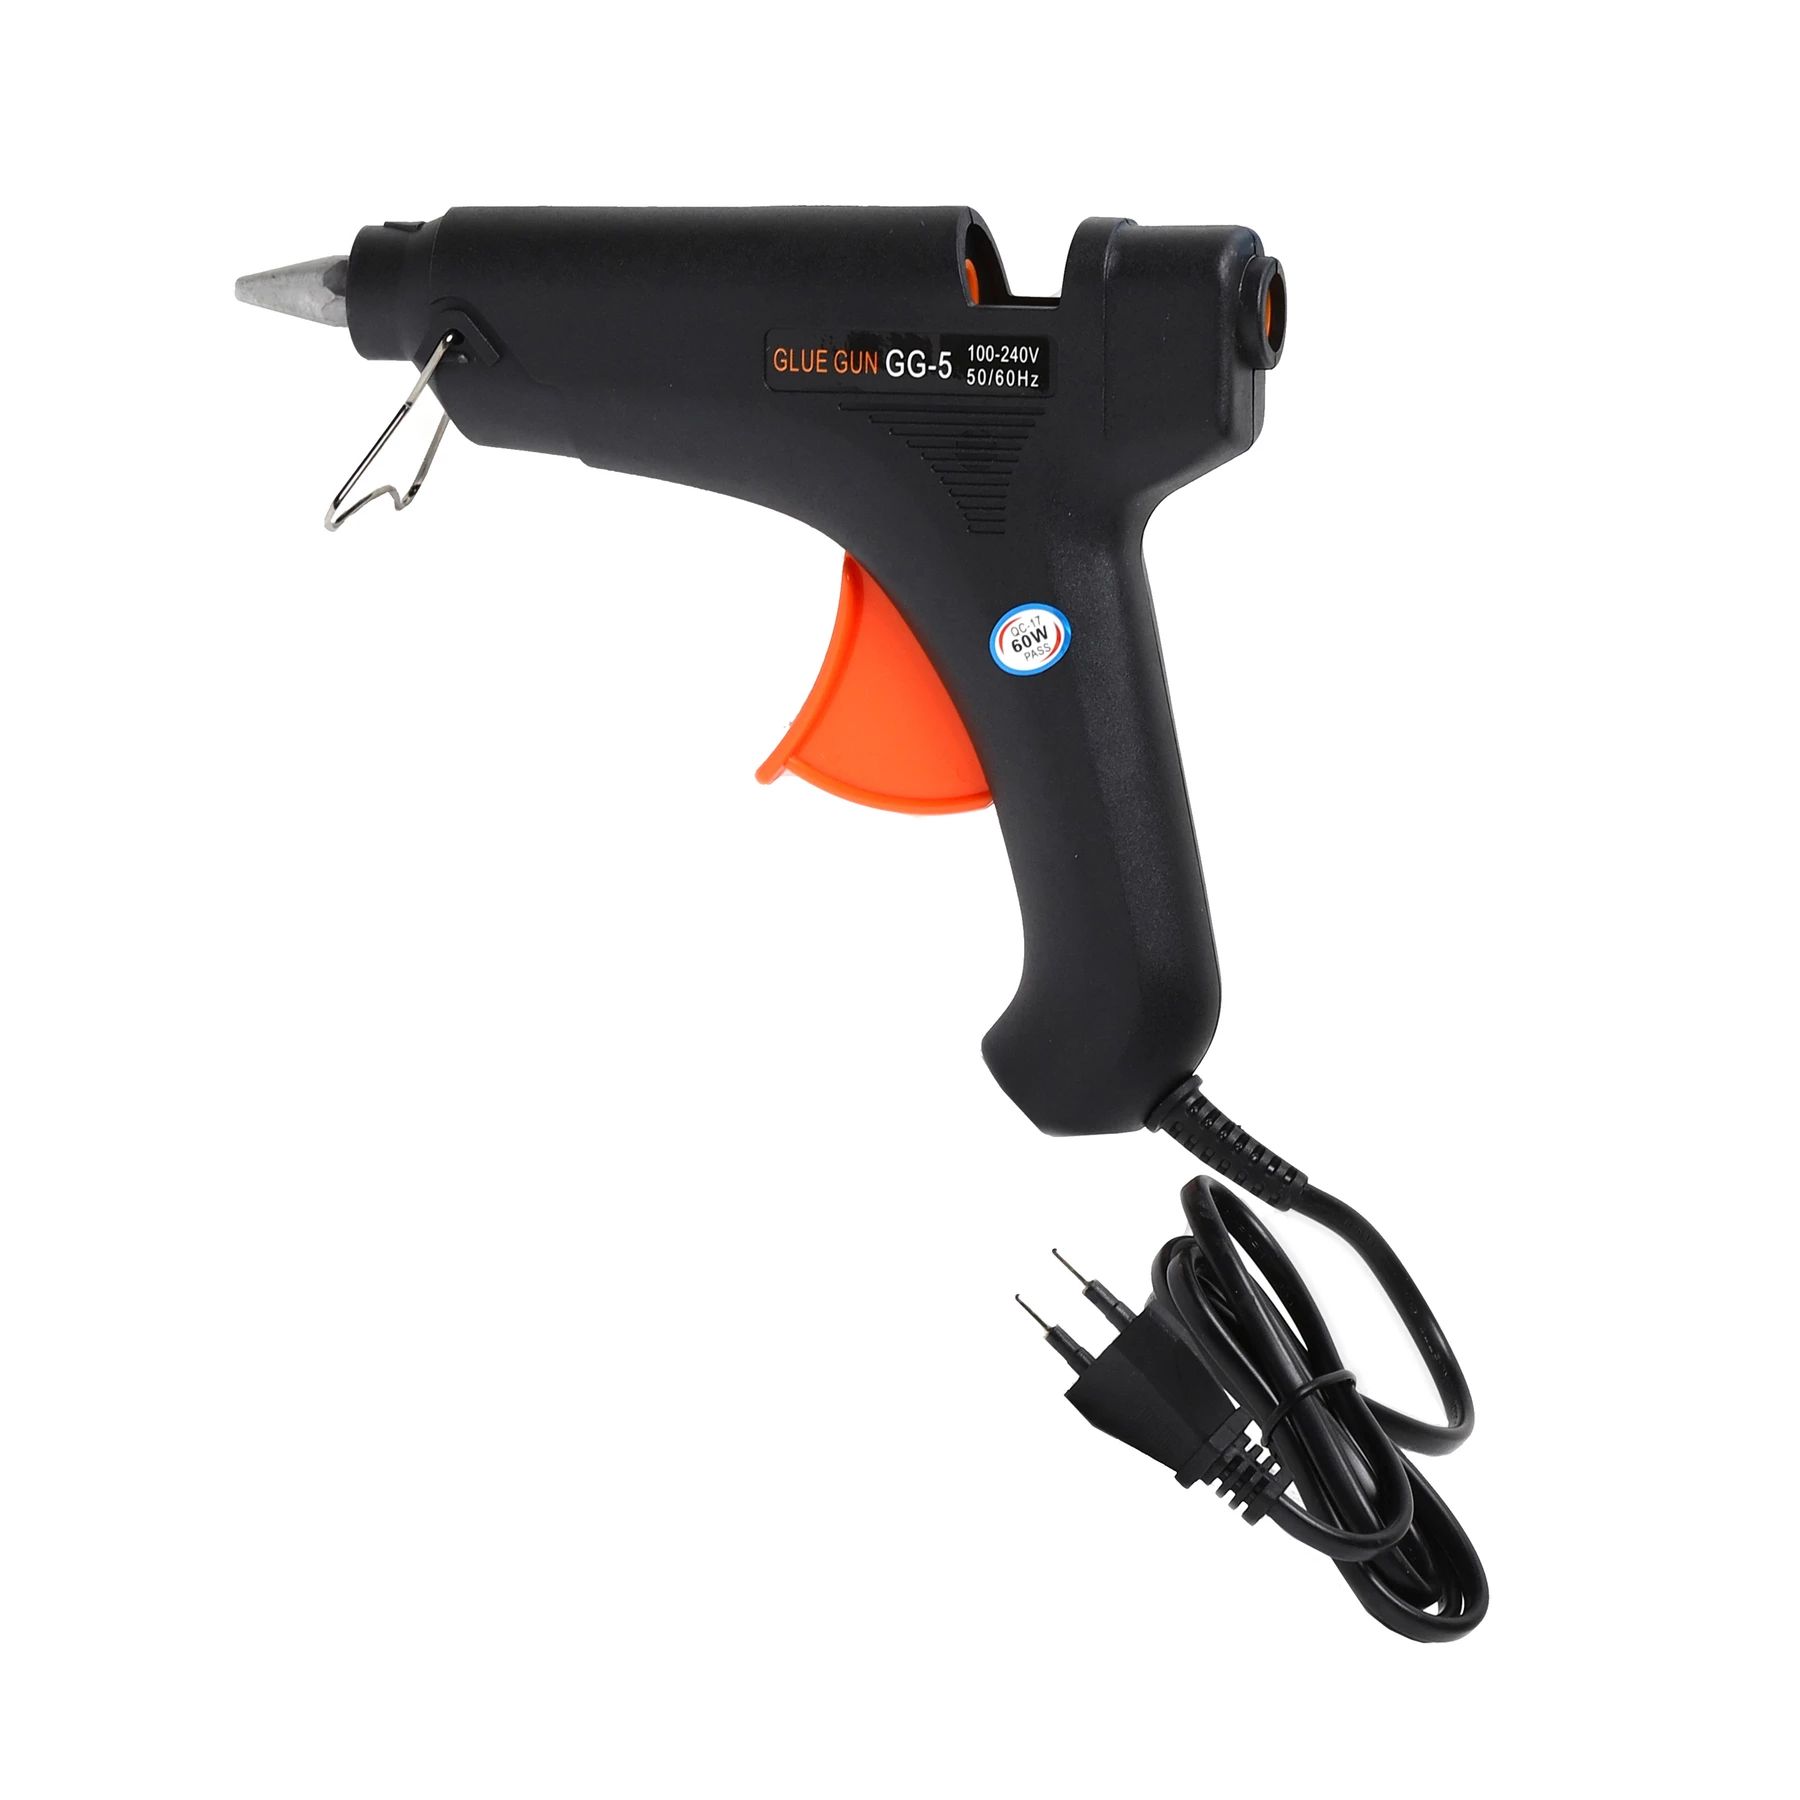
Last but not the least, lets talk about glue gun. Very widely used by loads of people for different kinds of crafting. This is the most popular  kind of glue. There are 2 types of Gun available at the store, battery operated and electric. Both work the same way. You have to insert a glue stick in the gun and switch it on, the glue stick will heat up and the semi liquid glue then comes out of nozzle which can be applied on the desired areas.
Now lets get into the detail. This glue is awesome if you want to do 3D paper quilling, trousseau packing and I  love it absolutely for sticking voluminous flowers and leaves onto my projects as they are bulky but not heavy and glue works perfectly fine to stick them. However very heavy metals, or heavy embellishment cannot be stuck with it as it doesn’t hold them for long. To stick such elements you need something stronger.
With this blog post today, I have tried to cover as many glues as possible and written about them according to my experience. I hope you all find this post helpful and hope it solves your queries and answer lots of questions you have in mind.  Do not forget to share it with your crafty friends as it might help someone use the right product in the right way.
Thanks a million for sticking with me through a long blog post.  please feel free to ping me for any further doubt or query. I would be happy to help.
Love & Hugs
Bela

By colors-n-creations - July 31, 2019 No comments:
Email ThisBlogThis!Share to XShare to FacebookShare to Pinterest

Saturday, July 27, 2019

Decoupaged Guitar Key Holder - Step by step Tutorial


Hello Hello !!!!

This is Bela and welcome again to my blog....
I know I haven't posted in a while as I was tied up with loads of things....

But today i am here with a beautiful project which is decoupaged guitar key holder.

so without further ado here's a quick step by step .....

first take a wooden base of ur choice... here i have taken a wooden guitar shaped key holder...

Apply black chalk paint on it and let it dry completely.

Then apply one step crackle medium and let it dry completely.

once tacky apply white chalk paint and the cracks will start to appear as shown in the picture below.


close of the application. This is how the cracks will  look.


Then choose the tissue of ur choice and start the application by using decoupage glue. I have chosen this vintage tissue with two beautifully cute angels and tiny little flowers....


Few close ups to see the beauty of the cracks seen from under the tissue.... this is what i love about this technique....


This turned out to absolutely gorgeous project... super close to my heart... very very simple yet very elegant, beautiful and vintage.


I hope you love it as much as I do...
do drop in ur comments and let me kno what do u think about it?

Love & Hugs
Bela


By colors-n-creations - July 27, 2019 1 comment:
Email ThisBlogThis!Share to XShare to FacebookShare to Pinterest

Tuesday, June 25, 2019

Cards, Envelopes, Tags & Mandala using Mandala Pattern


Hello Hello!!!
This is Bela and today my DT post for blog is my favorite artwork .... I think by now you all who know me must have guessed what it is !!!

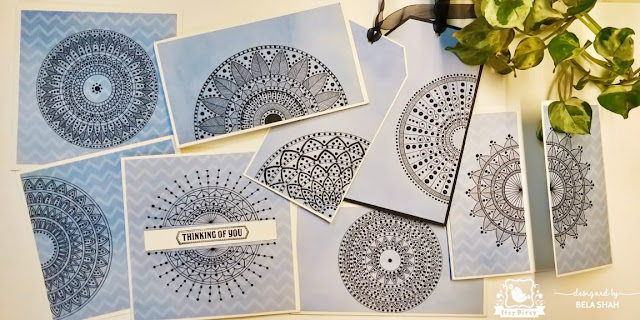
Yes  !!! I have beautiful cards, tags, envelopes using Mandala. I always get lot of questions as to where i use the mandalas that i draw on paper. Basically it can be framed and used it for home decor as well as meditative purpose. So this time I thought why not make some things which can be beautiful gifts  in useful way to someone who love mandalas.

So lets get started!!!! Its a long post as I have made 4 cards, 2 envelopes, 2 tags and one 12x12 mandala. so total 9 projects...

I have made 4 beautiful and delicate cards using mandalas with amazing Pearl drops.

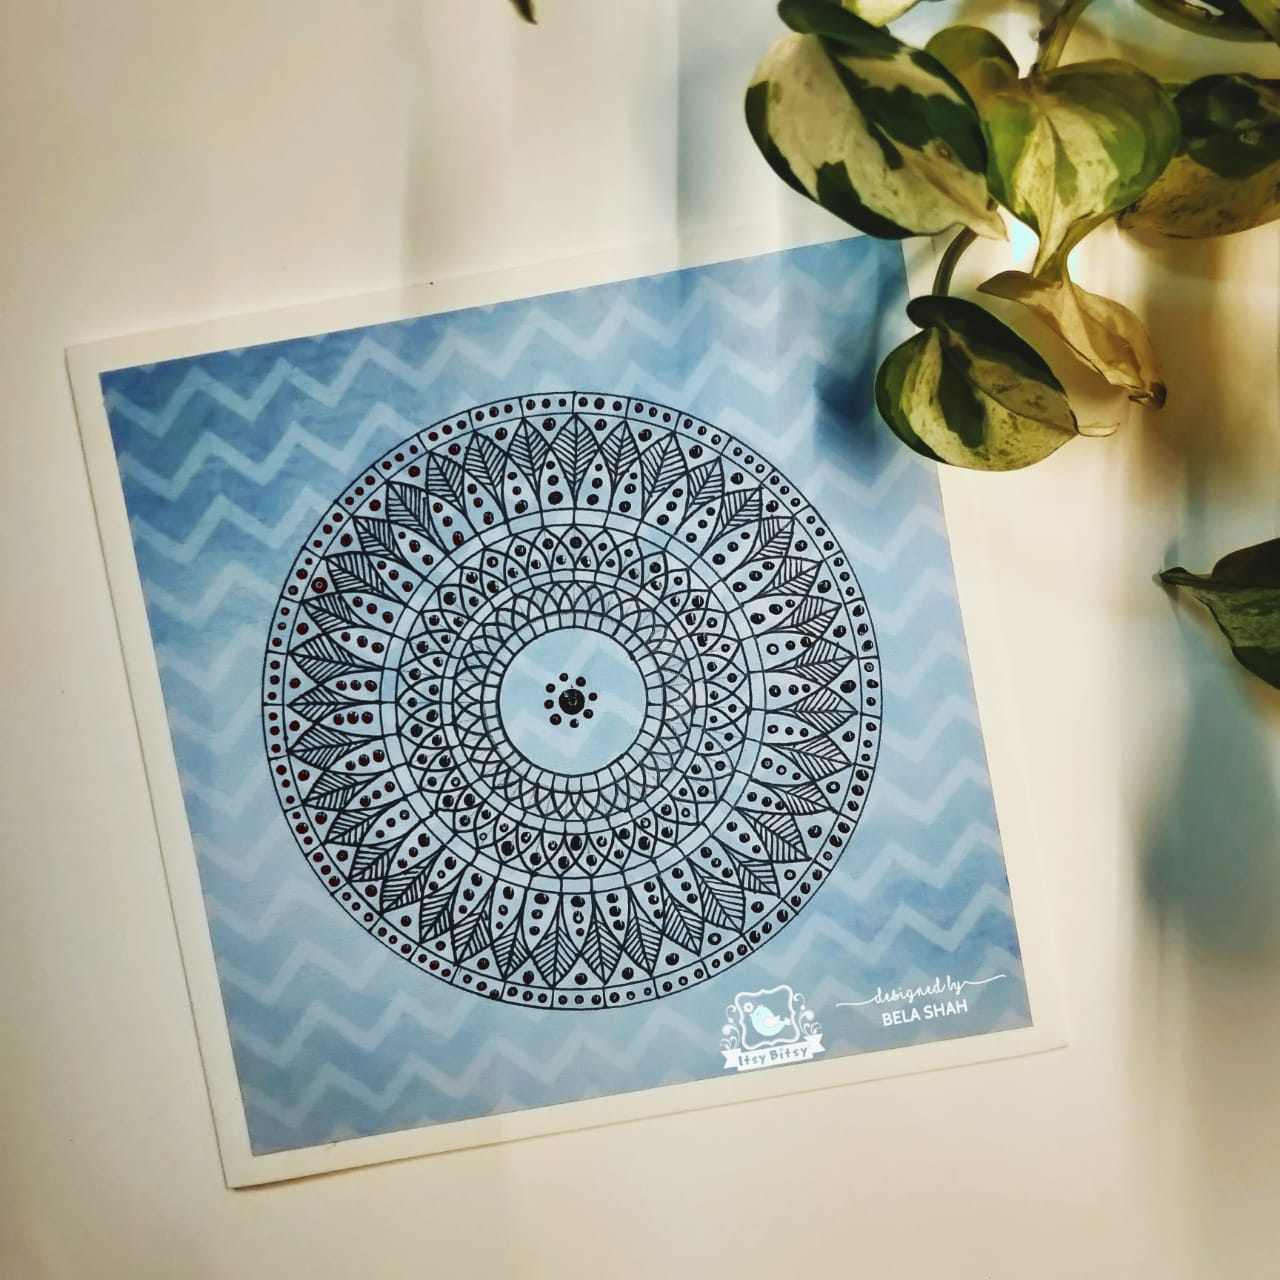
First card is with whole Mandala . I have taken 6x12" heavy weight card stock and score it in center to make a 6x6" card. Then I used Aquarelle paper pack from the store and cut it in size 5.75 x 5.75 . Stuck it in the center which will leave a crisp white border of white card stock around the blue paper I chose. I absolutely loved this blue for my mandala as its a cool color and it gives me sense of peace when i see it.

I then measured the center point of the blue paper and witch a help of compass , pencil, scale i started building my mandala.  This is how it looks. I drew the mandala in such a style which allows me to add the additional touch of dots with black Pearl Drops leaving enough space around the mandala which will show the beauty of the paper with chevron print.


My second card measured the same . the only difference is I have drawn a half mandala at the right hand side. there is enough space at left to add any sentiment according to the theme and event... Again My design is formed in such a way that i can fill the spaces with dots.


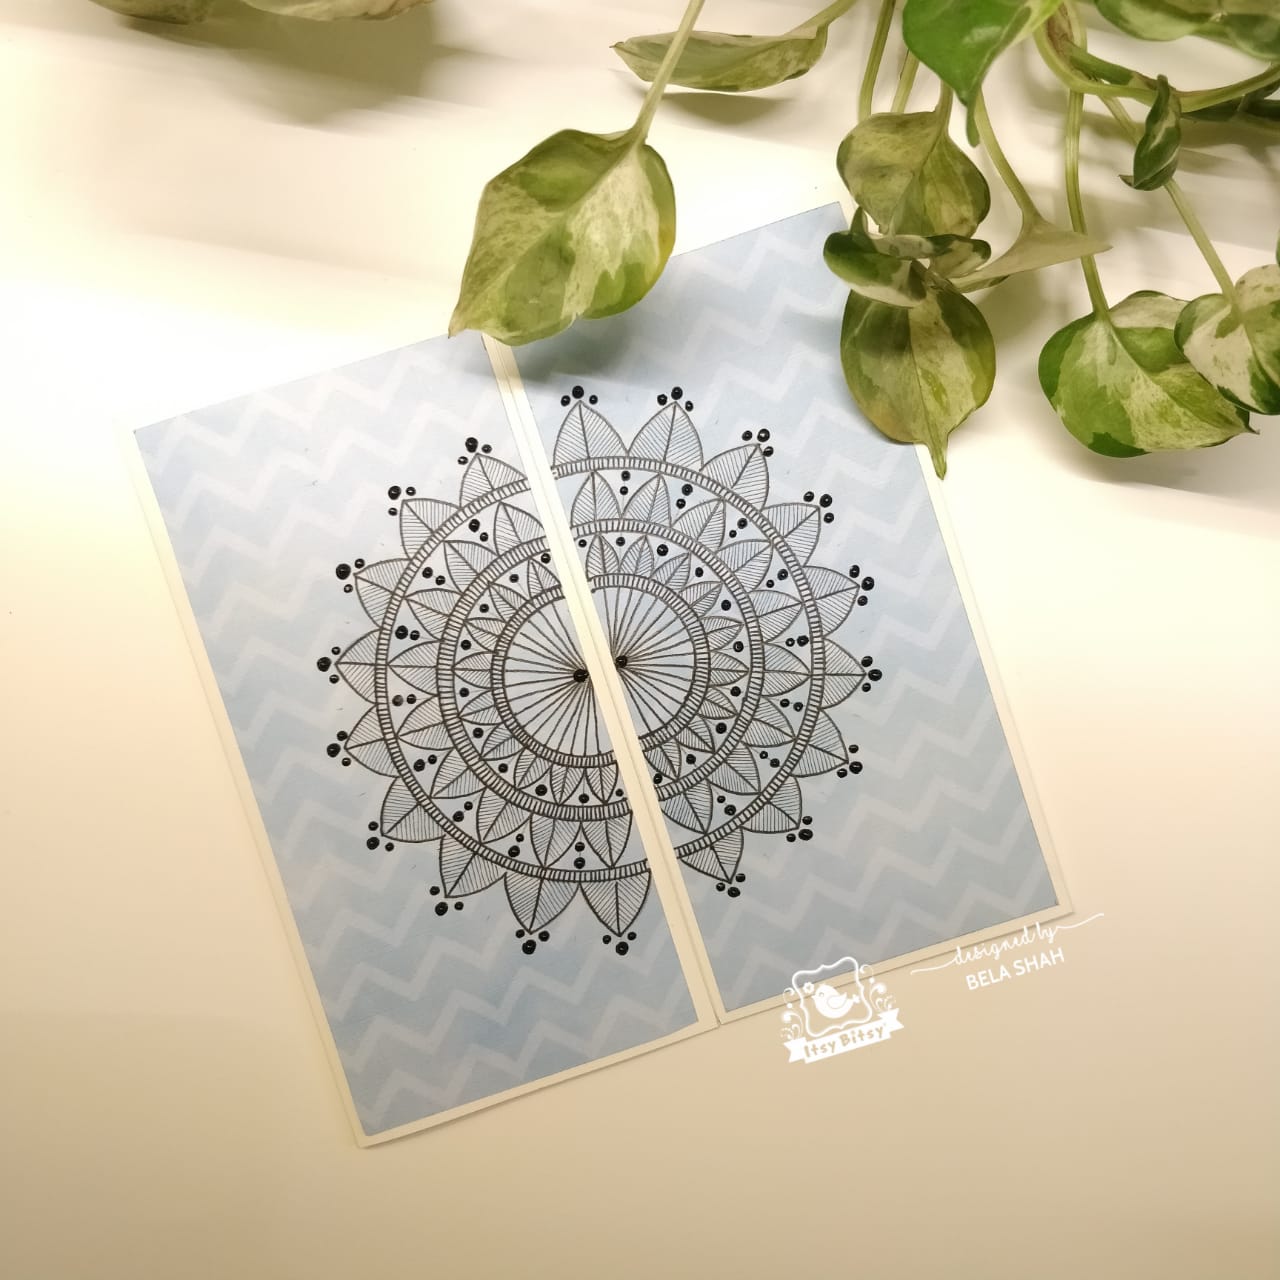
My third card is a gate fold card. Here I took 6x12' card stock scored it at 3 and 9 inch and folded on score lines to form a card which has front opening.  The paper was cut to 5 3/4th x 2 3/4th ( 2 pieces).  So here I drew mandala on both sides which looks whole otherwise.


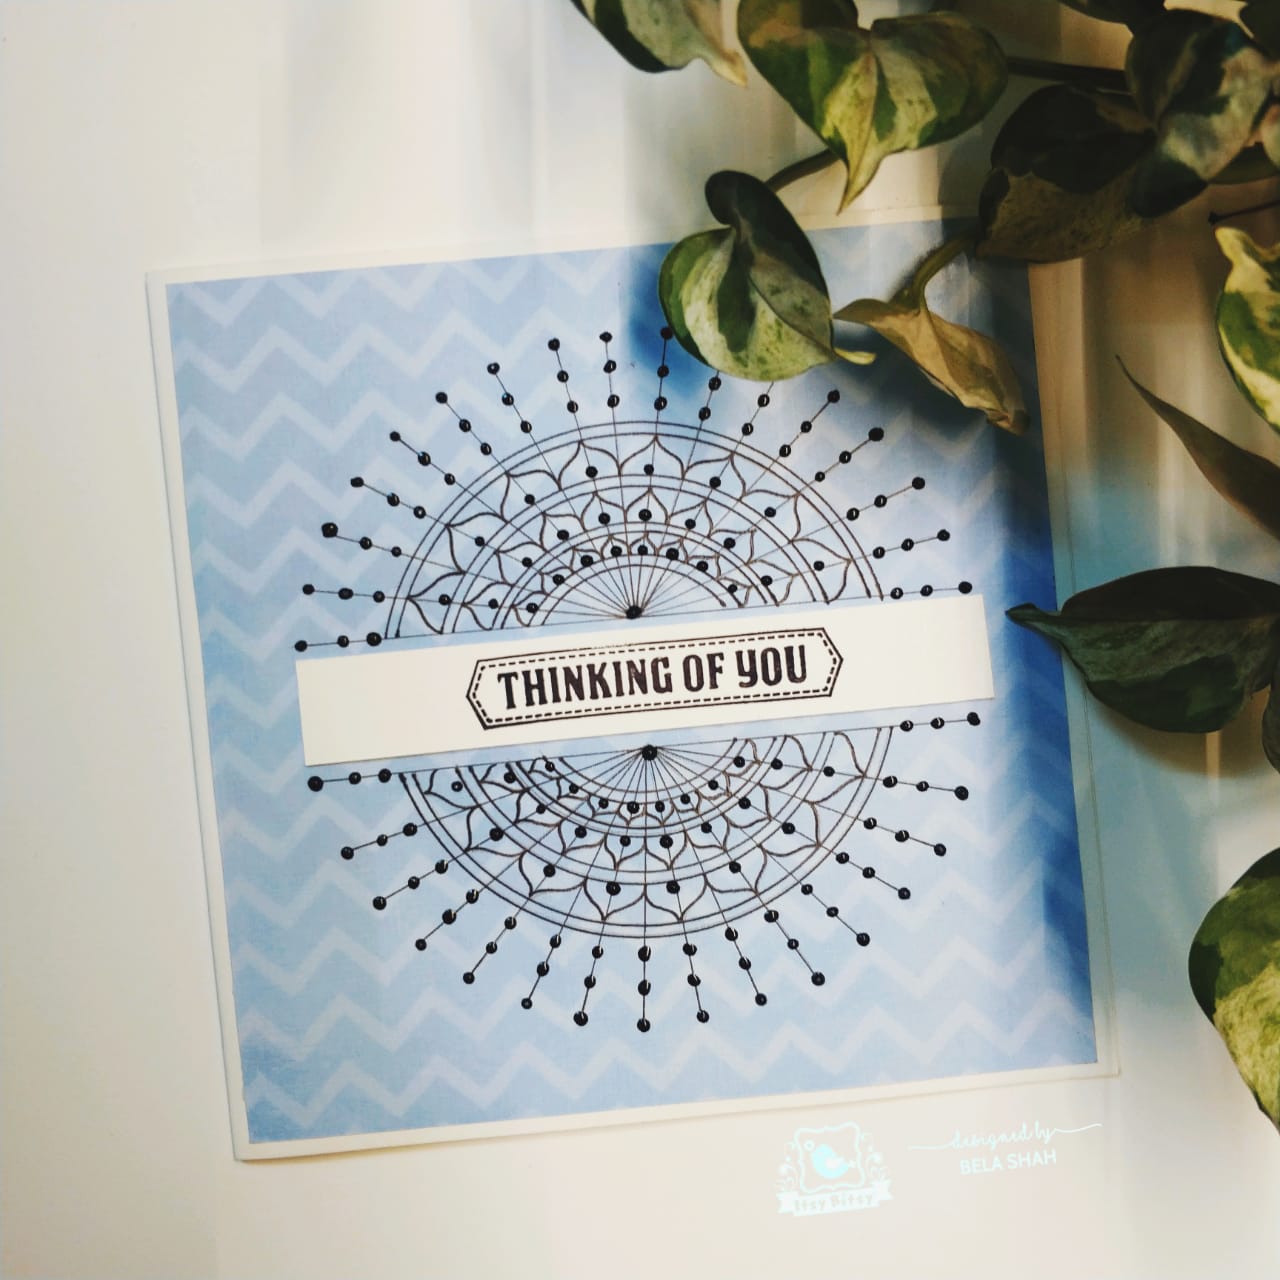
My fourth Card is my favorite. Measurements are same as first card. I kept it simple as i had already thought of adding a sentiment in center. i drew half mandala on top and half on bottom leave an inch of space between the both. where I added a strip of card stock with the sentiment thinking of you. I absolutely love this gorgeous and delicate design where the pearl drop dots are prominent and make this minimal design mandala complete.


Now We can go onto envelopes.
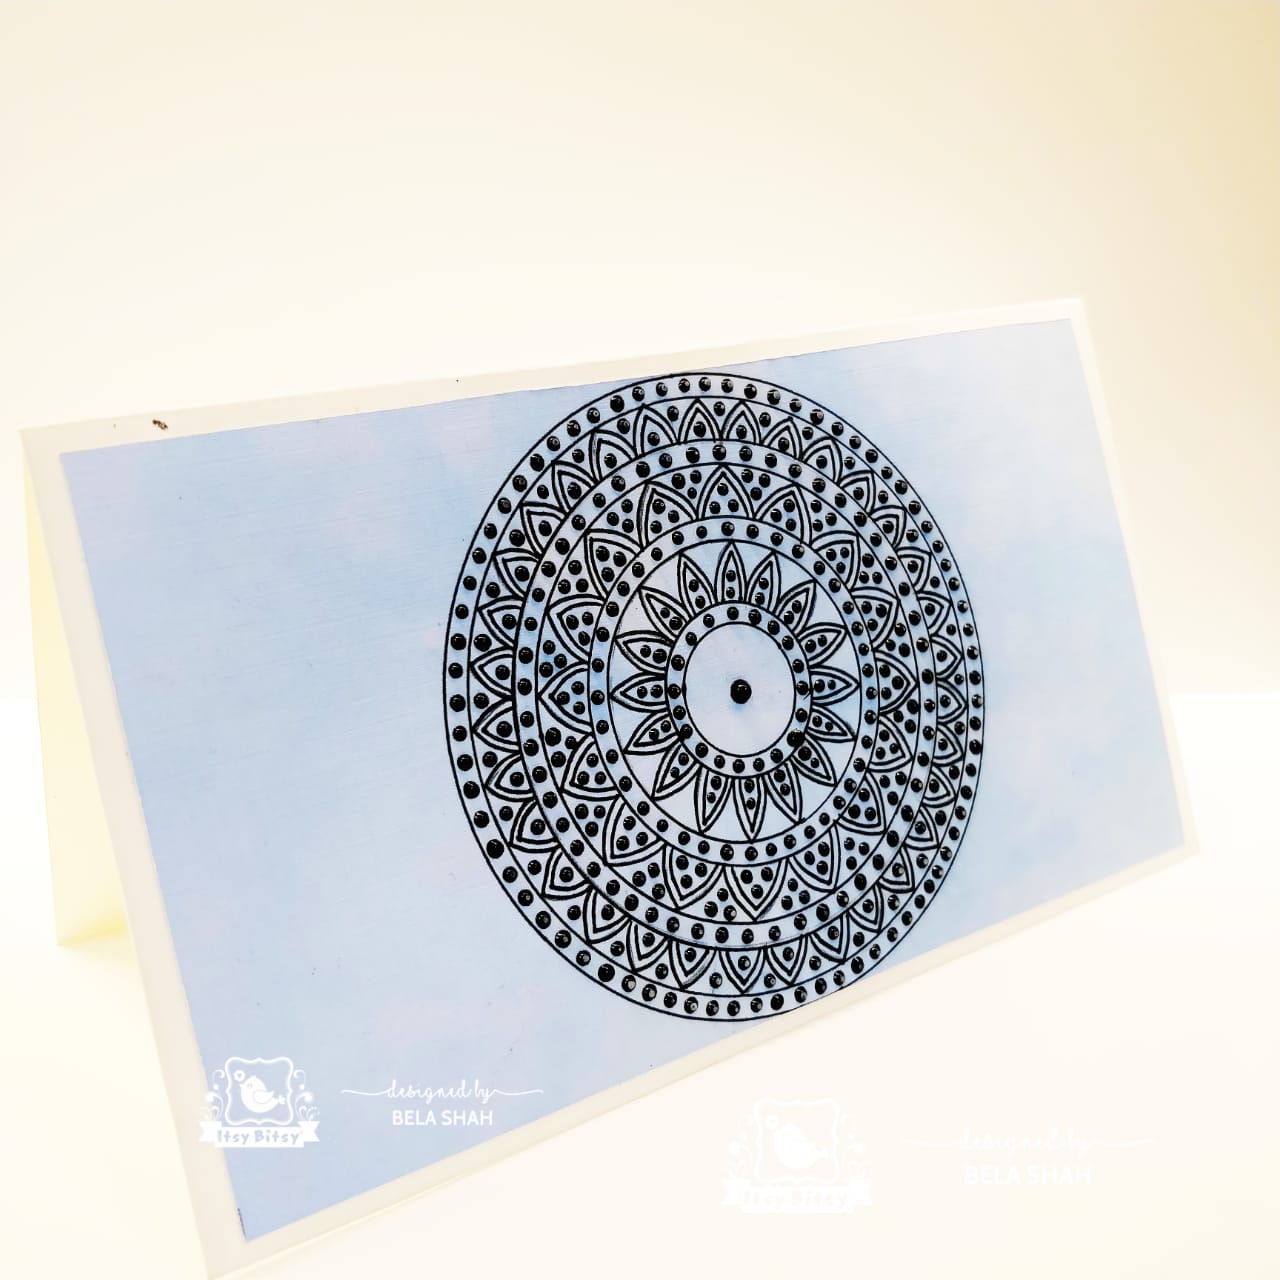
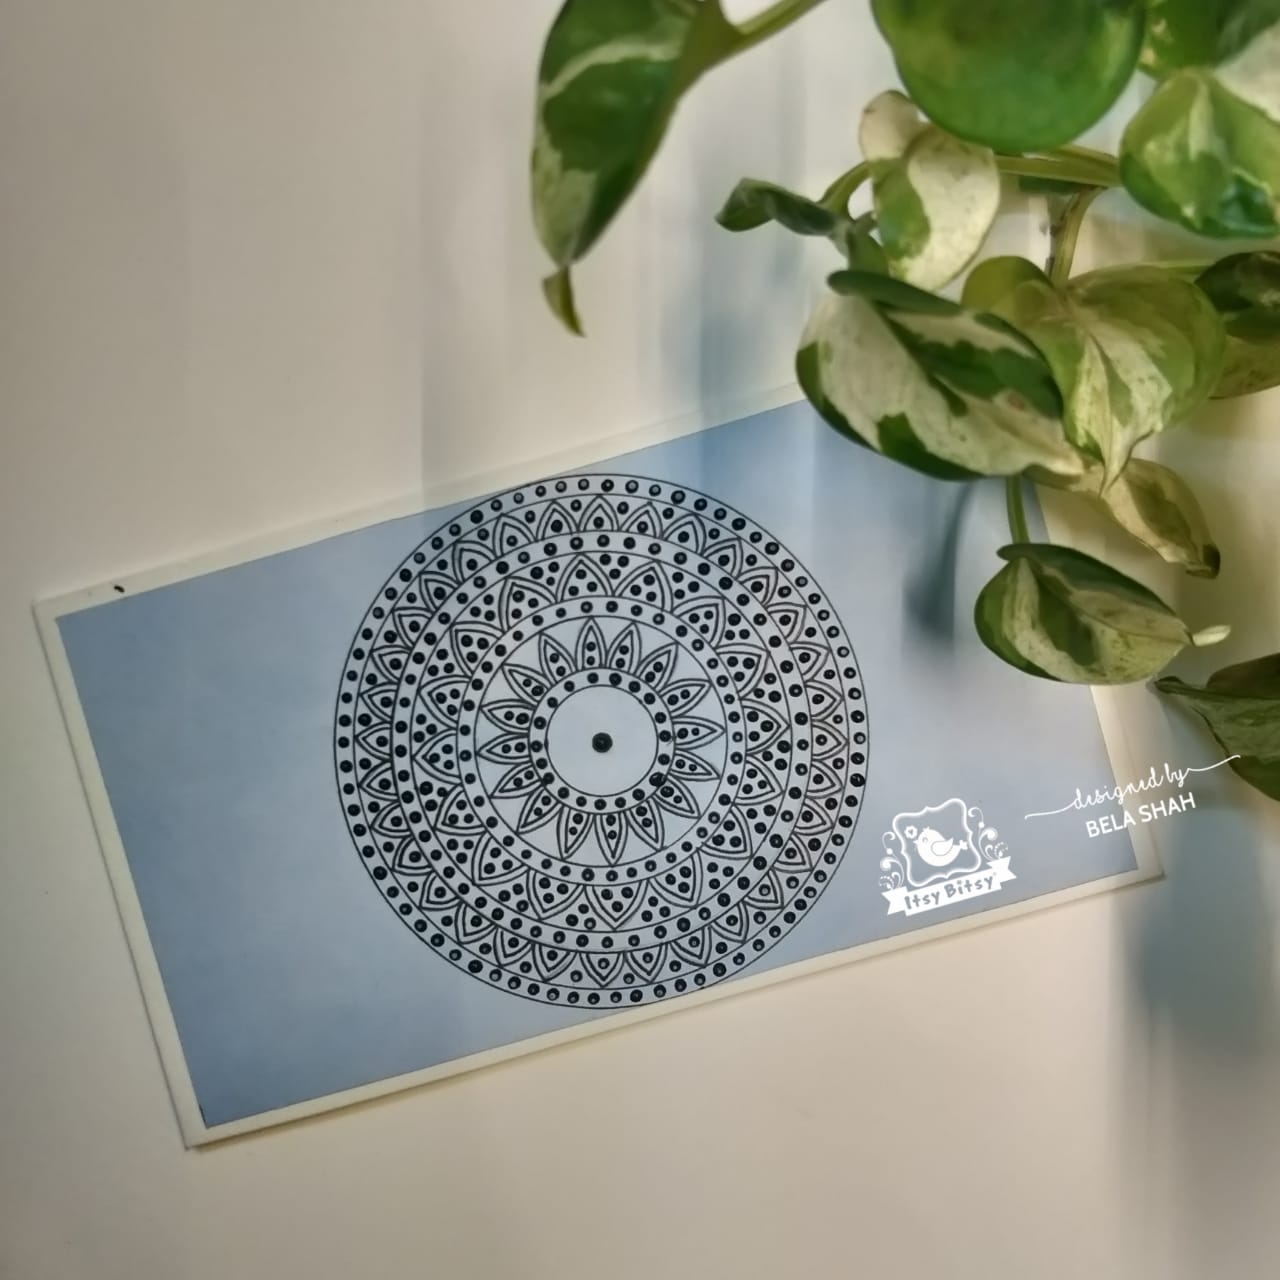
I made 2 beautifully delicate envelopes again using mandala design.... these measures 4x7" . so my pattern paper was cut at 3 3/4th x 6 3/4th. i used the plain blue sheets for these.  I simply pasted the pattern paper on the white envelope which I made again leaving a think white border for the enhanced look. i made a full mandala in the center leaving the space at both the sides which shows again my pattern paper. this is how it looks.


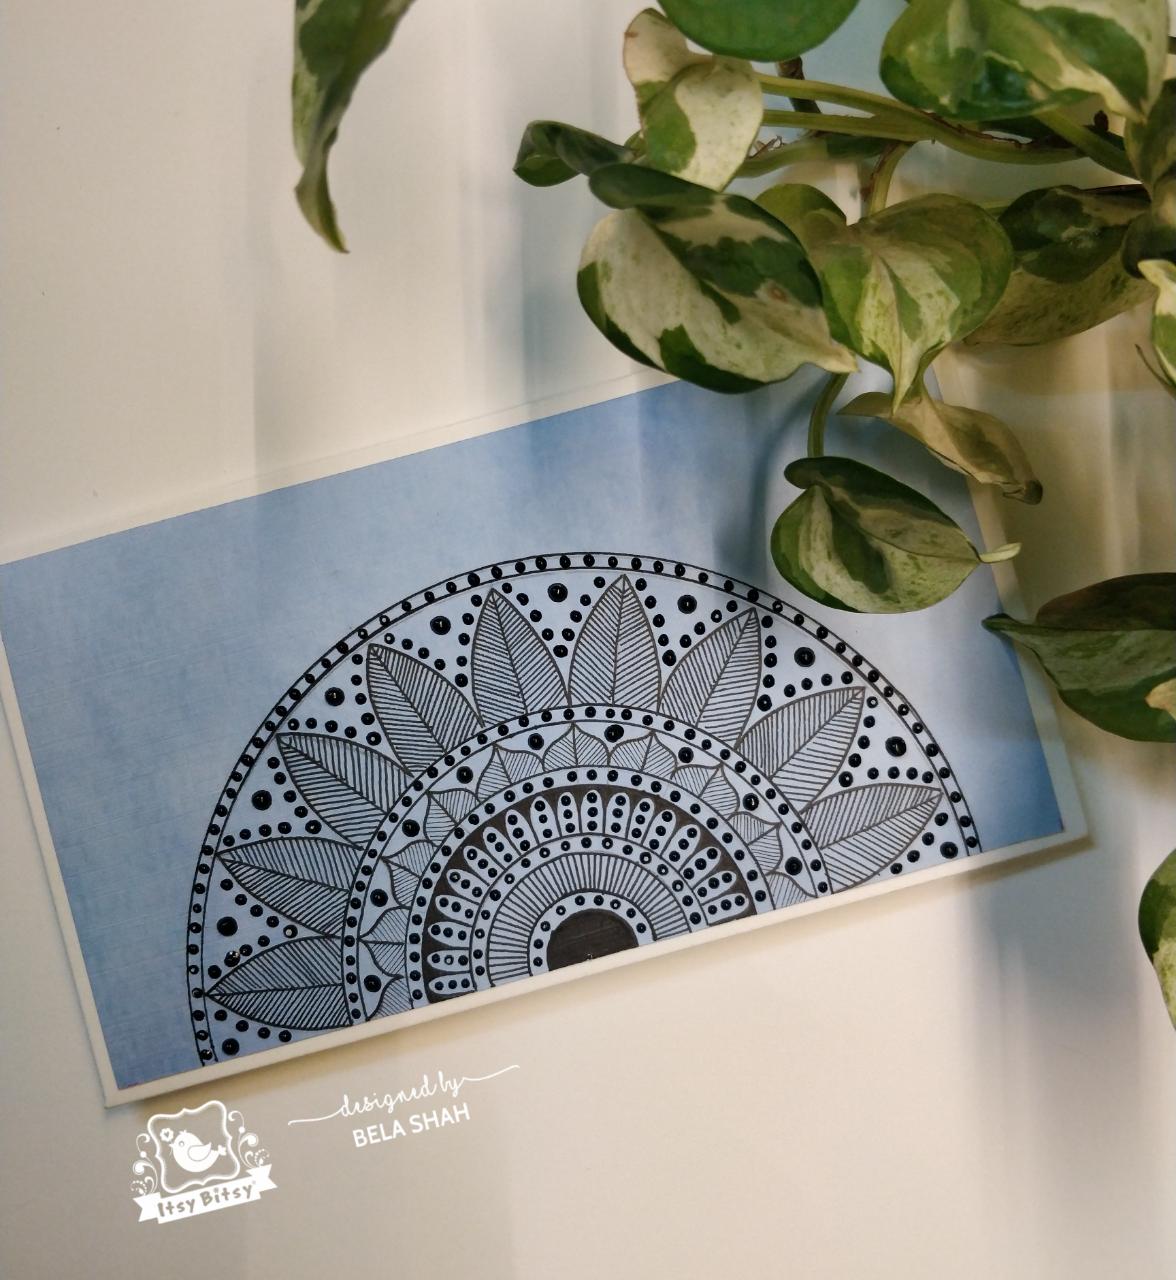
My second envelope measurements are same as the first. here I drew a beautiful semi circle mandala design with leaves... again keeping it simple so the dots look completes the pattern. I love these envelopes and I don't think i will ever give these to anyone ... ;) :)


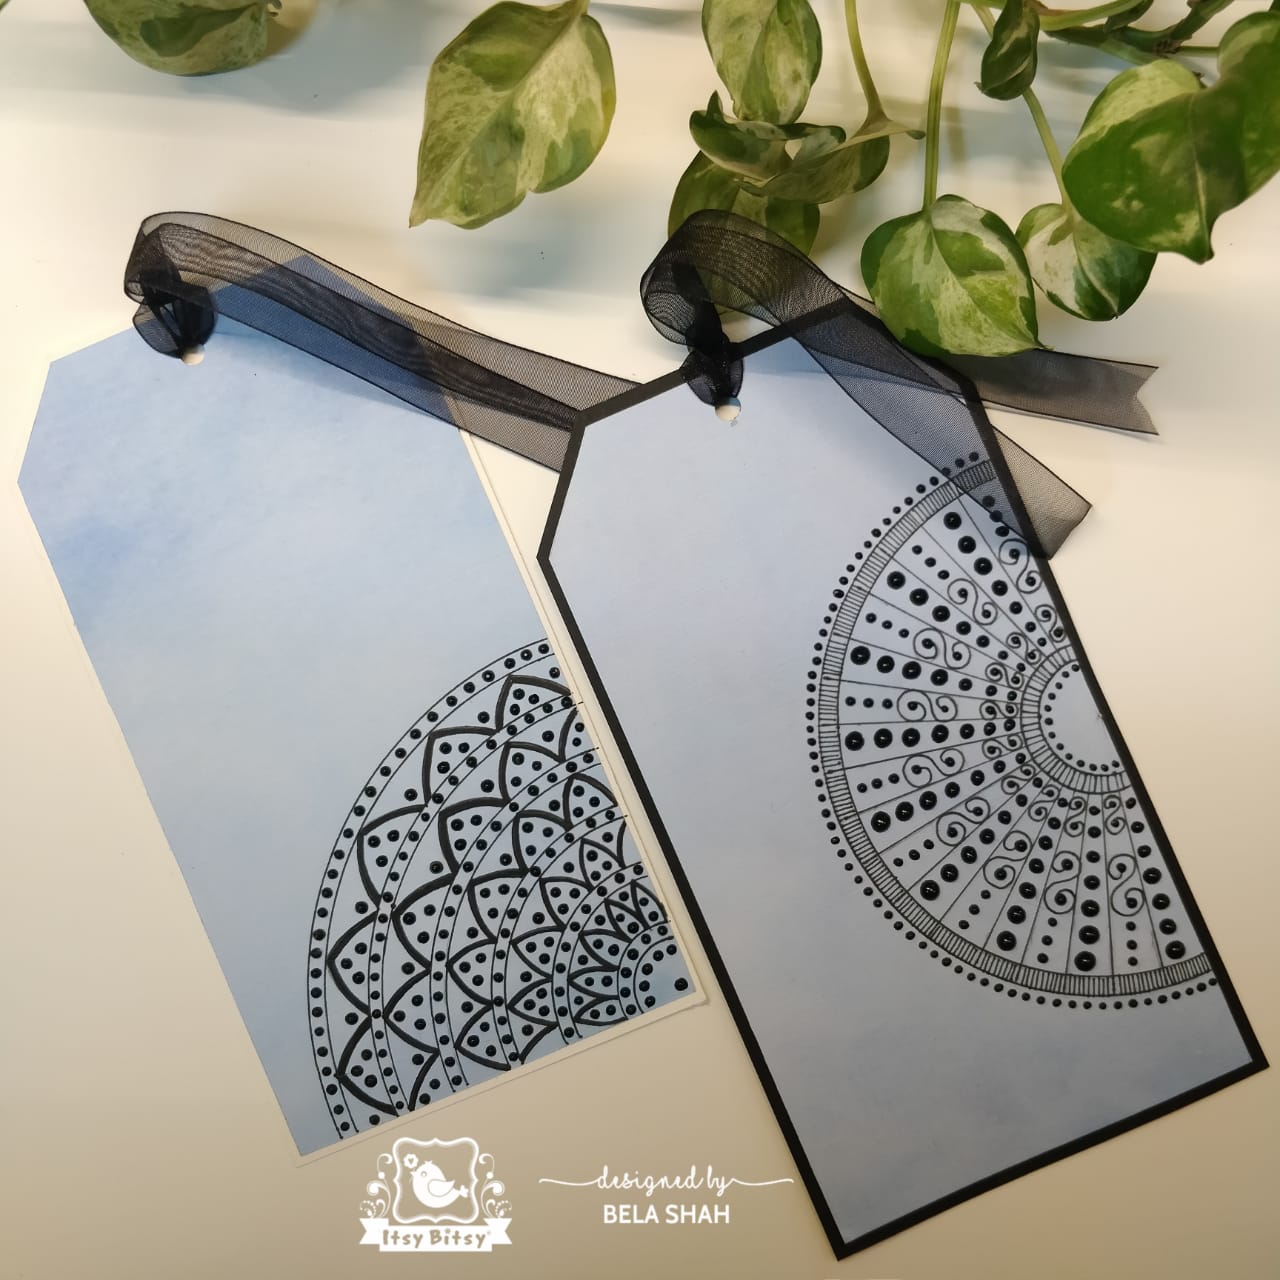
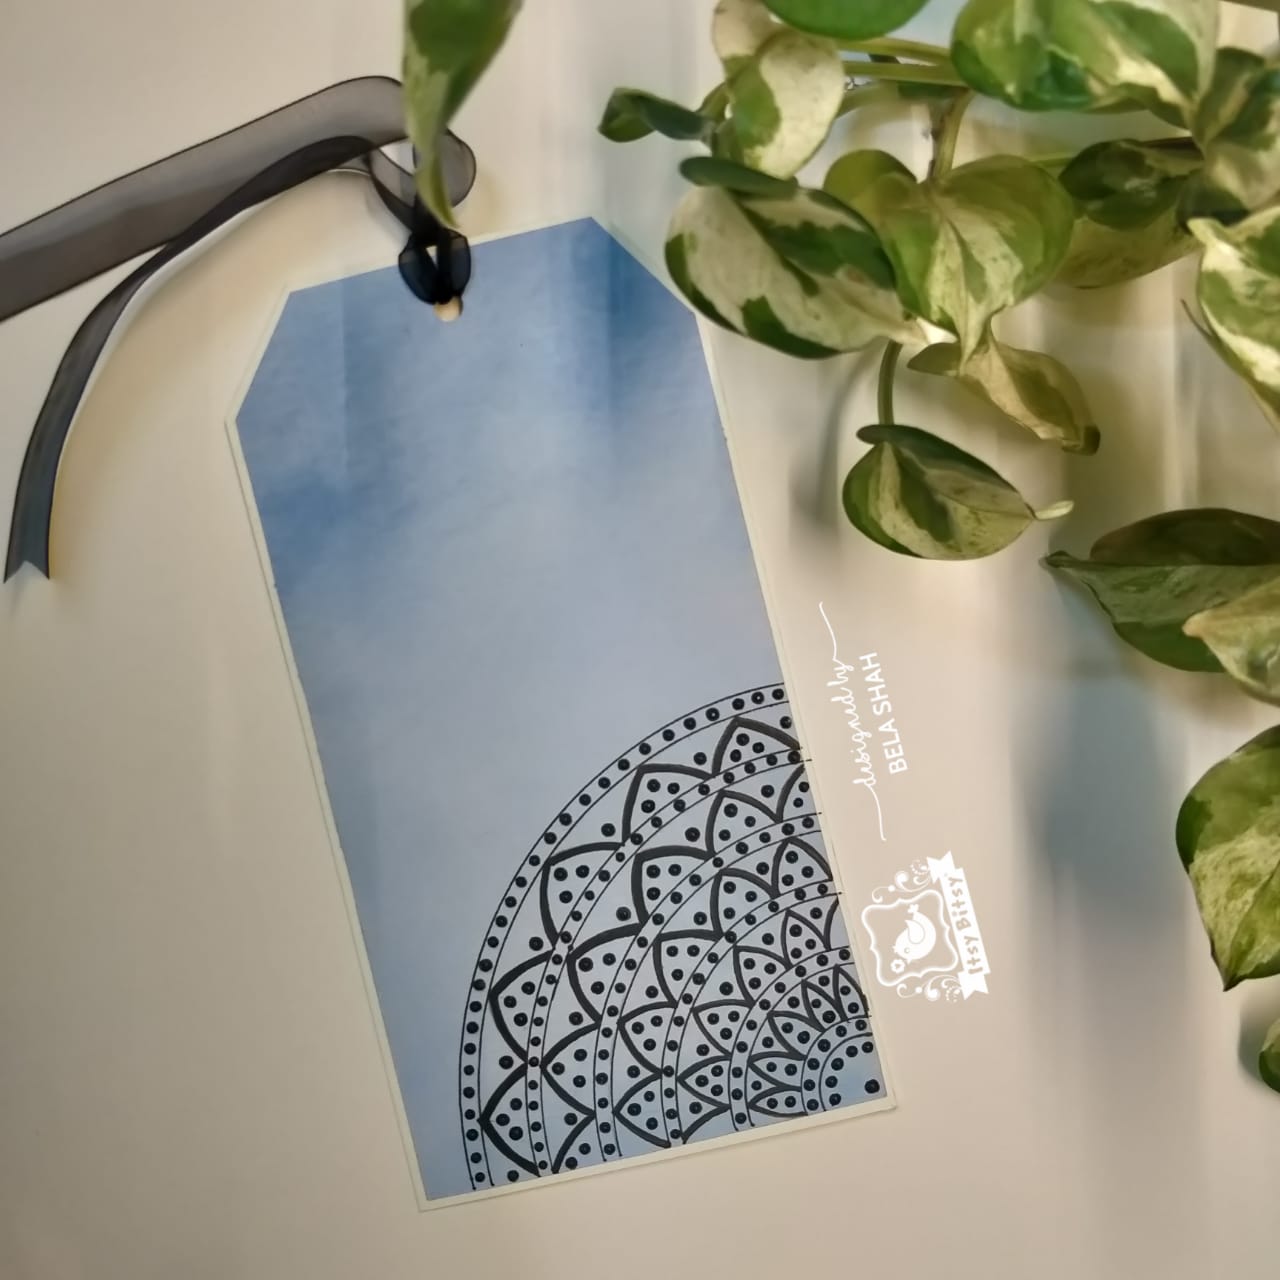
Now lets go on to tags... i made couple of huge tags . They measure at 3.5 x 7" now In this I did mandala design only at the corner keeping the whole tag plain. U can fill up the space by adding a sentiment or stenciling or even stamping.... I have kept it simple as i din want the focus away from my mandala. here only outlines are done using the pen . completed the whole design filling up with dot with Pearl drops


The Design for the second tag is interesting... O just drew semi circle fan design and filled it up with scrolls. enhanced the whole look with small to large dots which makes the design look 3D. i absolutely loved this design and I will try and use them in my full page mandalas too.


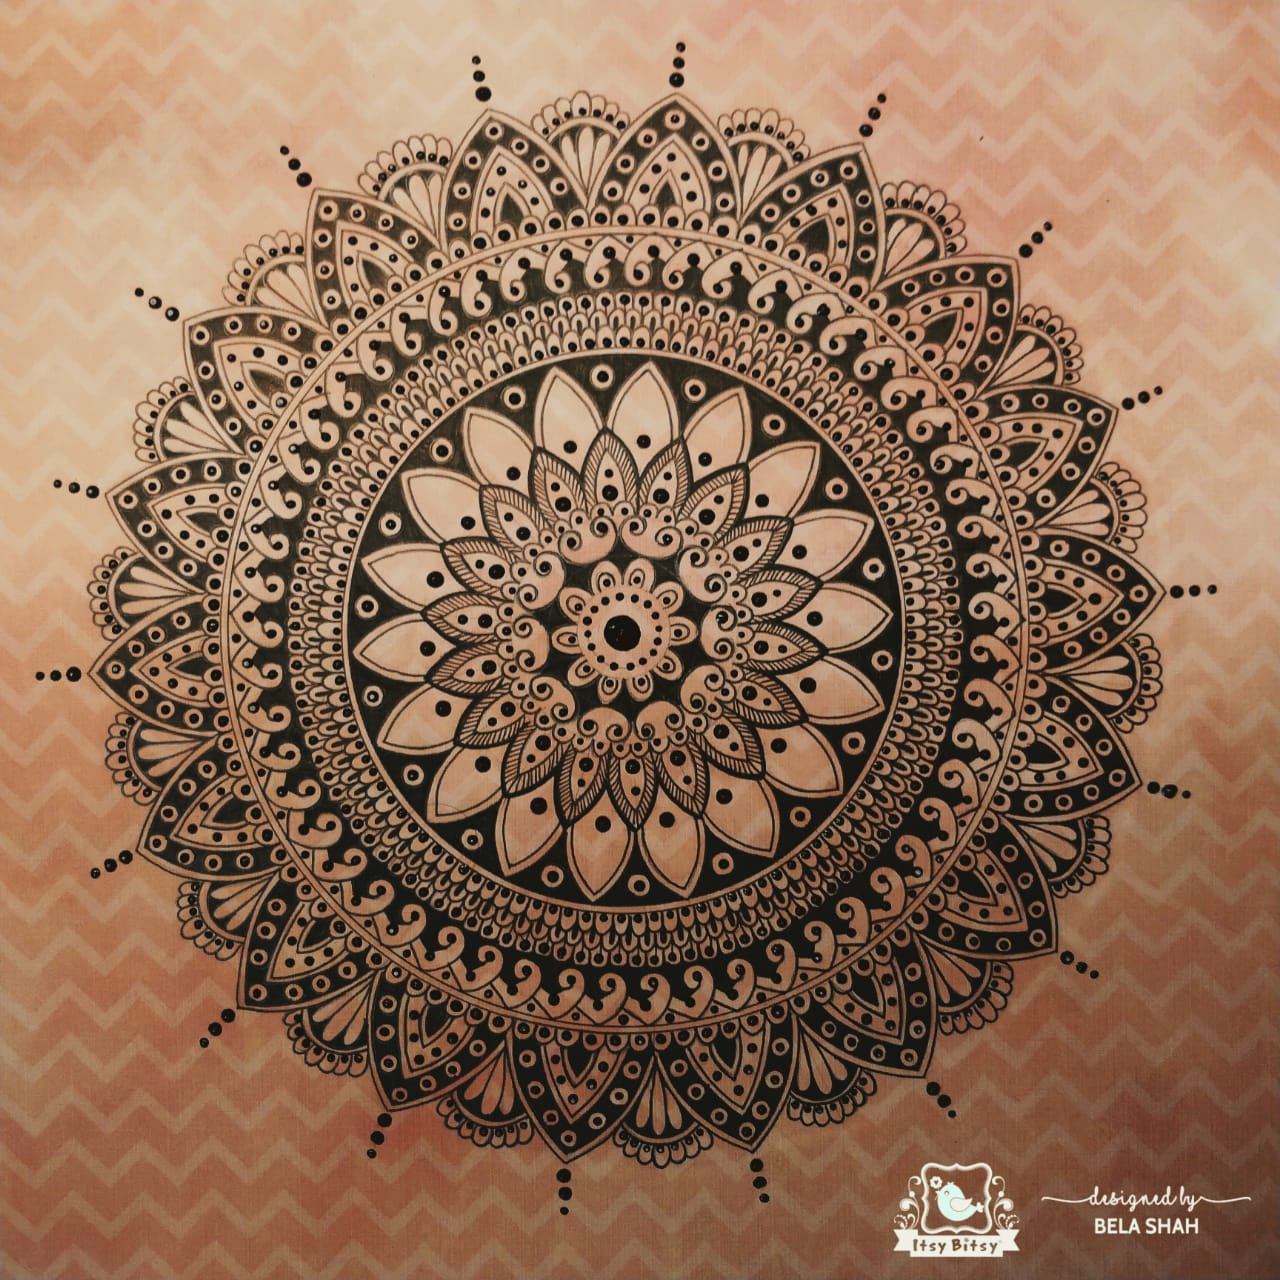
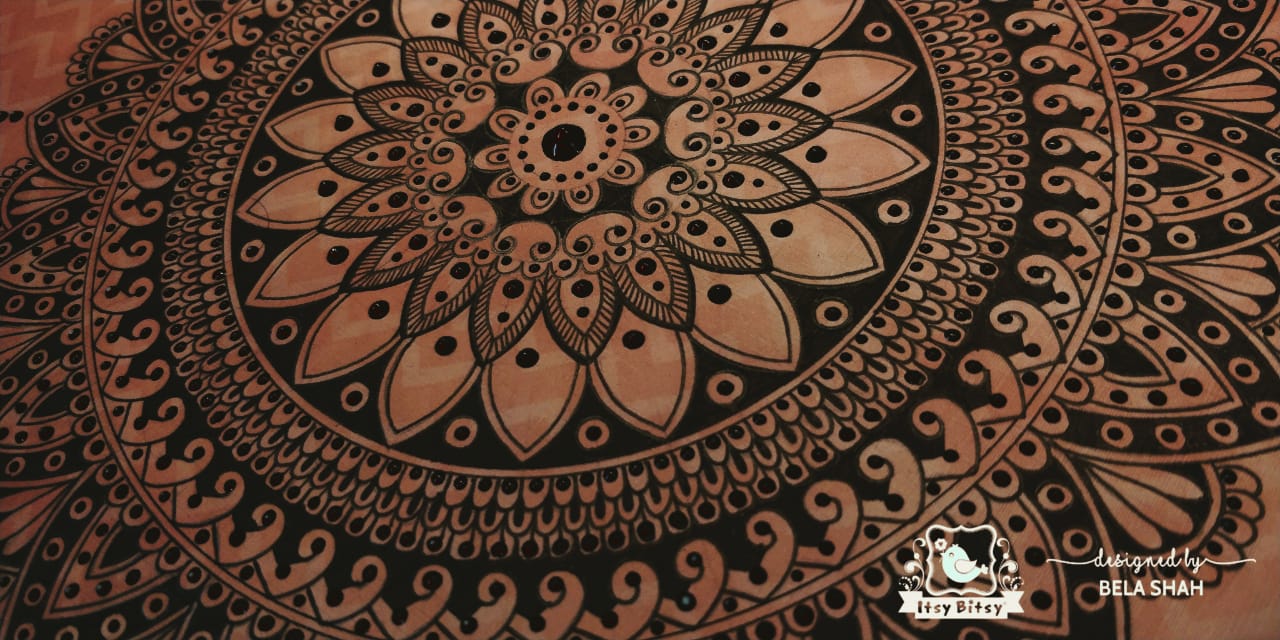
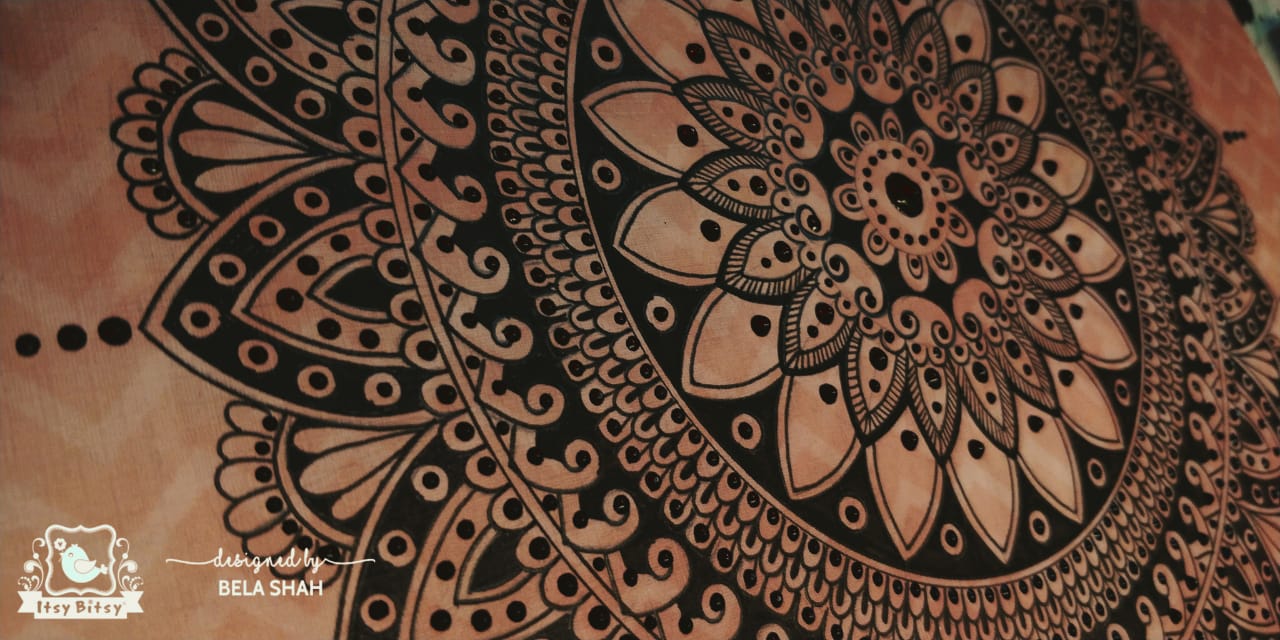
Last but not the least.... How can I not try these pearl dots on my full page mandala..... My hands were itching to try the mandala with dots but at the same time with very intricate design too... Like I usually do .... The shading on the paper makes my mandala looks absolutely gorgeous.... very intricate design with the dots playing their special part in this one....


 Sharing few close ups...


First of all let me thank you yo all of you for not only stopping by but also sticking with me through out this long post. I absolutely enjoy making mandalas as they give me the peace ... i go into trance while creating these mandalas...  its like meditation to me... so i thought why not give the look a different use altogether .. plus keeping the designs simple n doable so you all can attempt it without any apprehension... usually I create my mandalas on plain black, white or grey paper but using these fabulous papers from Itsy Bitsy gave me a idea how these art works would look on pattern paper too.

Thanks a Million
Love & Hugs & kisses this time
Bela
By colors-n-creations - June 25, 2019 No comments:
Email ThisBlogThis!Share to XShare to FacebookShare to Pinterest

Tuesday, June 18, 2019

All about Mixed Media Products and their Uses - special blog for ITSYBITSY


Hello Hello !!!!
This is Bela and today on the blog I am here to talk about Mixed Media.... A very vast and versatile subject which I love however I have noticed that many of you have few doubts regarding it ..... If these doubts are stopping you from attempting or learning or trying out mixed media then this post is for you as here I am gonna talk about all the products related to it and how and where you can use it for creating amazing art works and masterpieces.  As I am on design team with Itsy Bitsy I have got a chance to try out all the amazing products related to mixed media so here I will tell you about the product in detail and  I am listing down the products which are available with the store.
so lets get started !!!
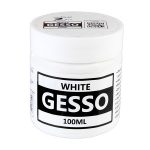
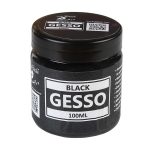
  • Gesso :-   The most Important and a must product that you need in any type of mixed media is Gesso . Now Gesso is nothing but a primer... It will make your surface ready for any kind of effects, colors, etc. Gesso is available in black and white color. so you have to decide which look you wanna go for according to that you choose your gesso. For metallic, vintage and antique look we choose black gesso .. for layouts and colorful look we choose white. It  helps prime your metals, canvas, cloth, burlap, jute, resin, plastics, glass and paper . 
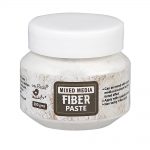
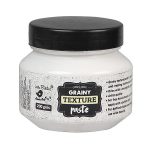
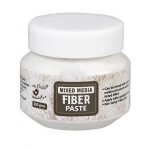
  •   Texture Paste :-  As the name says this paste is used to create any kind of texture on our surface. weather its a canvas , paper , wood its wonderful product to create textures. Itsy Bitsy has awesome range of texture pastes. one is grainy texture paste , Mixed media paste and fiber paste.... all these texture paste will give you different kind of textures which will change the look of you project in a jiffy.
Mixed Media Texture Paste :- This Is a two in one product. if you are new and do not want to invest in 2 separate products for priming and texture this is the perfect product for you. you can use this paste to create textures or just dilute a little with water and use it as a gesso.

Grainy Texture Paste :-  This is a fantastic paste and also my personal favorite. I absolutely love the texture that it creates also its so fast drying that i never have to use my heat tool to set it.

Mixed Media Fiber Paste :- This paste has fibers in it which makes it very unique and different from other pastes.... so if you want to free hand the texture without any stencils or just give a different look to the edges this one is perfect for you. Available in 2 colors ... white and slate grey.

  • Gel Medium :- This medium is perfect to adhere any embellishments to the project. In mixed media I use loads of waste things which not only saves me money but also make my project look very different and unique.
Heavy Gel Medium:- Available in matte n gloss. , I have used thick long and heavy nails too in my project and the best medium to adhere is the gel medium . As the name says we can used heavy gel medium for sticking any heavy elements to our project.

Soft Gel Medium:-  Available in matte and gloss . I use this medium for adhering any light elements like art stones, pearls, sisal, etc also a layer of it on any photograph protects it from any staining or damage.

  •  Glass Bead Gel Medium :-  This gel medium already has glass beads so just apply it and you get perfect texture without even using glue. I love this for filling the gaps or adding tiny texture to any project.

  • Crackle Paste :-  This is a amazing product to get superb cracks in the project.  The thin application of the product will give you tiny cracks and thick application will give you big cracks.... so you can give variation in cracks with variation in application.

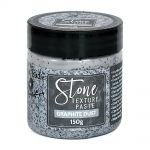
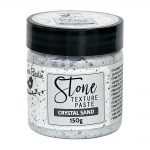
  • Stone Texture Paste:- A surface texture paste made from natural sand grains that gives a pumice stone like finish when dry. Its also Great for creating dimensional and texture effects on mixed media, canvas, home decor etc.

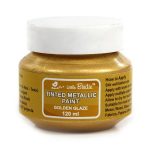
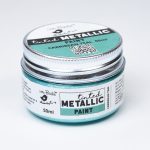
  • Tinted Metallic Paints :- These paints are used for the metallic effects on your project... they are available in various colors with perfect metallic sheen to them and now few shades are available in 2 sizes too. showing you couple of examples however there are 12 different colors to choose from in big jars. and 6 colors in small jars.

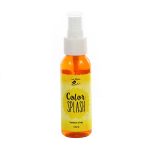
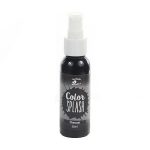
  •  Color splash :-  Vibrant colors in liquid form in a spray bottle which makes it easier to spray colors onto your project. These are water based and will react to water . I feel they are perfect for mixed media layouts and canvases. Available in 12 different vibrant shades

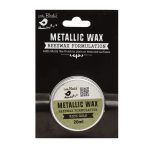
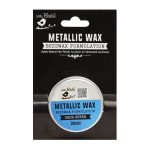
  • Metallic Waxes :-  These are the must have product for not only mixed media but any artist... they are used to give a beautiful metallic sheen to the projects.... they look amazing on black however I have also used them on decoupage and flowers to give a distressed metallic look. They are available in 7 shades...

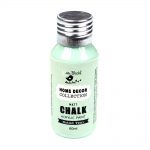
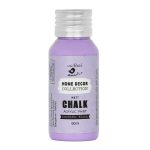
  • Chalk Paints:- Available in 34 amazing shades in the pastel and bright variation these paints are perfect for decoupage... However I have used chalk paints in my mixed media as they give me beautiful matte results on black as well as white surface. Also they mix beautifully with each other which makes my  blending very easy.

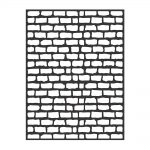
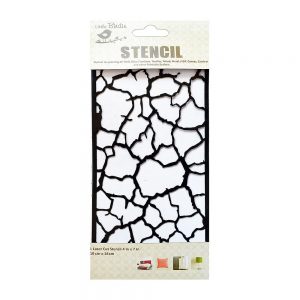
  • Stencils :- Stencils are used when you have to give detailed texture to our project which cannot be achieved otherwise. For example brick or stone effect...... Loads of different variety in stencils which can give you lovely variations in the project. There are 55 different designs to choose from.
 
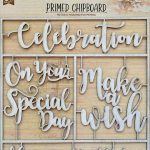
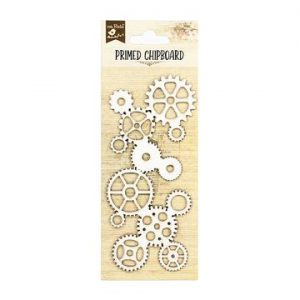
  • Primed Chipboard :-  As we all know that we need embellishments for all out mixed media projects.... now if we want something for background, or as an embellishment, frames, borders,corners,leaves, butterflies, flourishes or as numbers or sentiment itsy bitsy has huge range of primed chipboards where you can directly work on it without applying gesso . They have  151 designs to choose from.
 
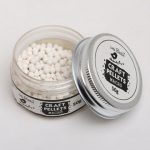
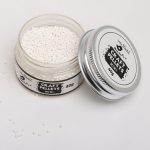
  • Craft pellets :- I absolutely love this product. These are a must have for any mixed media artist as they give such amazing texture and come very handy in filling up small spaces. These are available in 2 sizes. Macro and mini.

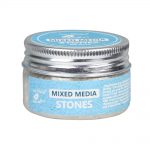
  • Mixed Media Stone :-  These are natural stones which can be amazing texture to all our mixed media project. We can mix this with mixed media paste to make it grungy or just mix with soft gel medium to adhere it to the surface.

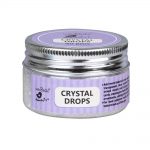
  • Crystal drops:-  Just like mixed media stones and craft pellets these again can be mixed in texture paste or gel medium and can be adhered to the project.... these products give variation in texture which makes our projects more interesting and unique.

  • Texture sand :- Just like mixed media stones or craft pellets this is used for lighter texture which will add subtle dimension to your project.... its completely natural, non toxic and is great for adding an ultra-fine grit texture to projects . again it can be mixed with texture paste or mix it with gel medium to adhere.

  • Bases:- Mixed media is such a versatile subject that we can use loads of different type of bases.
 I am jotting down few examples with pictures.
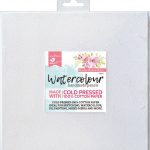
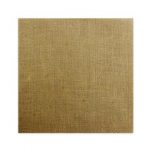
Burlap panel, Canvas, Watercolor panel, Mixed Media Panel.
 

I hope I have given you all a clear picture not only about the mixed media products available with Itsy Bitsy store but also explained their uses. If you have any doubts or need any clarification regarding the product please feel free to ask me....  I have tried to make this post a one stop solution for all the mixed media related queries.

These are few of my art work using different bases and mediums....


Thank you so much for stopping by.

Love & Hugs
Bela

By colors-n-creations - June 18, 2019 7 comments:
Email ThisBlogThis!Share to XShare to FacebookShare to Pinterest
Newer Posts Older Posts Home
Subscribe to: Posts (Atom)

The Positive Vibes Hop - BLESSED - An Altered Telephone in Mixed Media Pictorial

Hello !!! I am Bela shah. Welcome to The Positive vibes hop. The purpose of our blog hop is to start the new year on a colorful & ...

  • The Positive Vibes Hop - BLESSED - An Altered Telephone in Mixed Media Pictorial
    Hello !!! I am Bela shah. Welcome to The Positive vibes hop. The purpose of our blog hop is to start the new year on a colorful & ...
  • Beautiful Layered Cards
    Beautiful Layered Cards Hello everyone! Bela Shah here…it feels so amazing to write a blog after a long time. I want to take ...
  • Create Art - Mixed Media Art Journal - Step By step Pictorial
    Hello Friends I hope you all are rocking and also enjoying all the amazing projects done by all my DT friends. Today on Itsy ...

Featured by Craft Playhouse

Featured by Craft Playhouse
Artist Corner

Design Team - ItsyBitsy

Design Team - ItsyBitsy

CRAFT ENTHUSIAST by Prika

CRAFT ENTHUSIAST by Prika

Design Team - Little Birdie Crafts

Design Team - Little Birdie Crafts

Crafter In the SPOTLIGHT by Itsy Bitsy

Crafter In the SPOTLIGHT by  Itsy Bitsy

About Me

My photo
colors-n-creations
Bela is a passionate & creative artist. She dreams big and works hard. She wants everyone to be happy and always has a smile on her face.
View my complete profile

colors-n-creations

Follow me


Followers

Blog Archive

  • ►  2020 (2)
    • ►  March (1)
      • ►  Mar 31 (1)
    • ►  February (1)
      • ►  Feb 08 (1)
  • ▼  2019 (18)
    • ▼  July (2)
      • ▼  Jul 31 (1)
        • All About Gel Mediums, Glues and Other Adhesives
      • ►  Jul 27 (1)
        • Decoupaged Guitar Key Holder - Step by step Tutorial
    • ►  June (2)
      • ►  Jun 25 (1)
        • Cards, Envelopes, Tags & Mandala using Mandala Pat...
      • ►  Jun 18 (1)
        • All about Mixed Media Products and their Uses - sp...
    • ►  May (2)
      • ►  May 27 (1)
      • ►  May 10 (1)
    • ►  April (2)
      • ►  Apr 21 (1)
      • ►  Apr 04 (1)
    • ►  March (1)
      • ►  Mar 06 (1)
    • ►  February (3)
      • ►  Feb 19 (1)
      • ►  Feb 18 (1)
      • ►  Feb 05 (1)
    • ►  January (6)
      • ►  Jan 29 (1)
      • ►  Jan 21 (1)
      • ►  Jan 13 (1)
      • ►  Jan 09 (1)
      • ►  Jan 08 (1)
      • ►  Jan 01 (1)
  • ►  2018 (28)
    • ►  October (1)
      • ►  Oct 23 (1)
    • ►  September (3)
      • ►  Sep 20 (1)
      • ►  Sep 10 (1)
      • ►  Sep 08 (1)
    • ►  August (4)
      • ►  Aug 22 (1)
      • ►  Aug 18 (3)
    • ►  June (3)
      • ►  Jun 25 (1)
      • ►  Jun 09 (1)
      • ►  Jun 03 (1)
    • ►  May (2)
      • ►  May 21 (1)
      • ►  May 07 (1)
    • ►  April (3)
      • ►  Apr 22 (1)
      • ►  Apr 06 (1)
      • ►  Apr 05 (1)
    • ►  March (12)
      • ►  Mar 26 (1)
      • ►  Mar 22 (1)
      • ►  Mar 19 (10)

Labels

  • altered art (3)
  • home décor (1)
  • inspiration (1)
  • mixed media (7)
  • scrapbook layout (1)
  • step by step tutorial (1)
  • tutorial (1)

Search This Blog

  • Home

Follow me


Follow me


Subscribe To

Posts
Atom
Posts
All Comments
Atom
All Comments
Awesome Inc. theme. Powered by Blogger.