
Beautiful Layered Cards
Hello everyone!
Bela Shah here…it feels so amazing to write a blog after a long time.
I want to take this opportunity to thank each of you who always took out time for our live sessions, shared them and always supported us. I also want to thank everyone who created something with the inspirations shared by me. It means a lot!
I absolutely enjoyed doing live sessions where there is instant interaction and spontaneity. However, blogging is still a classic way to share ideas.
Without further ado, lets jump into the details of layered card making….
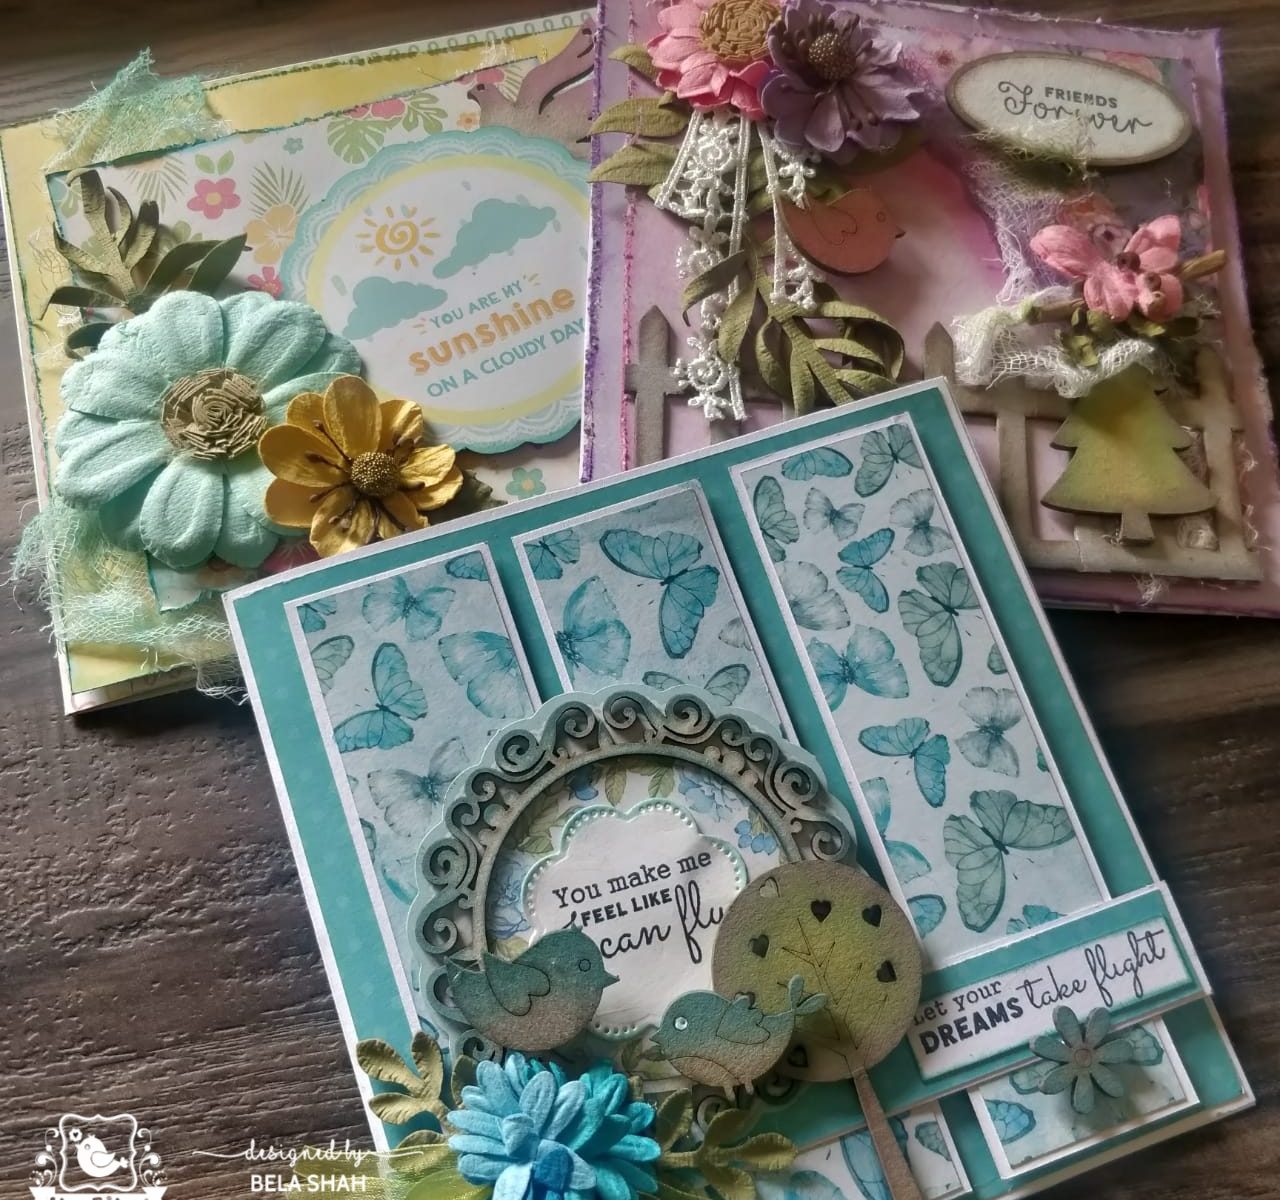
The cards that I am sharing with you are very simple and everyone can attempt them. Only because its layered and have lot of elements unlike the single layered cards, don’t feel they are difficult. I am sharing small details about these which will take away your inhibitions and you all will be able to create them like a pro.
Here I am showing you three examples from three different paper packs by Itsy Bitsy’s home brand Little Birdie.
Aqua Medley
Fairy Sparkle
Sunshine & Lemonade
Before I start explaining the process of each card in detail, there are things which I would love to explain about certain steps. They are as follows
- Why do we distress the edges— we do that to add some added interest to the card so that it doesn’t look too harsh with crisp cuts.
- Why do we distress the edges with color — the reason I do that is to highlight the edge which I have distressed and also to hide the undertones of the paper. Adding color can enhance the look of the paper. Use brown to add a vintage touch, color coordinating with the color of the pack, to give depth and contrast colors to have a bit of a play.
- Why do we add double sided tape — I add that to give some elevation to the layers and adding something between layers becomes easy and the card doesn’t look flat.
- What colors to us for distressing— I prefer distress oxides. You can use distress inks , archival inks, even watercolors.
- What GSM papers to use? For me that doesn’t matter. If it’s a thin paper, I go for thicker cardstock and vice versa.
Now lets begin the process of each card.
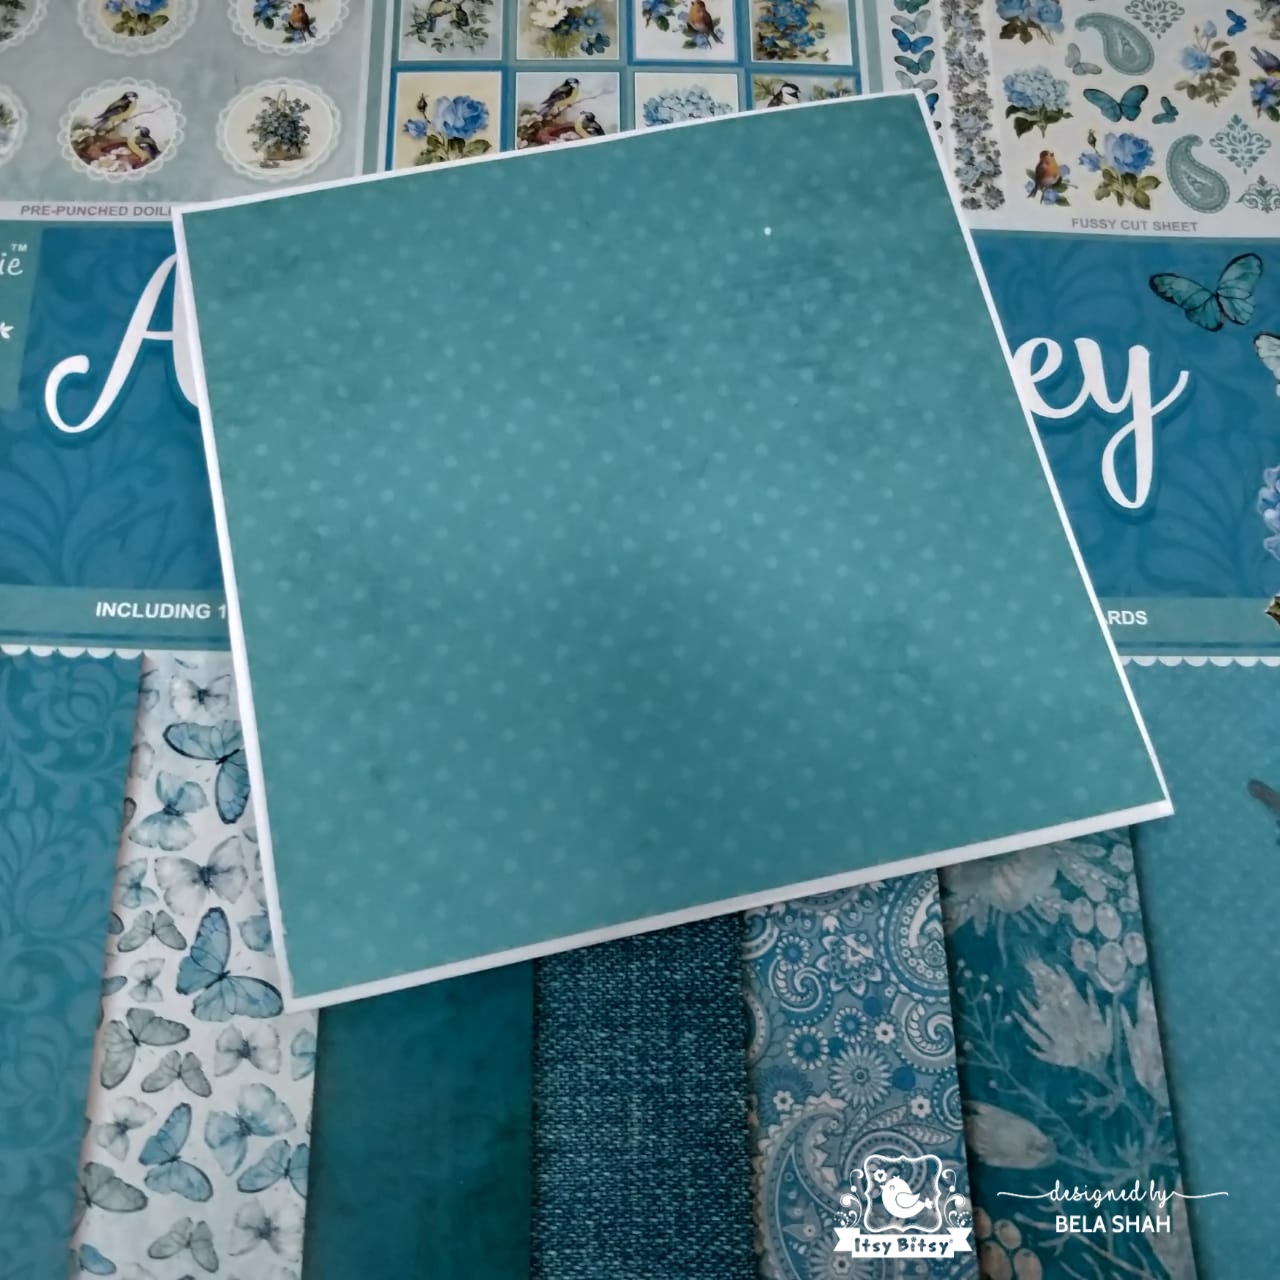
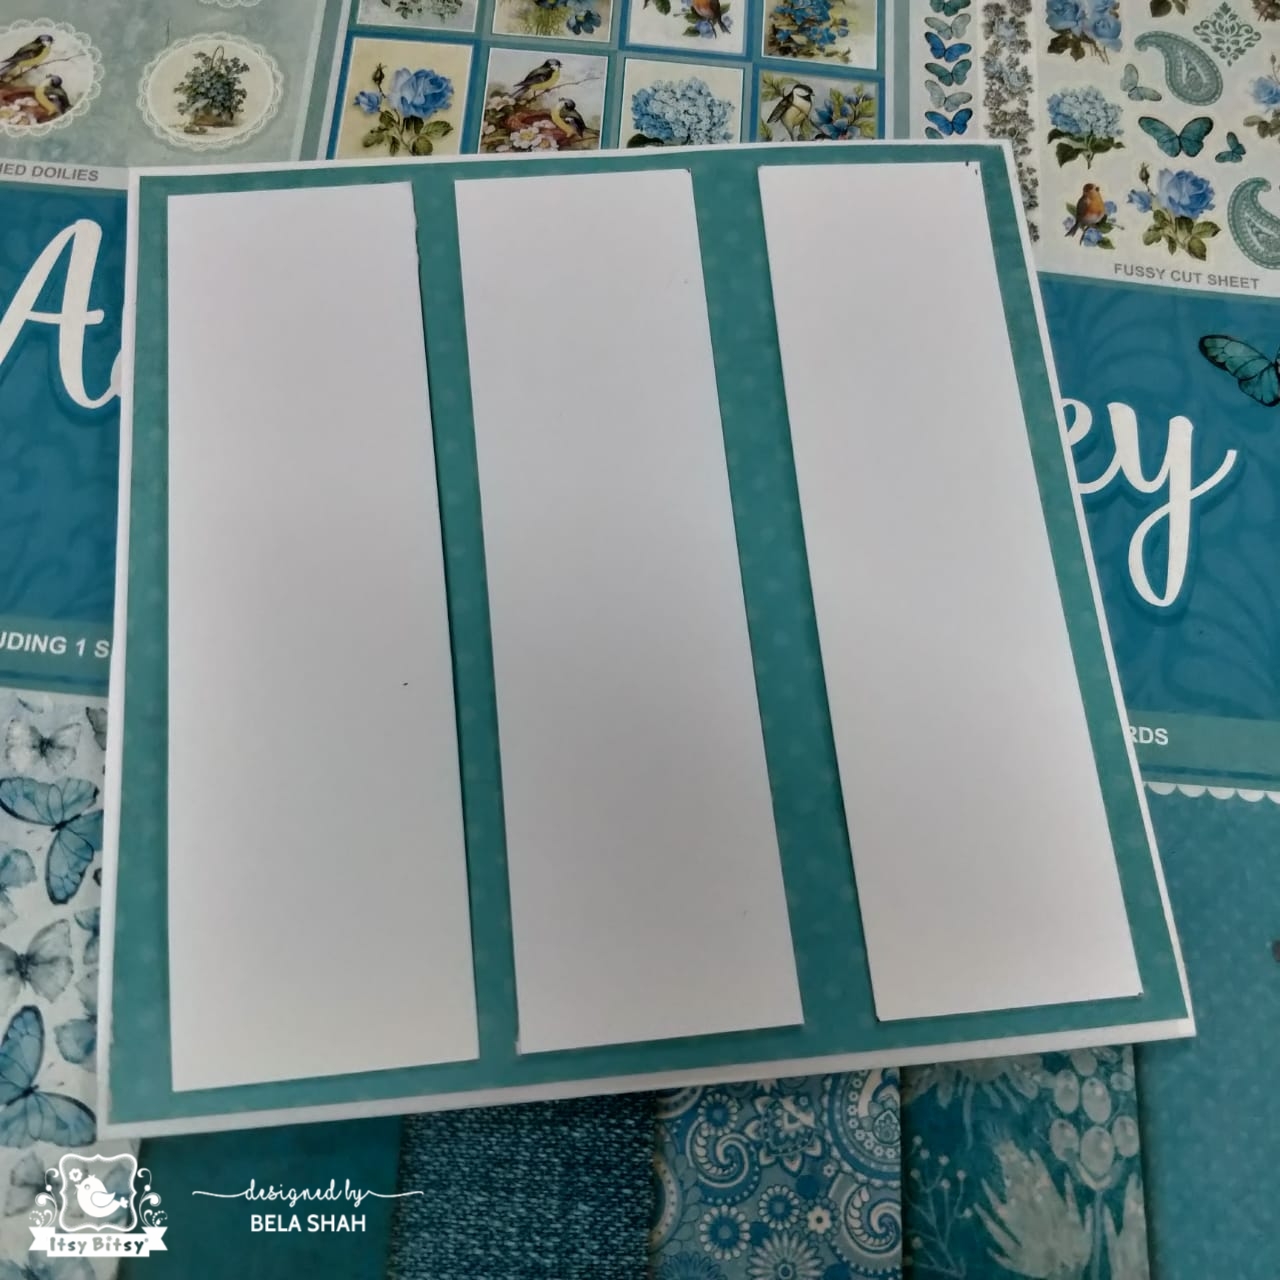
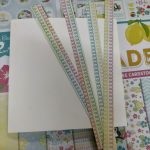
Here I used the Aqua Medley paper pack. I have taken 12x6in card stock of 300gsm and scored at 6 to make a 6×6″ note card… I like to use thick base for layered cards. then i have cut a dotted paper from aqua medley and cut little smaller than 6×6″ and mounted it on the card stock. Then I cut 3 panels of 1.75 inch in white card stock and a little smaller in printed paper and mounted it on the plain white card stock with double sided tape. I did this to give it a little elevation.
Next, I added a beautiful doily from the paper pack, distressed it with Vintage brown and Peacock feathers to add some colors to it. Added a tree chipboard which I colored in the center with Crushed olive. Thereafter, I used Lawn and then Vintage photo distress oxides on the outer rim of the tree. Shaded the birds and the doily chipboard with Peacock feathers. Added a beautiful bunch of flowers from the Aqua Medley floral collection. Also incorporated some organza ribbon in olive green to embellish.
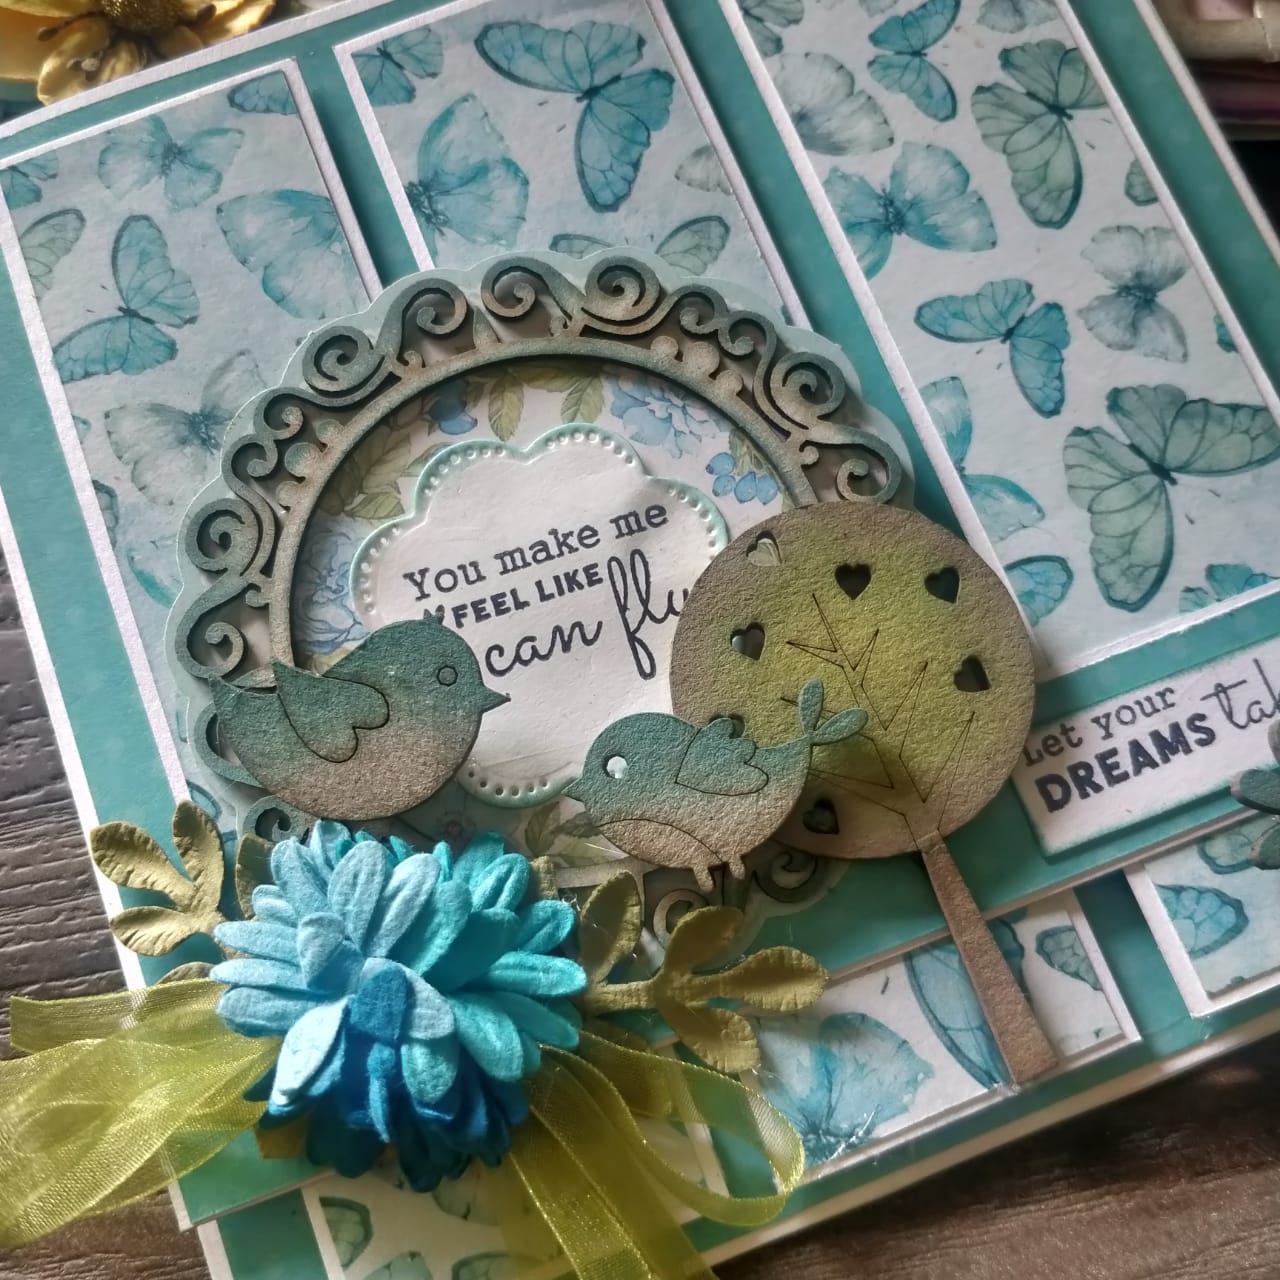
Last but not the least, I used the newly launched stamp from the store and added a beautiful sentiment which says — You make me feel like I can fly! Its so cute and looks like its a conversation between the 2 birds. I have also added another sentiment that says Let your dream take a flight. I stamped both on a die cut and cardstock and layered them. I absolutely love this card and its my favorite among all the 3 cards that I am going to share today.
Now lets move on to the next card with Fairy Sparkle collection. Used papers and flowers from this beautiful themed collection.
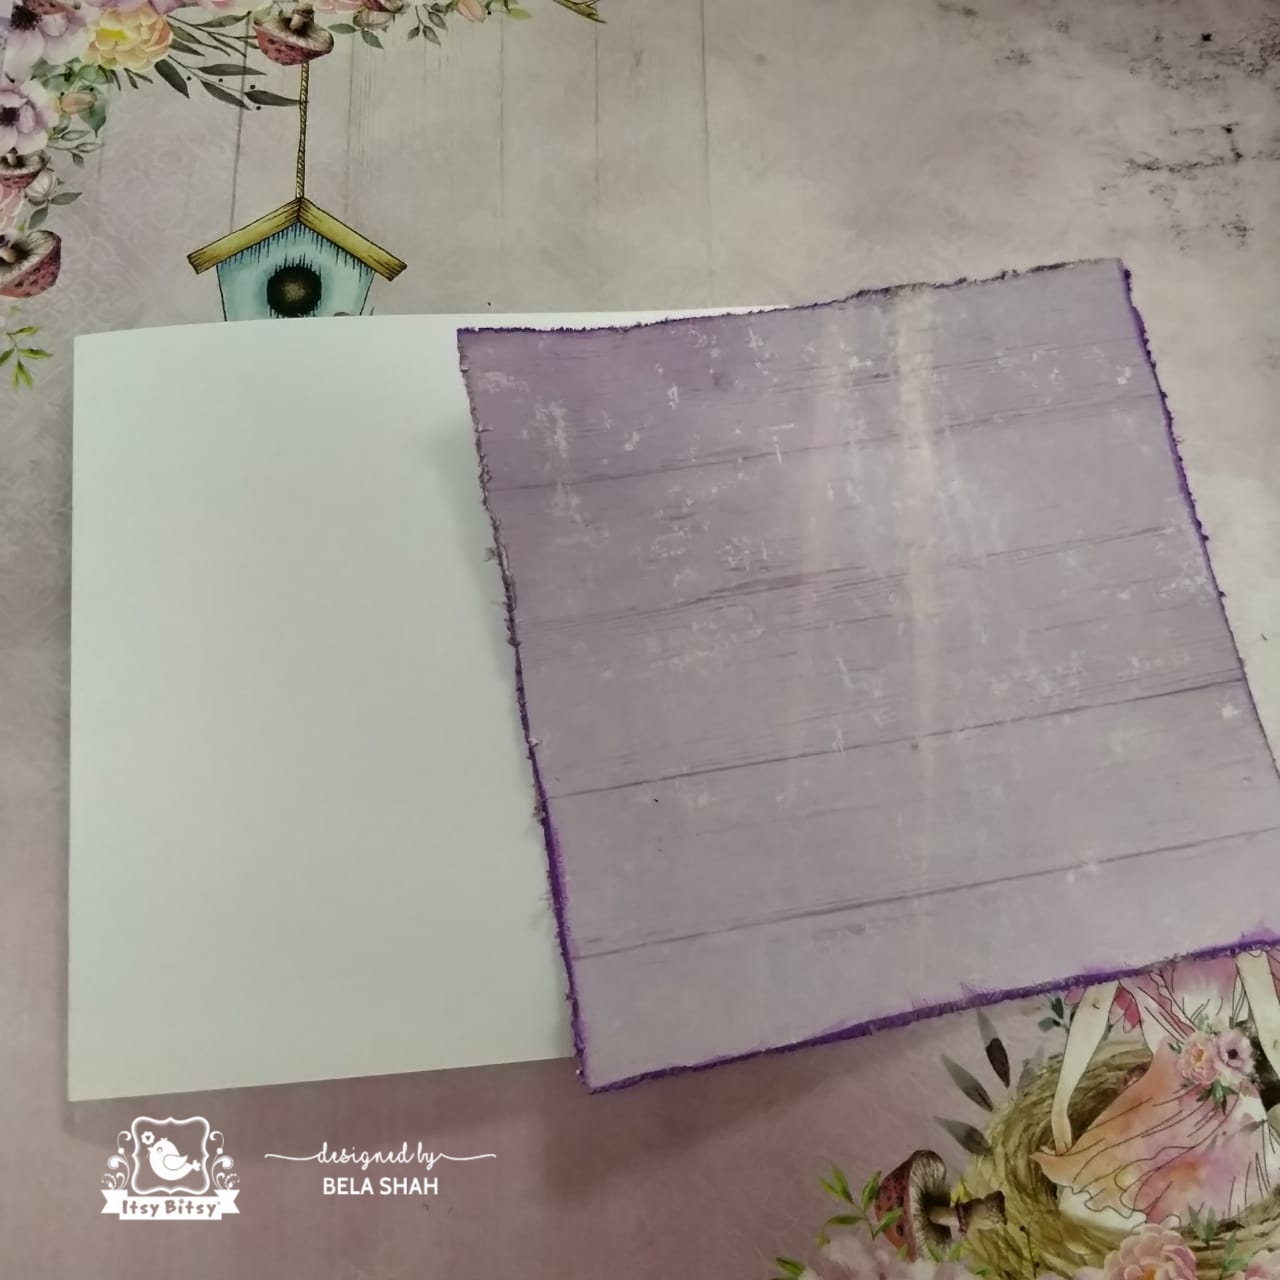
Here also I am making a 6×6″ card. I absolutely love square cards. I feel they look more special then regular rectangular cards. You can make them in any size you like. I cutout a plain paper from the pack which was little shorter than 6×6″ and distressed the edges with scissors and then Wilted Violet distress oxides to match the color of the paper.

Here I tore two papers diagonally with my hands to give rough edge and stuck as shown in the image. I distressed the edges with scissors and distress oxides. Next, I stuck a layer of cheese cloth between the papers to give an added interest. I stuck it to the base paper with a double sided tape to give it a raised look. Added little distressed oxide color in Wilted Violet and Picked Raspberry to the cheese cloth too. Since this post is about layered cards, I want to tell you that layers can always be added easily with cheesecloth, burlap, papers, laces, sisal, coconut fiber etc.
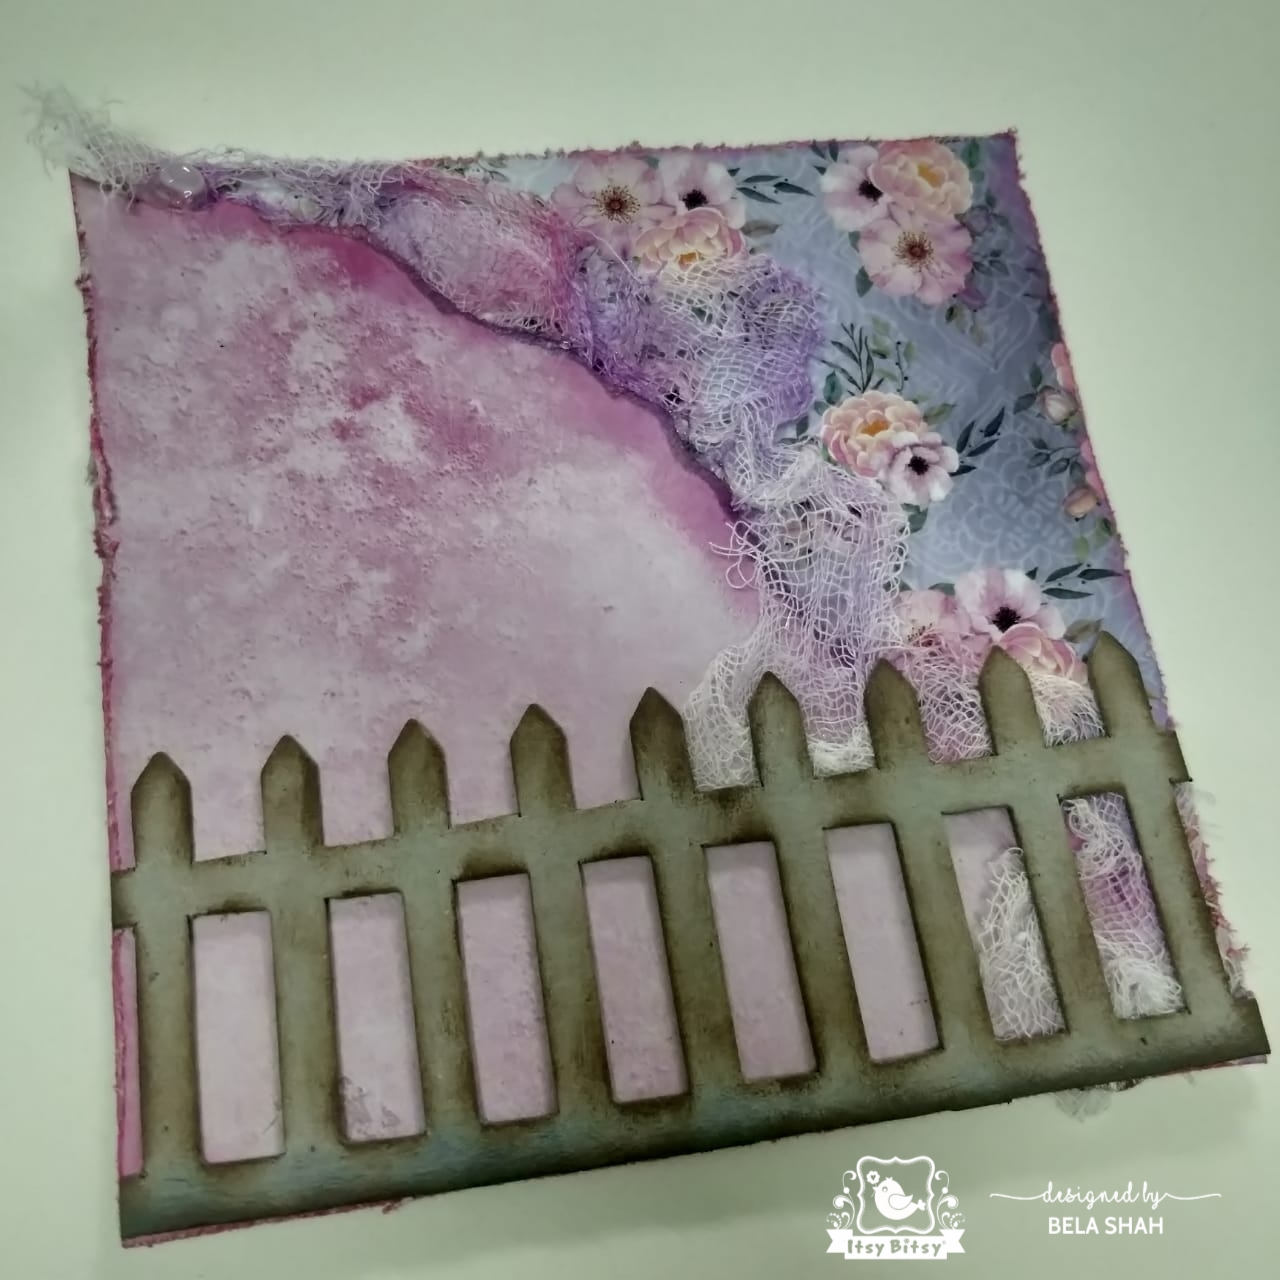
I added a beautiful fence chipboard which I shaded with Faded Denim and Vintage Photo. Stuck it to the bottom of the card.

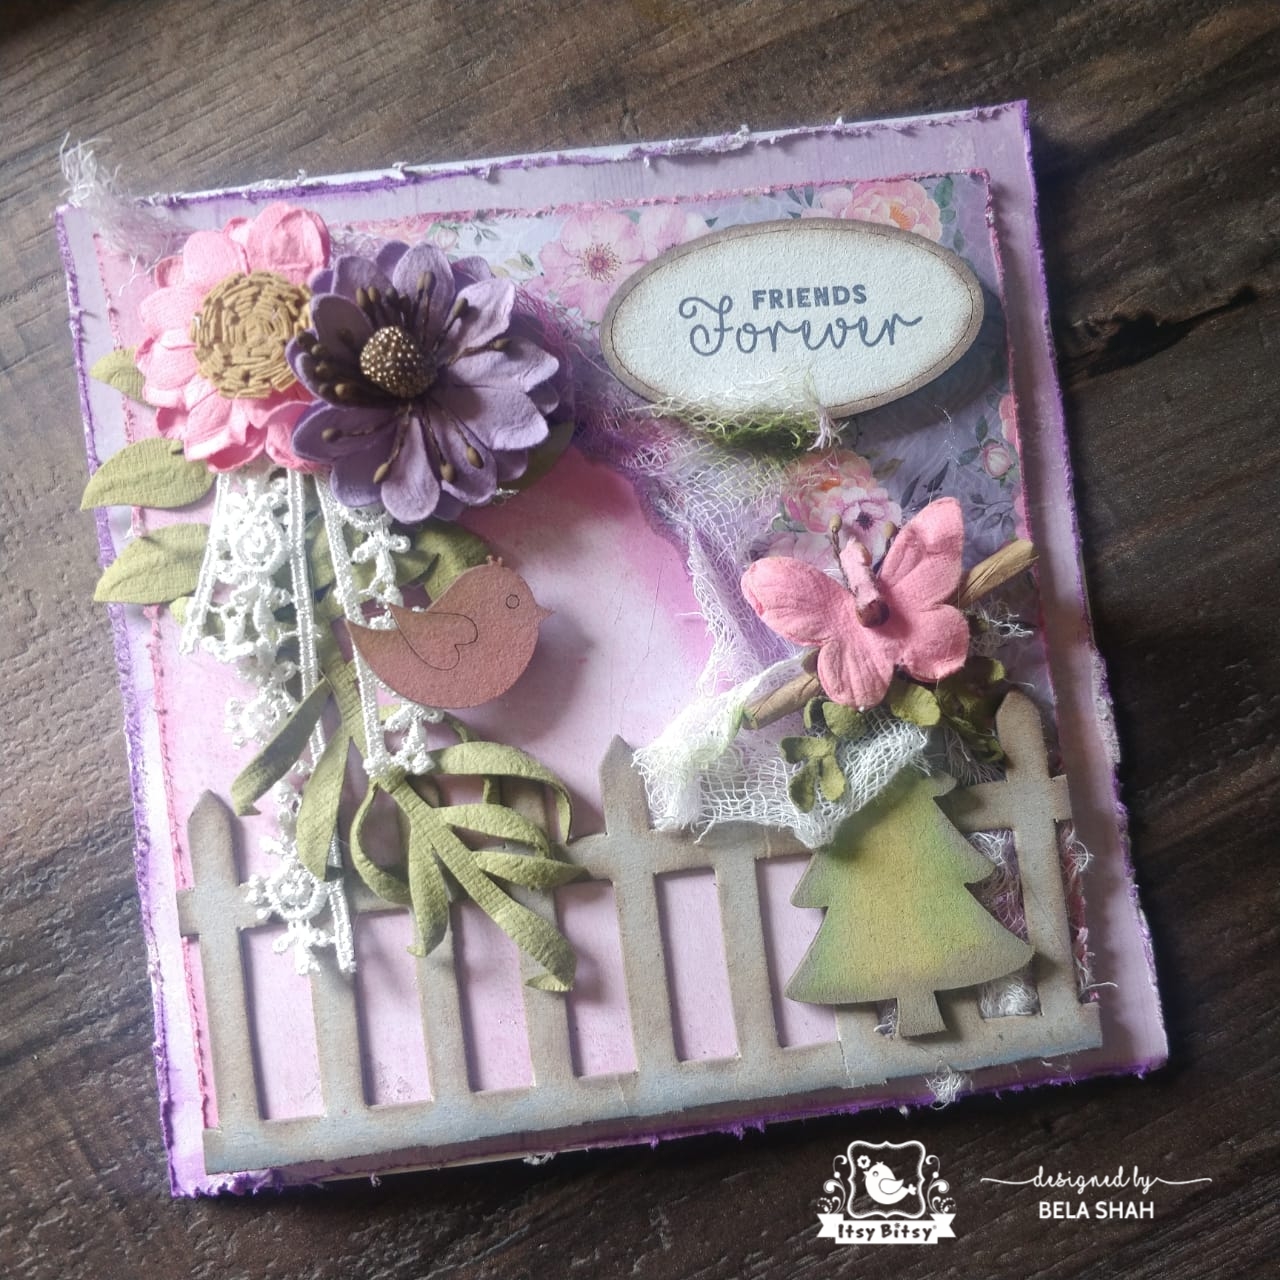
Added a beautiful flower bunch with some foliage and lace. Also incorporated a chipboard tree, a butterfly and a beautifully stamped chipboard which says ‘Friends Forever’. This is how the card looked after it was done.
Now time for the third card ….
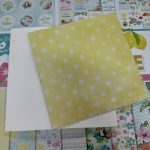
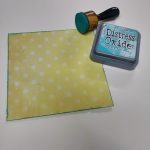
For this, I have taken a card of 6X6″ then cut out a polka dot paper smaller than the card from the Sunshine & Lemonade collection. Distressed the edges with scissors and distress oxides. Cut a few strips from another paper and stuck to the edge of the card. Mounted the dotted card onto it as I did not want a plain edge. I wanted to create a fun edge.

Cut a pattern paper, distressed the edges and stuck it in a slightly tilted position with a double sided tape for a little raised and layered look. Added colored cheesecloth between the 2 layers for extra interest.
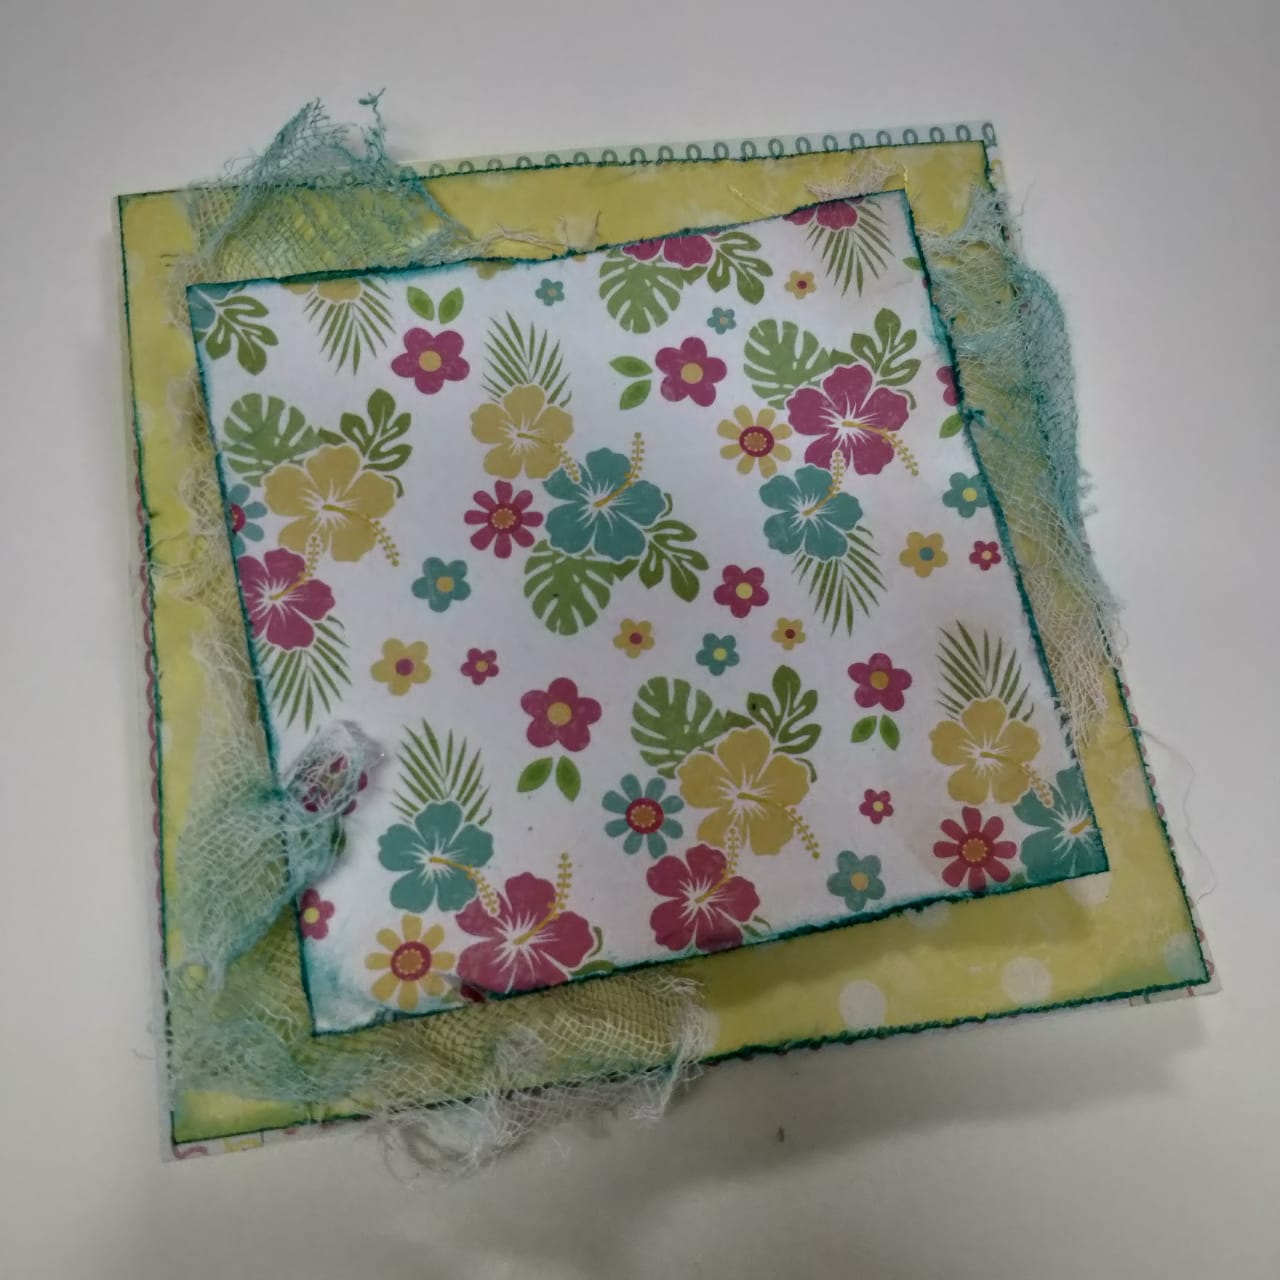
Added a beautiful pre-cut doily from the pack with a beautiful sentiment . Added few flowers from the same collection and a birdie. This was the fastest and the easiest. Since the paper is already vibrant with lovely prints, I did not have to do much to brighten up this card.
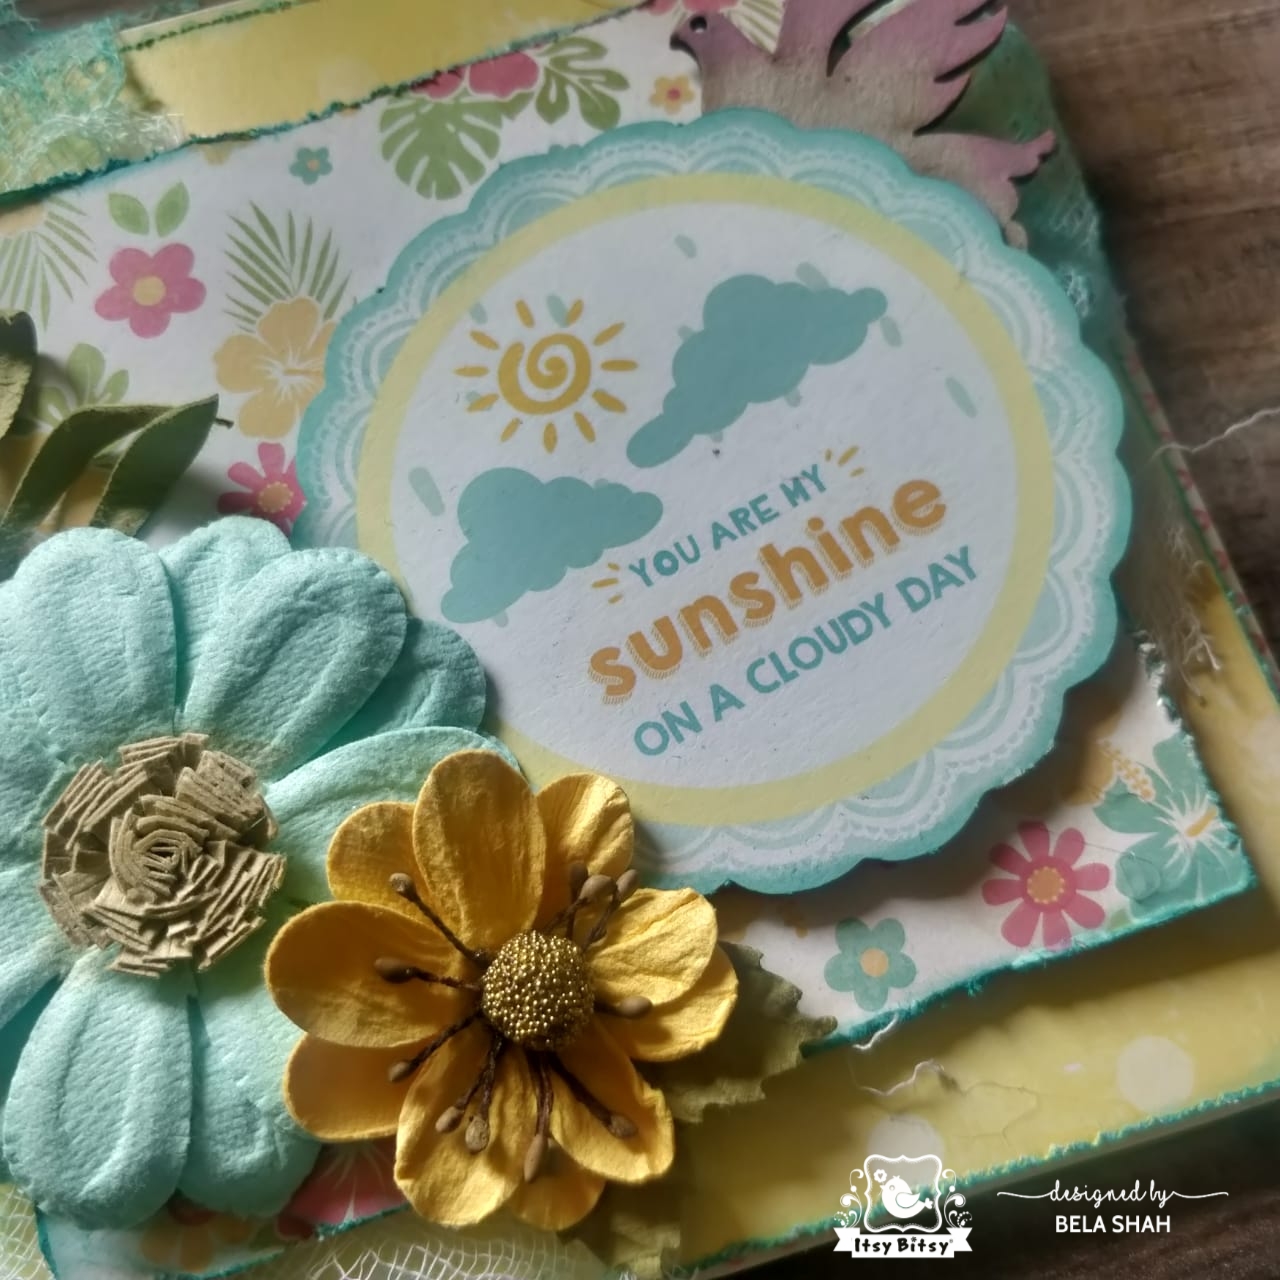
This is how the card looks…..
I hope you all loved these cards and would give them a try. You can also make layered envelopes the same way.
Thank you for sticking with me throughout this long post.
Love & Hugs
Bela


