colors-n-creations

Tuesday, March 31, 2020

You Rock - Women - Be your own kind of Beautiful


 Hello  Hello
I am blogging after a long time but its so good to be back.....
Today I m here to share a beautiful card with u which I made for this awesome hop called
 WOMEN- Be your own kind of Beautiful....

Sharing a simple card for hop by the following theme"women empowerment"
" YOU ROCK "
I have tried to show the attitude of today's woman who has ROCKED in every phase of life
Be it taking care of the home, family , job ... Not only with the hard-work, dedication but also with equal compassion, passion n love...

I have drawn this image of this girl and colored the image in pencil colors.... i have tried to give a very strong n raw feel to the image..... and kept the background simple by adding only stenciling to give more importance to my focal point.....

I hope you all like this attempt of mine amidst all the beautiful cards which so many of u have made as participation and support to this beautiful attempt of bringing women together.....


Love & Hugs 
Bela


By colors-n-creations - March 31, 2020 No comments:
Email ThisBlogThis!Share to XShare to FacebookShare to Pinterest

Saturday, February 8, 2020

Beautiful Layered Cards


Beautiful Layered Cards

Hello everyone!
Bela Shah here…it feels so amazing to write a blog after a long time.
I want to take this opportunity to thank each of you who always took out time for our live sessions, shared them and always supported us. I also want to thank everyone who created something with the inspirations shared by me. It means a lot!
I absolutely enjoyed doing live sessions where there is instant interaction and spontaneity. However, blogging is still a classic way to share ideas.
Without further ado, lets jump into the details of layered card making….
The cards that I am sharing with you are very simple and everyone can attempt them. Only because its layered and have lot of elements unlike the single layered cards, don’t feel they are difficult. I am sharing small details about these which will take away your inhibitions and you all will be able to create them like a pro.
Here I am showing you three examples from three different paper packs by Itsy Bitsy’s home brand Little Birdie.
Aqua Medley
Fairy Sparkle
Sunshine & Lemonade
Before I start explaining the process of each card in detail, there are things which I would love to explain about certain steps. They are as follows
  • Why do we distress the edges— we do that to add some added interest to the card so that it doesn’t look too harsh with crisp cuts.
  • Why do we distress the edges with color — the reason I do that is to highlight the edge which I have distressed and also to hide the undertones of the paper. Adding color can enhance the look of the paper. Use brown to add a vintage touch, color coordinating with the color of the pack, to give depth and contrast colors to have a bit of a play.
  • Why do we add double sided tape — I add that to give some elevation to the layers and adding something between layers becomes easy and the card doesn’t look flat.
  • What colors to us for distressing— I prefer distress oxides. You can use distress inks , archival inks, even watercolors.
  • What GSM papers to use? For me that doesn’t matter. If it’s a thin paper, I go for thicker cardstock and vice versa.
Now lets begin the process of each card.
Here I used the Aqua Medley paper pack. I have taken 12x6in card stock of 300gsm and scored at 6 to make a 6×6″ note card… I like to use thick base for layered cards. then i have cut a dotted paper from aqua medley and cut little smaller than 6×6″ and mounted it on the card stock.  Then I cut 3 panels of 1.75 inch in white card stock and a little smaller in printed paper and mounted it on the plain white card stock with double sided tape. I did this to give it a little elevation.

Next, I added a beautiful doily from the paper pack, distressed it with Vintage brown and Peacock feathers to add some colors to it. Added a tree chipboard which I colored in the center with Crushed olive. Thereafter, I used Lawn and then Vintage photo distress oxides on the outer rim of the tree. Shaded the birds and the doily chipboard with Peacock feathers. Added a beautiful bunch of flowers from the Aqua Medley floral collection. Also incorporated some organza ribbon in olive green to embellish.
Last but not the least, I used the newly launched stamp from the store and added a beautiful sentiment which says — You make me feel like I can fly! Its so cute and looks like its a conversation between the 2 birds. I have also added another sentiment that says Let your dream take a flight. I stamped both on a die cut and cardstock and layered them. I absolutely love this card and its my favorite among all the 3 cards that I am going to share today.
Now lets move on to the next card with Fairy Sparkle collection. Used papers and flowers from this beautiful themed collection.
Here also I am making a 6×6″ card. I absolutely love  square cards. I feel they look more special then regular rectangular cards. You can make them in any size you like. I cutout  a plain paper from the pack which was little shorter than 6×6″ and distressed the edges with scissors and then Wilted Violet distress oxides to match the color of the paper.
Here I tore two papers diagonally with my hands to give rough edge and stuck as shown in the image. I distressed the edges with scissors and distress oxides. Next, I stuck a layer of cheese cloth between the papers to give an added interest. I stuck it to the base paper with a double sided tape to give it a raised look. Added little distressed oxide color in Wilted Violet and Picked Raspberry to the cheese cloth too. Since this post is about layered cards, I want to tell you that layers can always be added easily with cheesecloth, burlap, papers, laces, sisal, coconut fiber etc.
I added a beautiful fence chipboard which I shaded with Faded Denim and Vintage Photo. Stuck it to the bottom of the card.
Added a beautiful flower bunch with some foliage and lace. Also incorporated a chipboard tree, a butterfly and a beautifully stamped chipboard which says ‘Friends Forever’. This is how the card looked after it was done.
Now time for the third card ….
For this, I have taken a card of 6X6″ then cut out a polka dot paper smaller than the card from the Sunshine & Lemonade collection. Distressed the edges with scissors and distress oxides. Cut a few strips from another paper and stuck to the edge of the card. Mounted the dotted card onto it as I did not want a plain edge. I wanted to create a fun edge.
    
   
Cut a pattern paper, distressed the edges and stuck it in a slightly tilted position with a double sided tape for a little raised and layered look. Added colored cheesecloth between the 2 layers for extra interest.
Added a beautiful pre-cut doily from the pack with a beautiful sentiment . Added few flowers from the same collection and a birdie. This was the fastest and the easiest. Since the paper is already vibrant with lovely prints, I did not have to do much to brighten up this card.

 
This is how the card looks…..
I hope you all loved these cards and would give them a try. You can also make layered envelopes the same way.
Thank you for sticking with me throughout this long post.
Love & Hugs
Bela

By colors-n-creations - February 08, 2020 1 comment:
Email ThisBlogThis!Share to XShare to FacebookShare to Pinterest
Labels: cards, colorsncreations, compilation, distressing, itsy bitsy craft store, itsybitsy, layered cards, paper packs

Wednesday, July 31, 2019

All About Gel Mediums, Glues and Other Adhesives


POSTED ONJULY 30, 2019 BY BELLA

All About Gel Mediums, Glues and Other Adhesives

Hello everyone,
This is Bela and I am super excited to be a part of Itsy Bitsy Design Team once again this year….
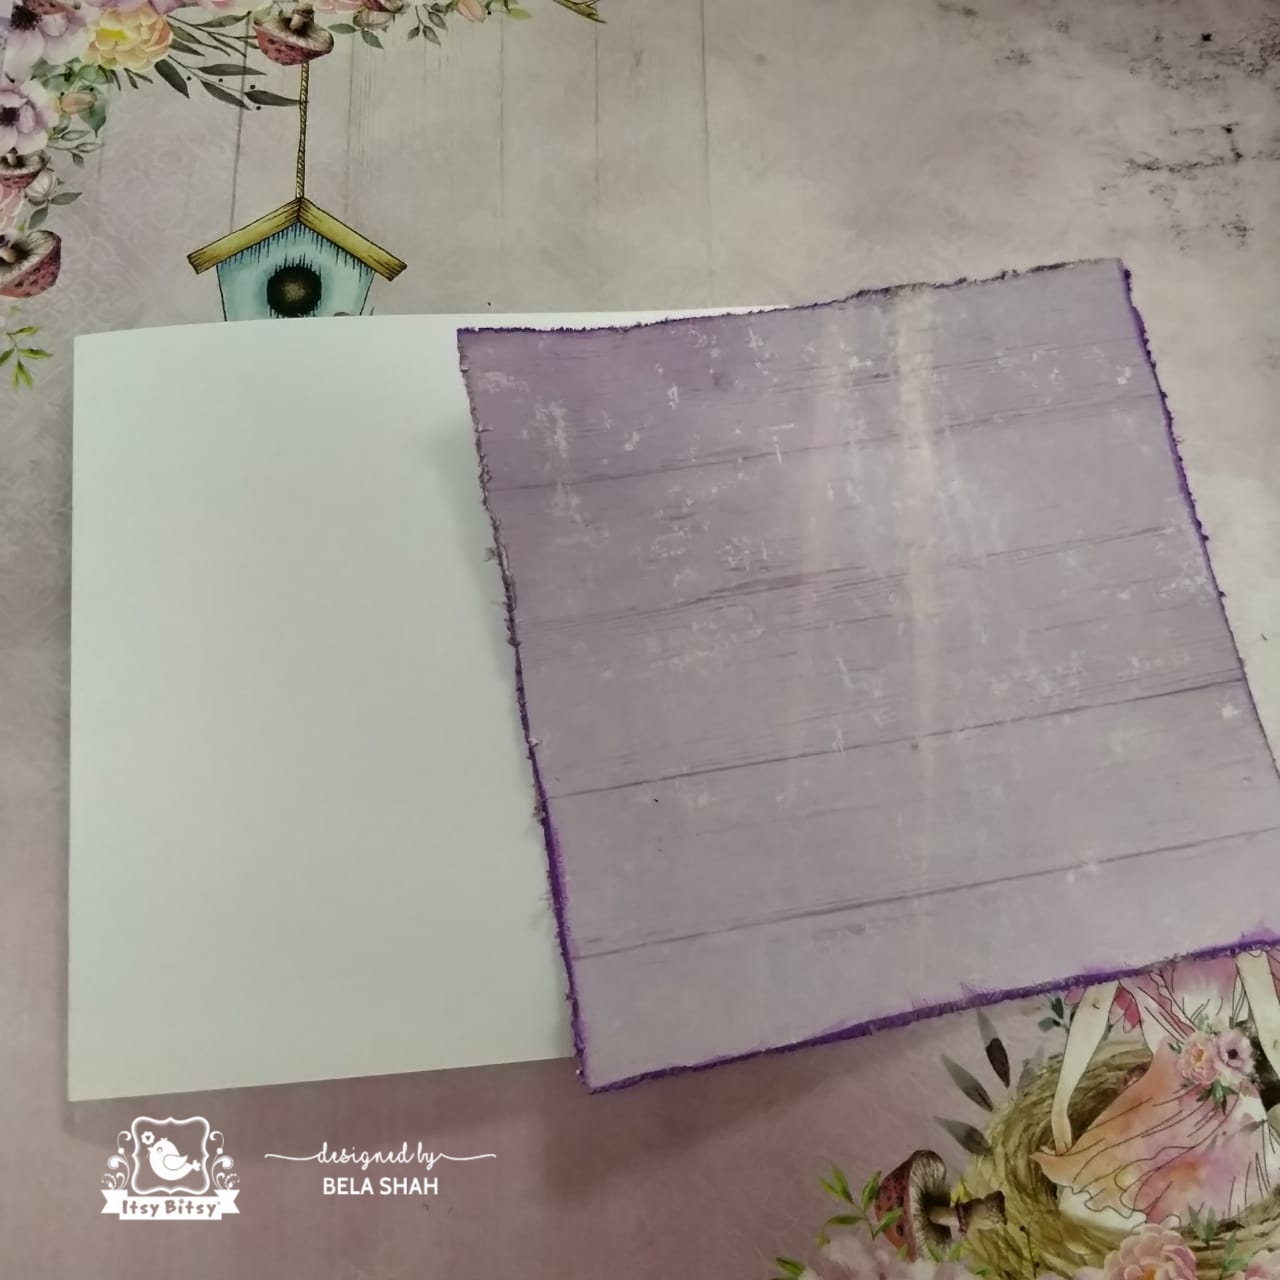
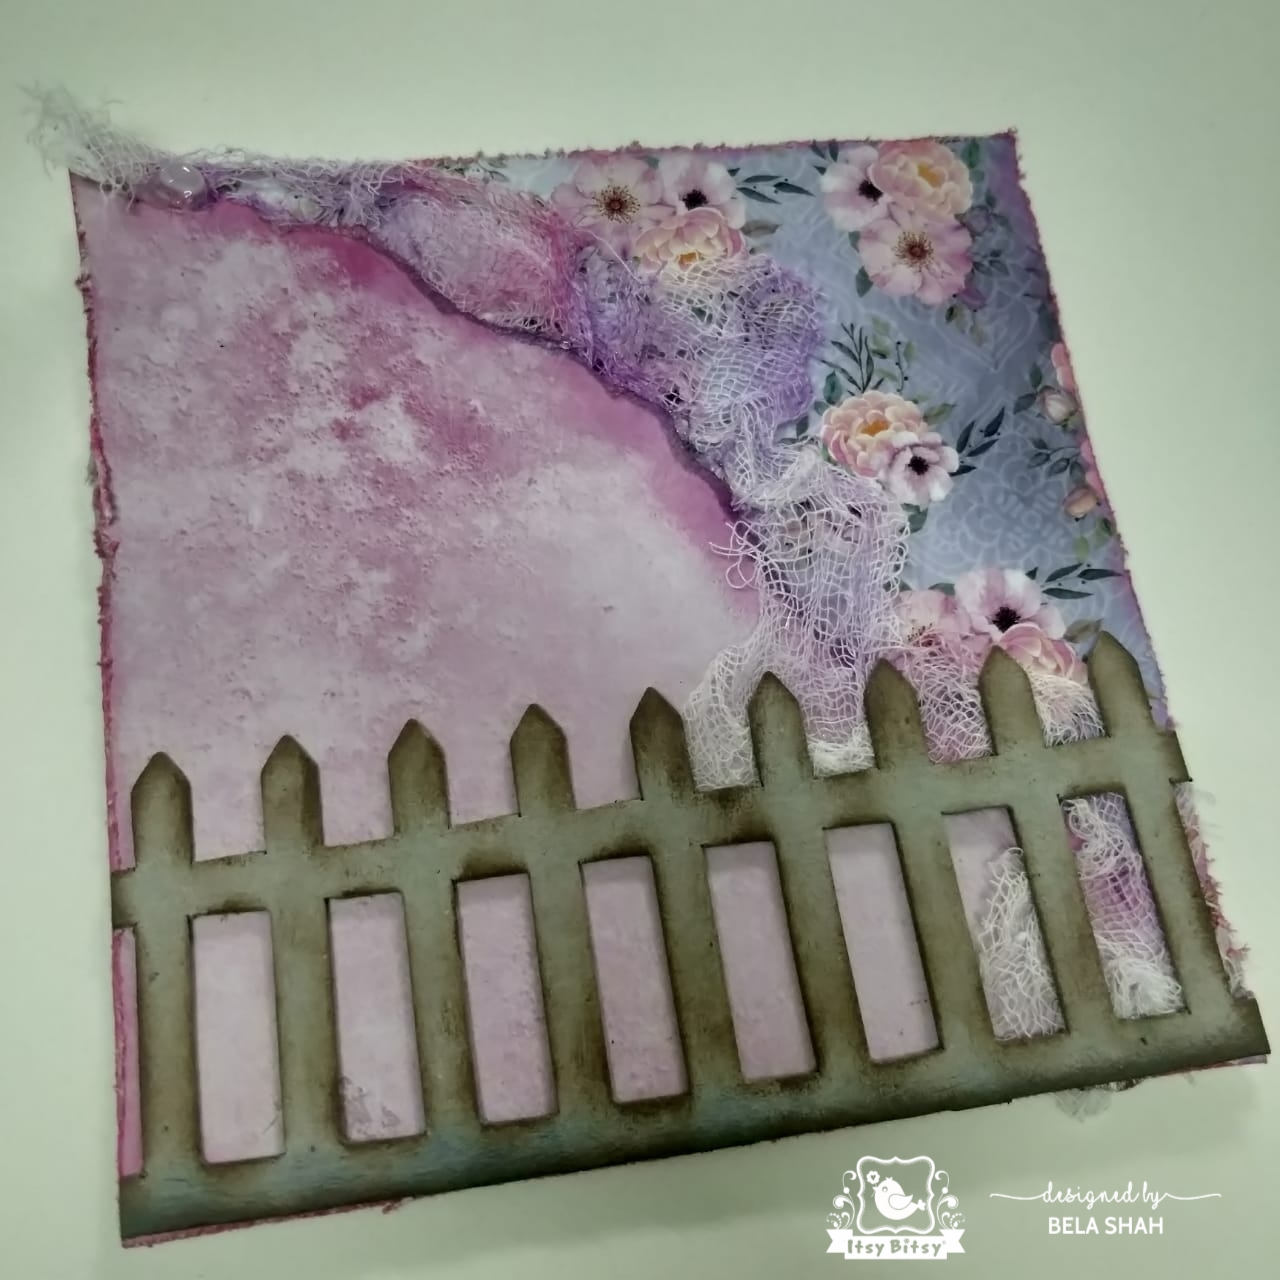
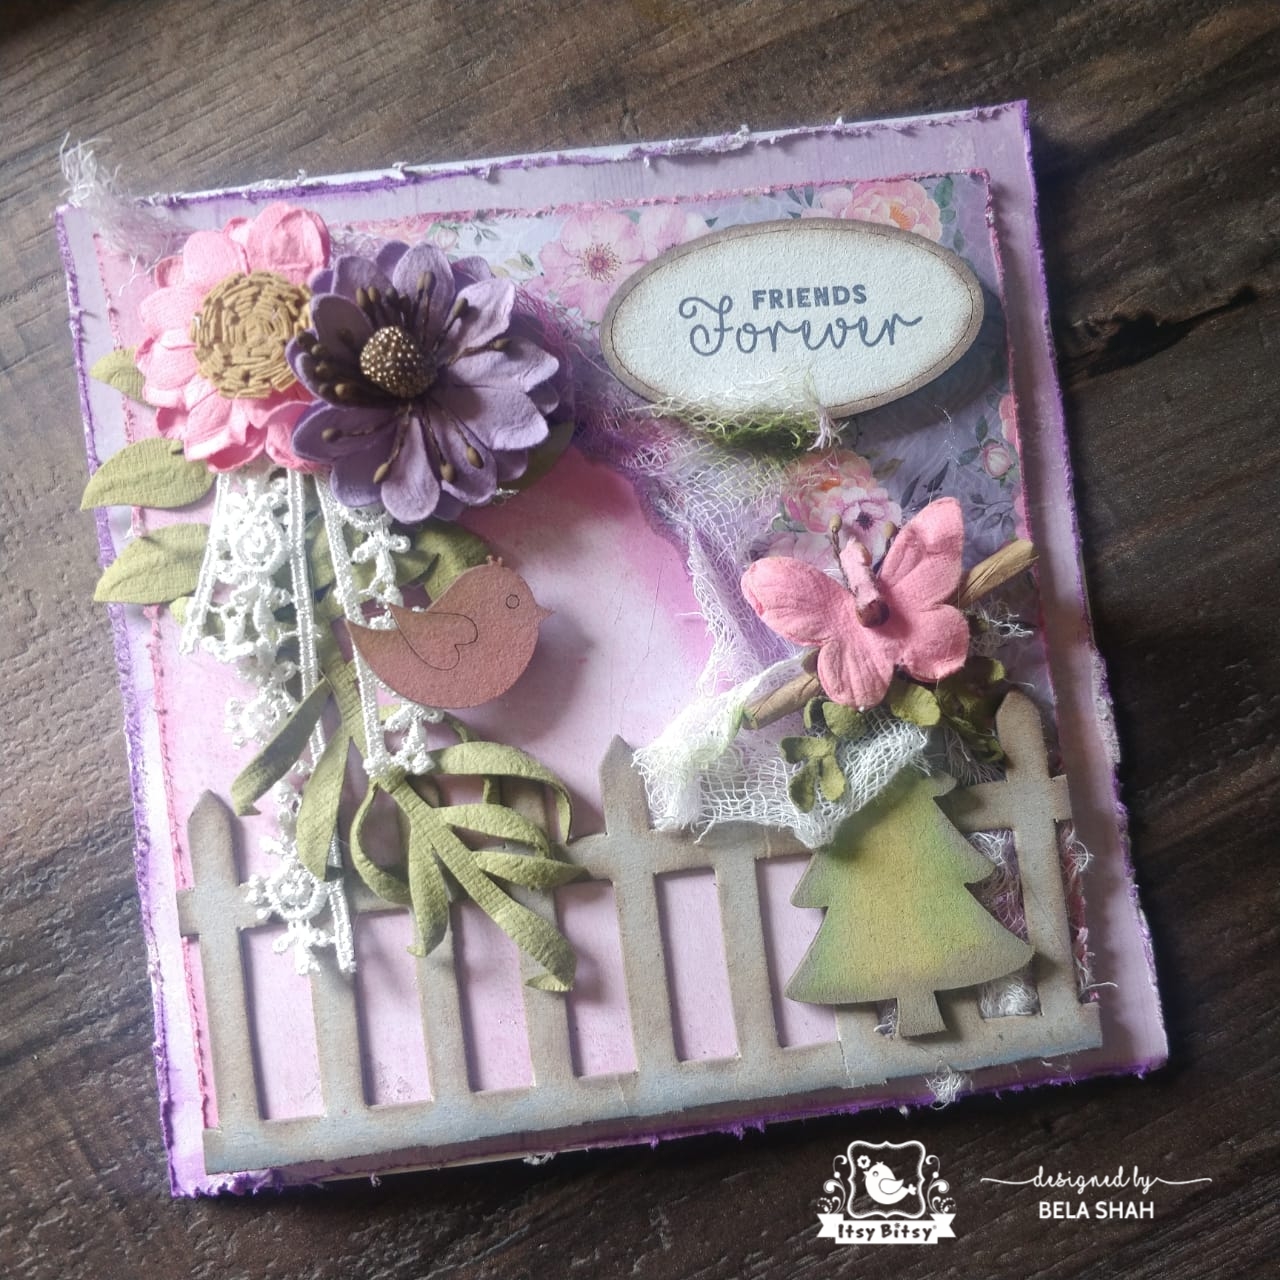
Today I am not here with an art project. I’m here to explain a very important topic which you all must have understood by now from the title.
I am taking this opportunity to explain to you all about what I know about glues in this post. I hope this will be helpful and solve lot of dilemmas and answer lot of queries you have in your head about adhesives.
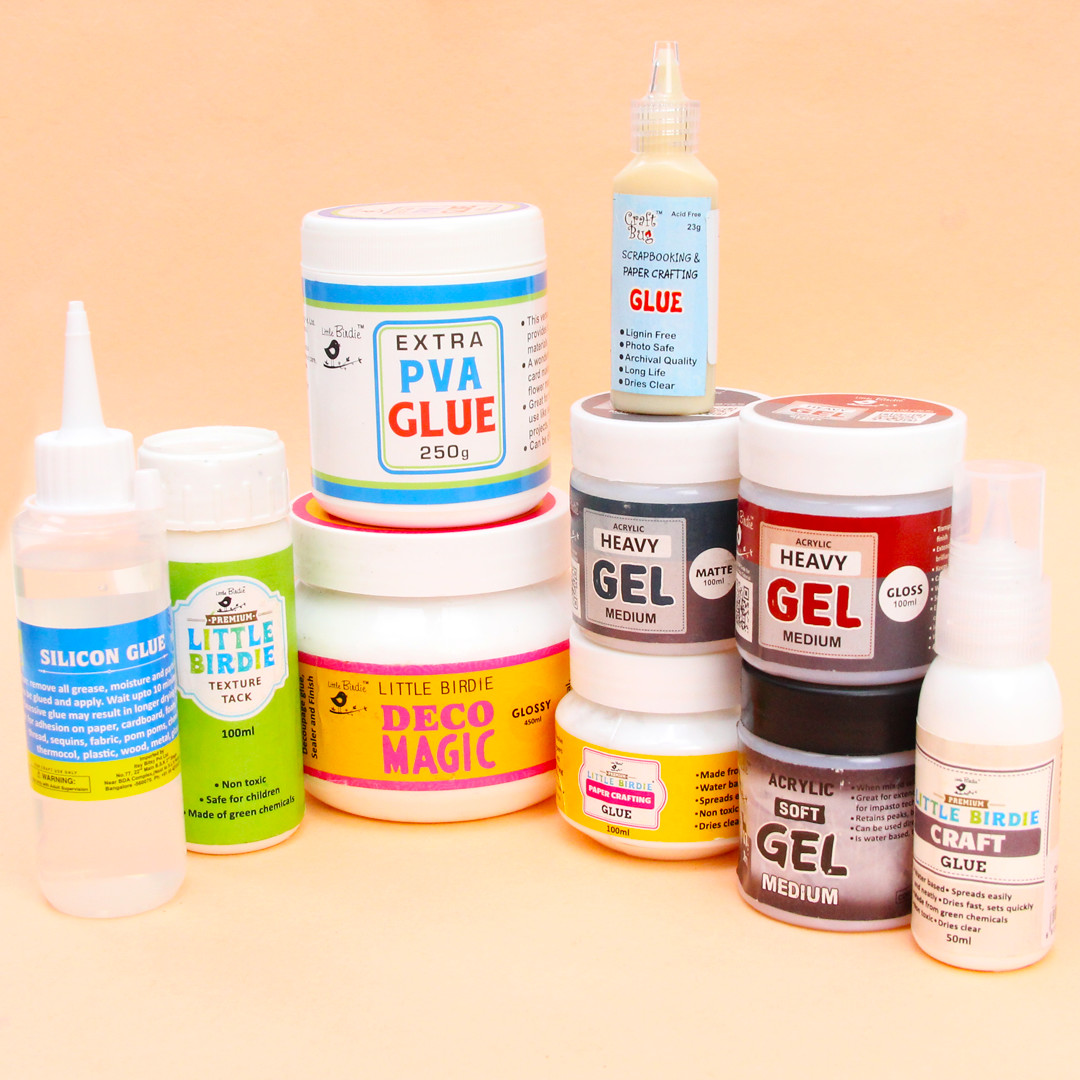
Usually when we think about glue what comes in our mind is sticking or pasting. However, with the emergence of beautiful art works like scrapbooking, mixed media, decoupage etc. there are several products out there which can not only confuse you but also overwhelm you, when it comes to choosing the right adhesive for different purposes. I also get lot of questions about gel mediums , Deco Magic, and silicon glue when I conduct demos in stores. So without further ado, lets jump into this topic and I hope the details will give you further clarity and help you use glues with more confidence. By the end of this post you will definitely know which glue, adhesive or medium you need to use for which kind of art and craft.
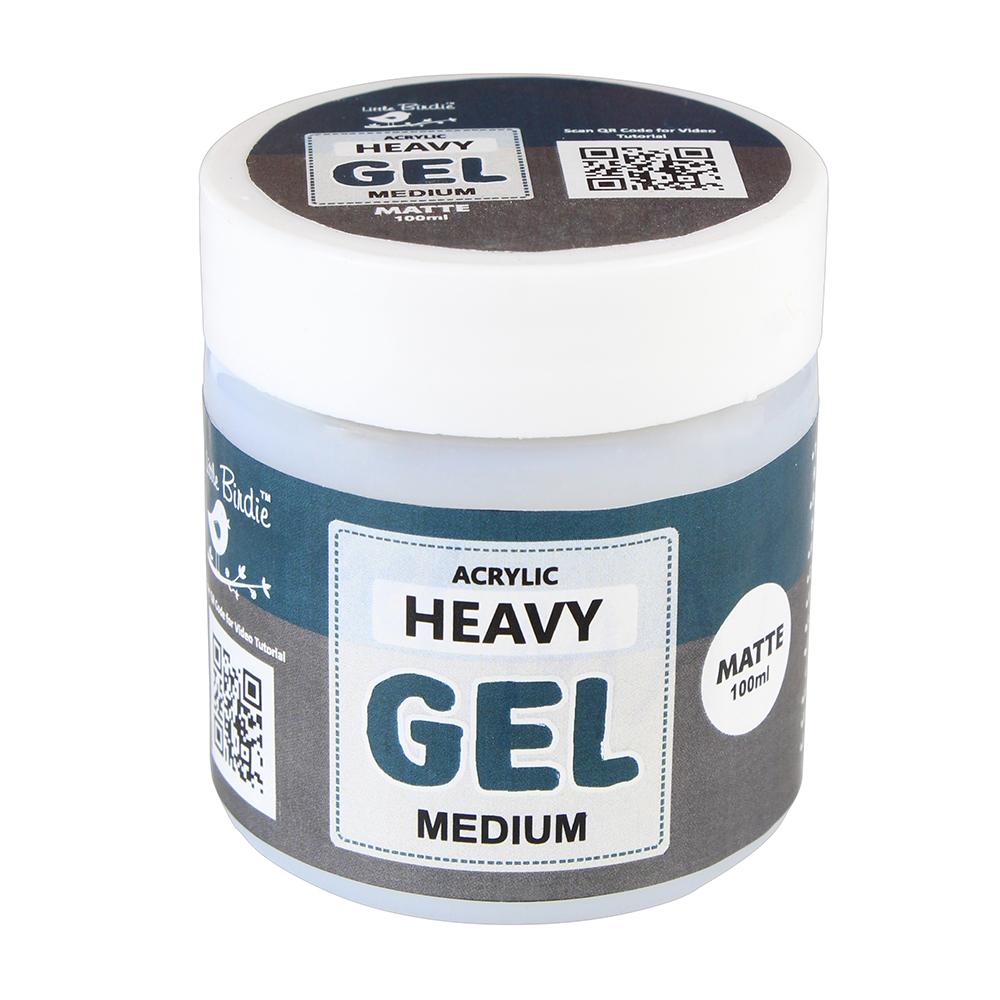
Heavy Gel Medium:
I always get maximum questions related to Gel Medium and since this medium can be used in crafting as well as painting let me cover it first. Basically, heavy gel medium exactly as the name says is used for adhering heavy objects. It is extensively used for mixed media as usually lot of 3D elements are used in mixed media for textures and layering. To stick heavy metal embellishments, MDF cutouts, chipboards, resin embellishments etc. this is the best medium. It dries clear and the bond is very strong. Therefore it holds all the embellishments very well in their desired positions.
When crafting, whether you are using the matte or glossy doesn’t matter. If you use it to adhere then it will go under the element so you can use either the matte or the glossy.
However, when it comes to painting, we can mix heavy gel medium in acrylics to give volume to the paint. So if you are paintings with lot of textures or the project involves knife painting, then the glossy or the matte finish matters. You can choose which finish do you need according to your requirement.
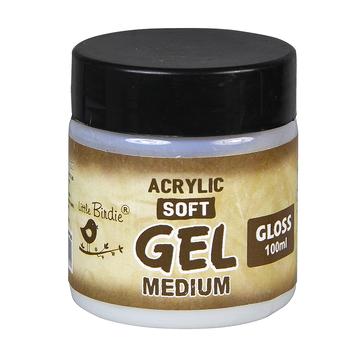
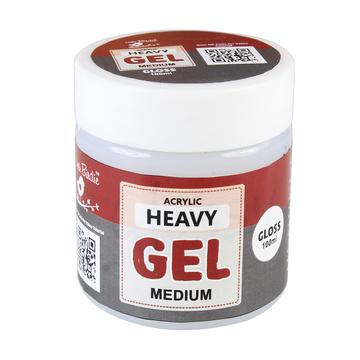
Soft Gel Medium:
Just as the name says, the Soft Gel medium has a slightly more flowing consistency compared to the heavy gel. You can stick light weight things with this. It’s the best for scrapbooking , card making, etc.
I personally use it to give a coat to my pictures in scarpbooking layouts and mixed media. One coat of the matte or glossy, according to your preference can be applied on your photograph which will protect the photograph from the mediums that we use during process of creating the project.
Also, this gel is best for sticking small elements like craft pellets, art stones, microbeads, shimmer, glitter, sand, etc. Just apply the glue on the area and sprinkle the lighter elements on it or mix it along with craft pellets, art stones or microbeads or pearls and apply it on the desired areas with either a palette knife or a brush.
Now lets talk about its  use in paintings. Just like I have explained about the heavy gel medium you can use soft gel medium too in painting. The only difference is that you should use this when you are paintings something flat and don’t want dimension on your paintings. Just mix the glossy or the matte gel according to your preference with acrylics and paint away! It also gives more drying time to the paint and opens a window during which can play around with the colours if needed. You can achieve better shading on your canvas with acrylics which otherwise dries very fast.
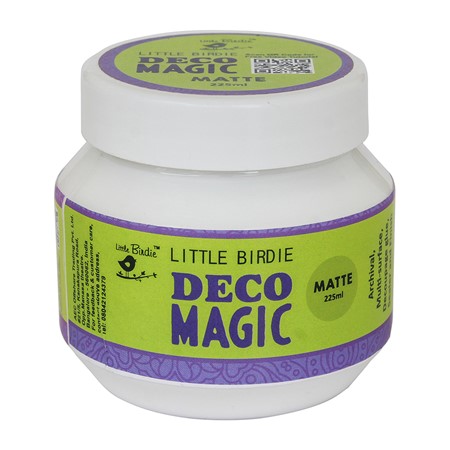
 
Deco Magic:
Deco Magic is a premium decoupage glue specifically used for decoupage. It’s available in glossy and matte finishes,  so you can select the one you need. It works well for decoupage napkins as well as decoupage paper which is a little thicket. It is also widely used for reverse decoupage. Other than that, this glue can be used for sticking regular craft elements on to various surfaces.
Silicon Glue:
This is a super strong glue and I reach out for it when I want to adhere something strongly but at the same time want the glue application to be precise. Its so easy to apply it right where you need, even in tiny areas…thanks to the precision nozzle. For small or tiny metals, MDF elements, paper flowers, microbeads, chipboard etc. I often use this glue.
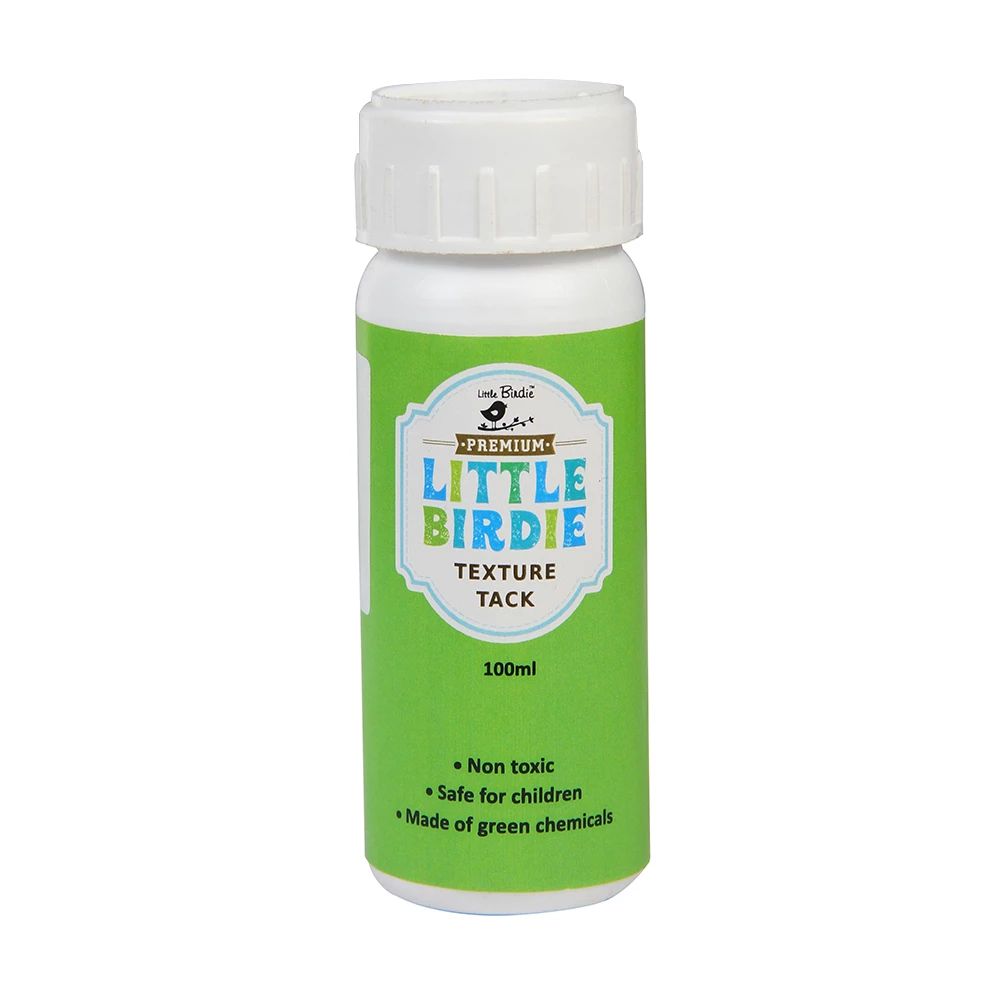
Texture Tack:
This  Glue is awesome and has strong adhesion if you have to stick tiny embellishments like sequins, glitter balls, microbeads, sand, sparkle or any other kind of sprinkles. Apply it generously on to the area, leave it for 15 to 20 minutes till tacky, after that sprinkle any of the tiny sprinkles as desired. Great for mixed media, paper crafting, general crafts and more.
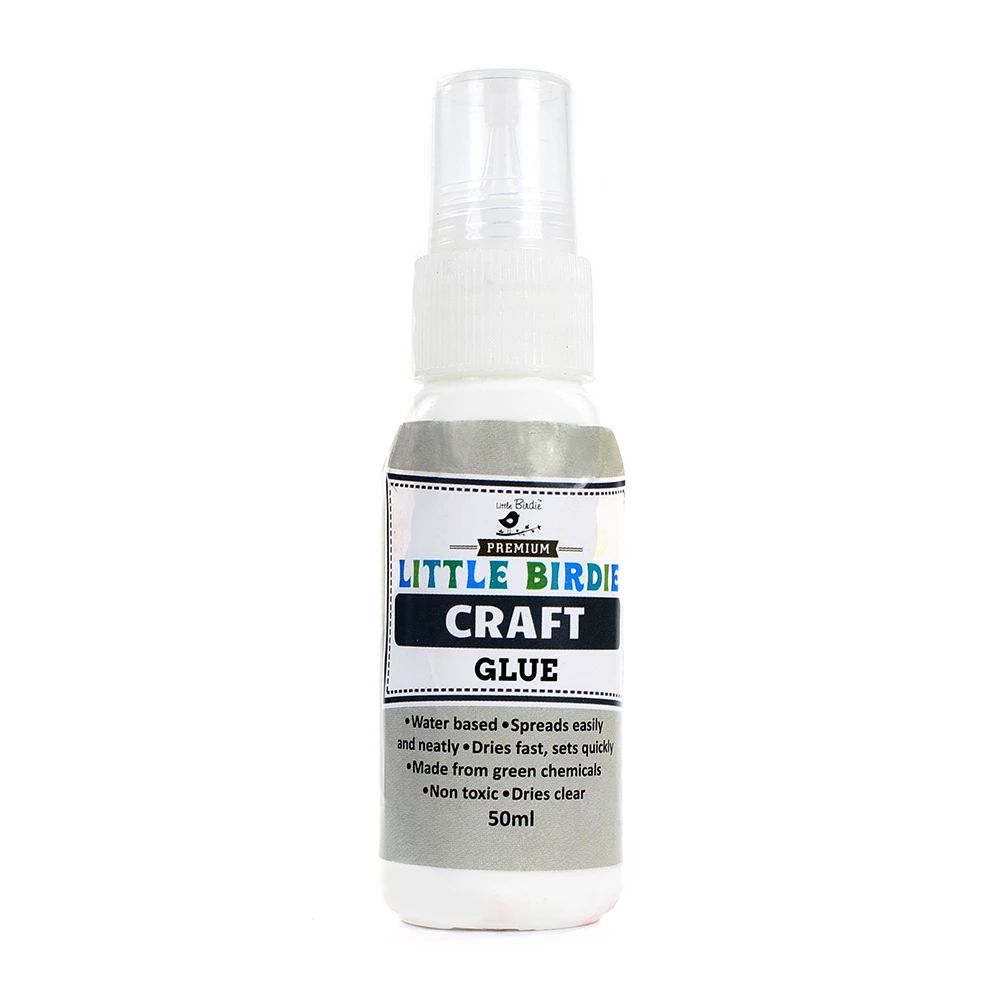
Craft Glue:
Craft glue is used for basic crafting, for example, school projects, DIY’s, card making etc. It is ideal for sticking most craft accessories like crystals, craft sticks, buttons, sequins, ribbons, glitter, papers and general craft supplies which are usually used in school projects or by kids. It is non-toxic and water based so comes off easily if kids get it on their hands and is also safe for them .
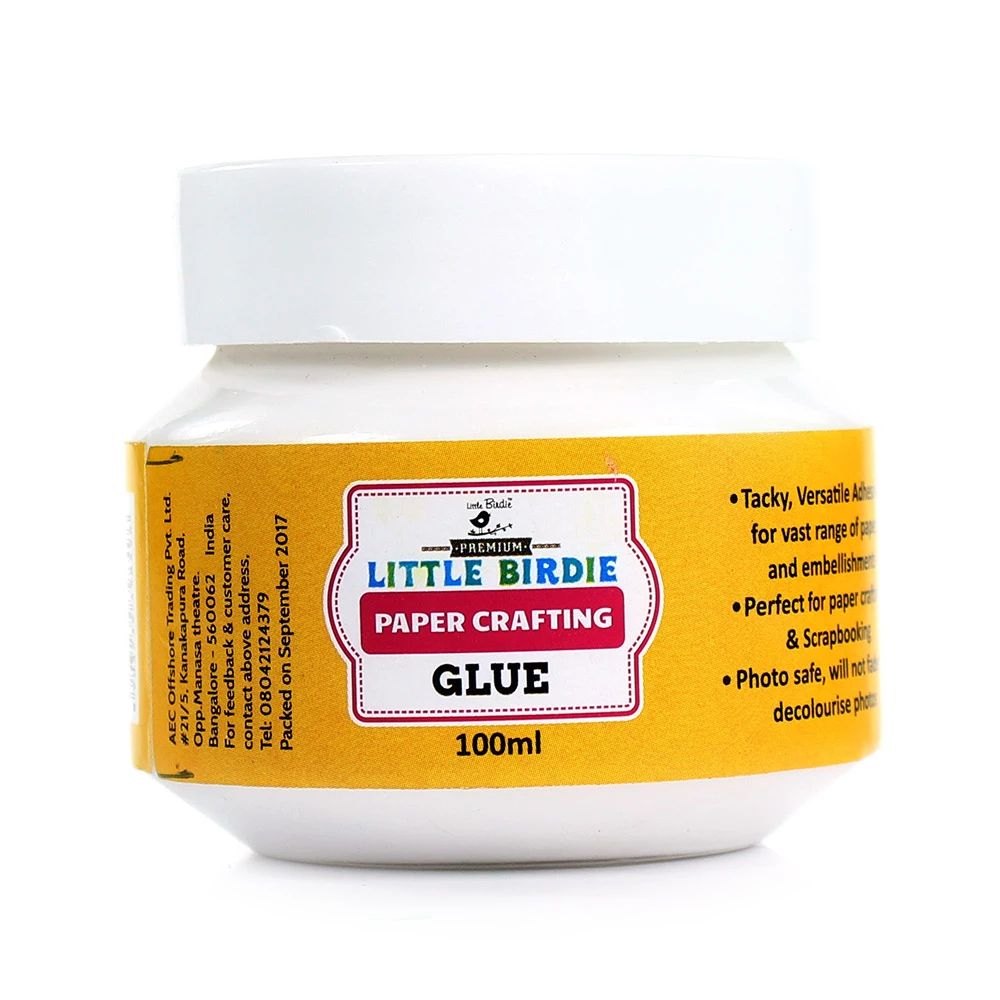
Paper Crafting Glue:
This glue again like craft glue is for paper crafting. It is water based and non toxic so safe for children. Spreads easily, best for scrapbooking, school projects, sticking light embellishments etc.
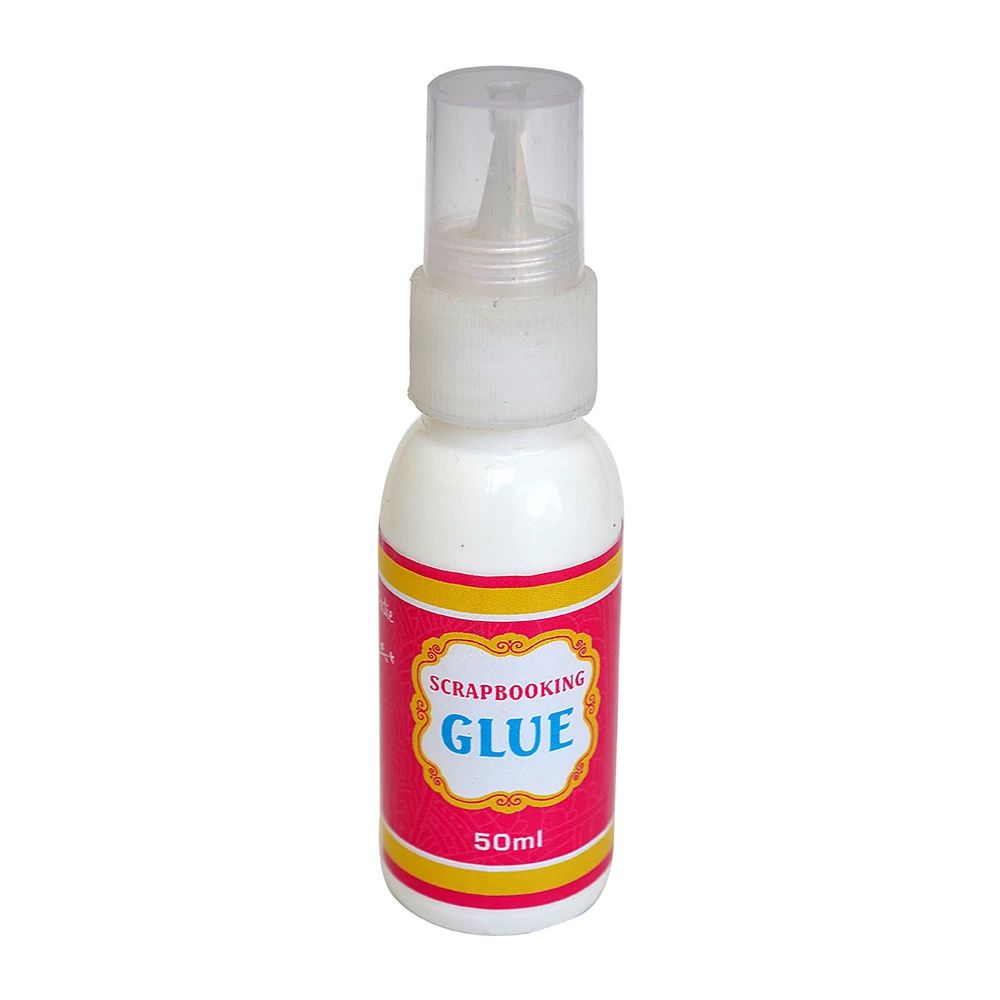
Scrapbooking Glue:
It is acid free and non toxic. The best part about this glue is that it has archival quality and is  photo safe. It dries quickly and is super strong. I absolutely love to use this glue for my art journals. As the name says it can be used for  scrapbooking and other paper crafts like quilling and punch craft because it has a precision nozzle which helps precise application.
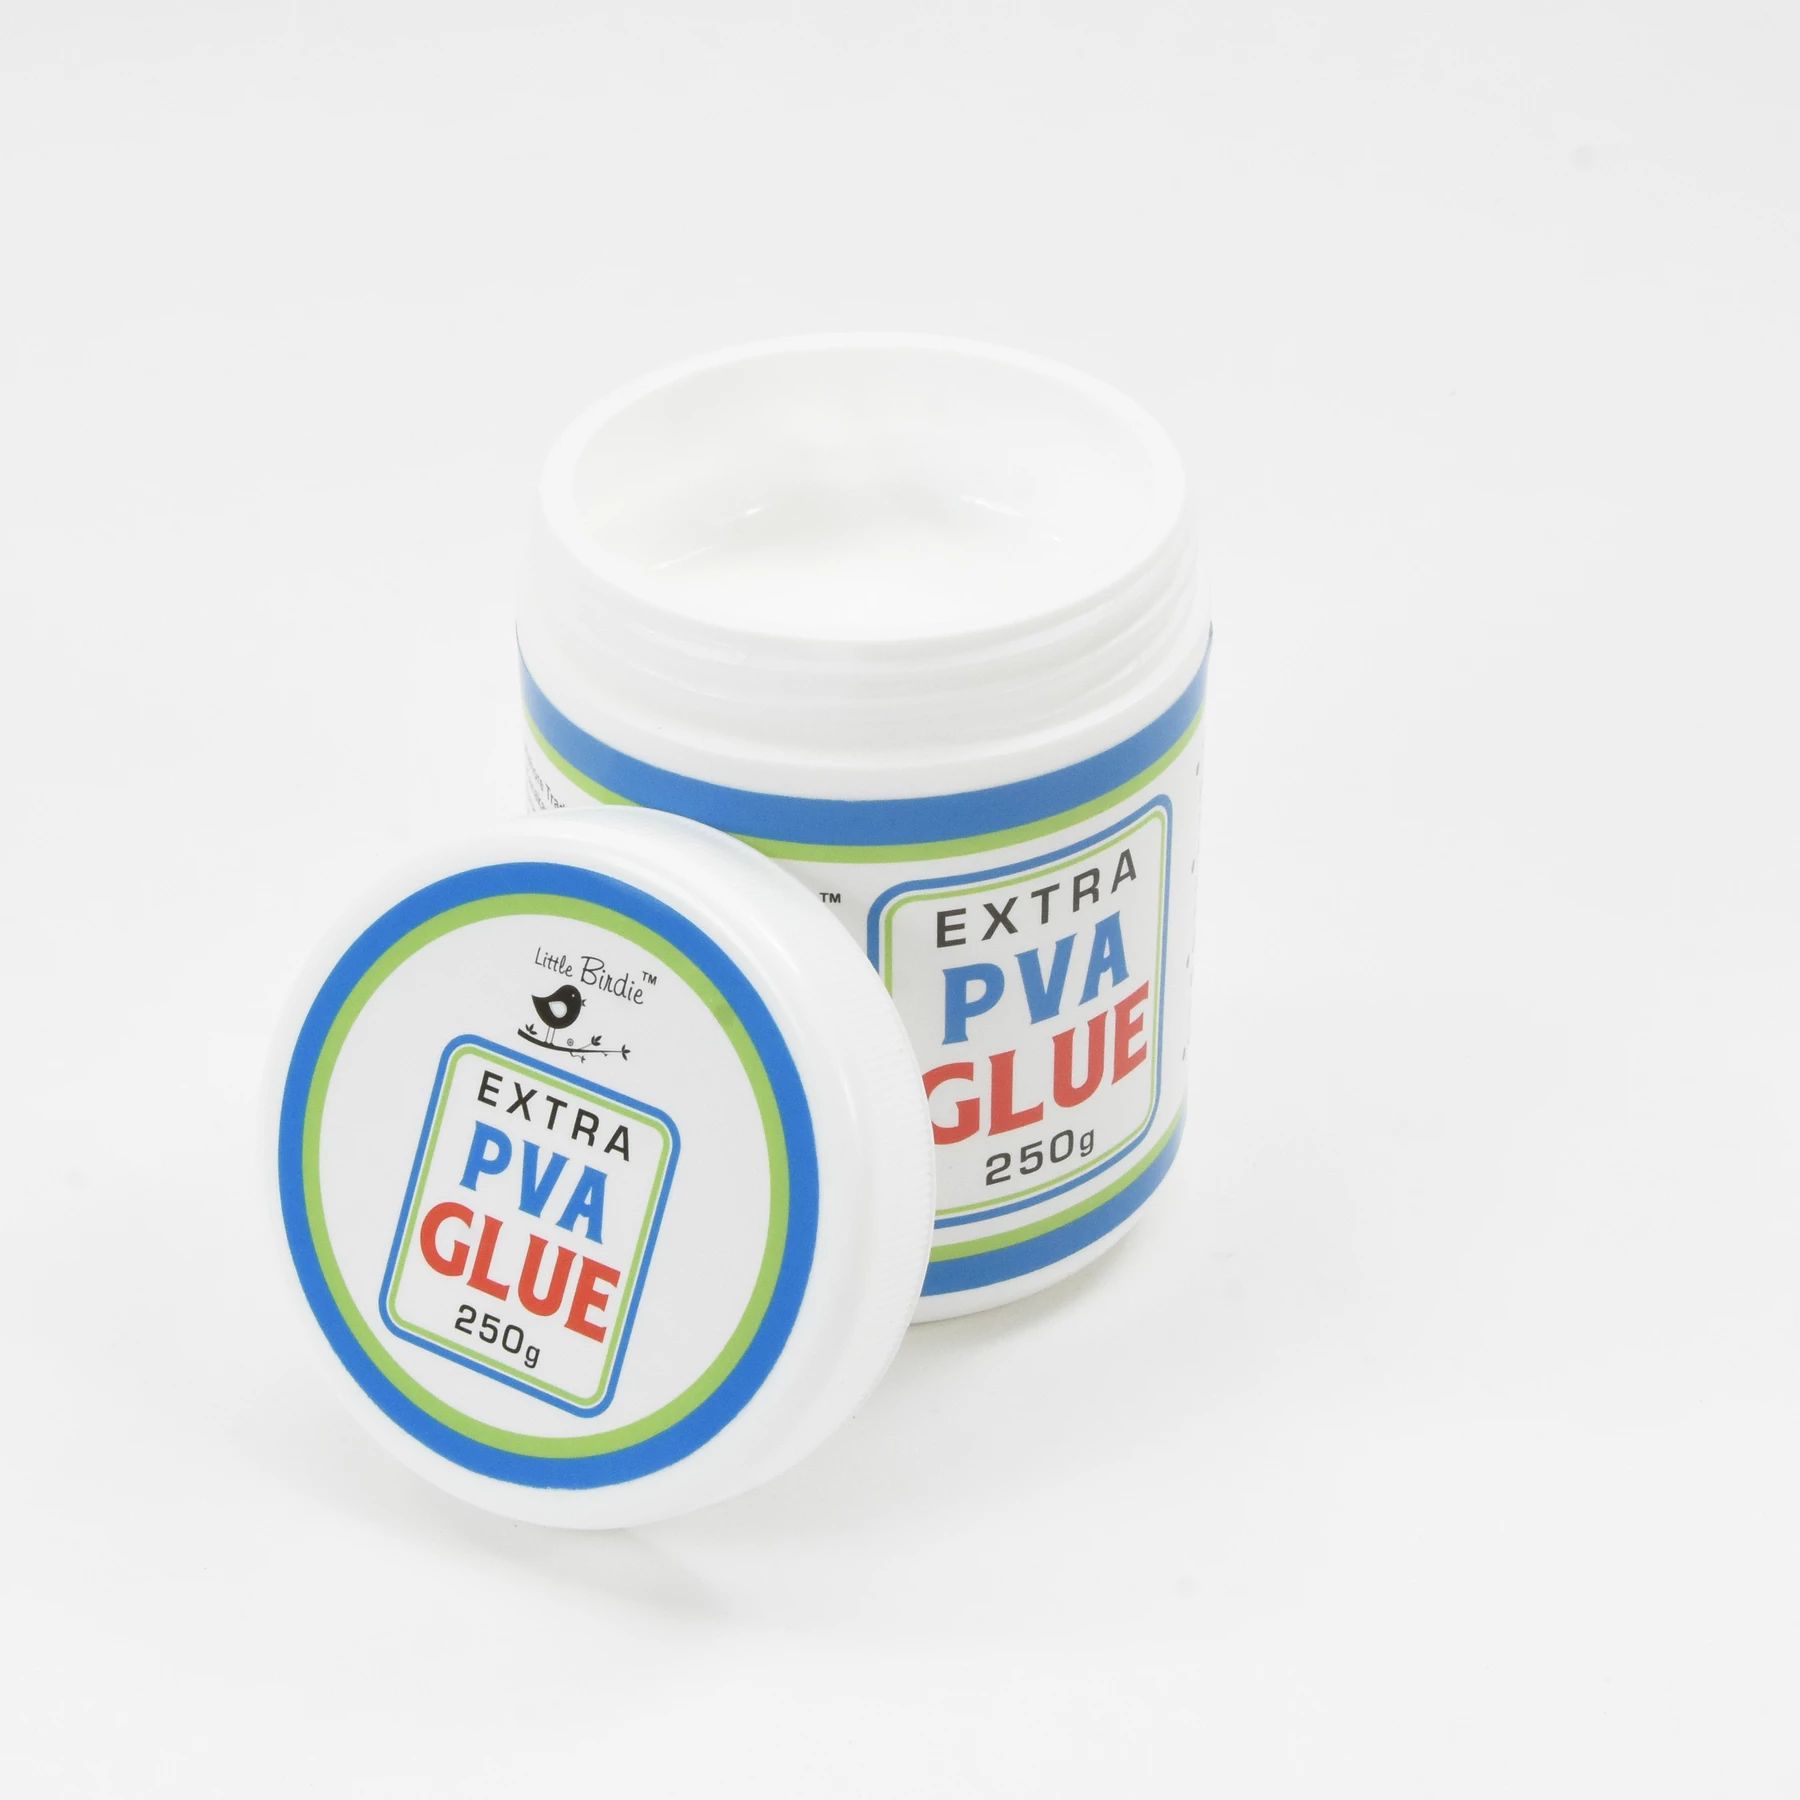
Extra PVA Glue:
This versatile, multi surface, extra PVA glue provides strong adhesion to most craft materials. Its concentrated is strong and can be used for any kind of crafting. Best for home and office use. It can be diluted with water for a free flowing consistency if needed.

Glue Gun:
Last but not the least, lets talk about glue gun. Very widely used by loads of people for different kinds of crafting. This is the most popular  kind of glue. There are 2 types of Gun available at the store, battery operated and electric. Both work the same way. You have to insert a glue stick in the gun and switch it on, the glue stick will heat up and the semi liquid glue then comes out of nozzle which can be applied on the desired areas.
Now lets get into the detail. This glue is awesome if you want to do 3D paper quilling, trousseau packing and I  love it absolutely for sticking voluminous flowers and leaves onto my projects as they are bulky but not heavy and glue works perfectly fine to stick them. However very heavy metals, or heavy embellishment cannot be stuck with it as it doesn’t hold them for long. To stick such elements you need something stronger.

With this blog post today, I have tried to cover as many glues as possible and written about them according to my experience. I hope you all find this post helpful and hope it solves your queries and answer lots of questions you have in mind.  Do not forget to share it with your crafty friends as it might help someone use the right product in the right way.
Thanks a million for sticking with me through a long blog post.  please feel free to ping me for any further doubt or query. I would be happy to help.
Love & Hugs
Bela


By colors-n-creations - July 31, 2019 No comments:
Email ThisBlogThis!Share to XShare to FacebookShare to Pinterest
Older Posts Home
Subscribe to: Posts (Atom)

The Positive Vibes Hop - BLESSED - An Altered Telephone in Mixed Media Pictorial

Hello !!! I am Bela shah. Welcome to The Positive vibes hop. The purpose of our blog hop is to start the new year on a colorful & ...

  • The Positive Vibes Hop - BLESSED - An Altered Telephone in Mixed Media Pictorial
    Hello !!! I am Bela shah. Welcome to The Positive vibes hop. The purpose of our blog hop is to start the new year on a colorful & ...
  • Create Art - Mixed Media Art Journal - Step By step Pictorial
    Hello Friends I hope you all are rocking and also enjoying all the amazing projects done by all my DT friends. Today on Itsy ...
  • Eyes - Mixed Media Panel
    Hello Friends, How are u all doing today!!!! Its raining in India and I love it when I get to see all greenery around me when rains washe...

Featured by Craft Playhouse

Featured by Craft Playhouse
Artist Corner

Design Team - ItsyBitsy

Design Team - ItsyBitsy

CRAFT ENTHUSIAST by Prika

CRAFT ENTHUSIAST by Prika

Design Team - Little Birdie Crafts

Design Team - Little Birdie Crafts

Crafter In the SPOTLIGHT by Itsy Bitsy

Crafter In the SPOTLIGHT by  Itsy Bitsy

About Me

My photo
colors-n-creations
Bela is a passionate & creative artist. She dreams big and works hard. She wants everyone to be happy and always has a smile on her face.
View my complete profile

colors-n-creations

Follow me


Followers

Blog Archive

  • ▼  2020 (2)
    • ▼  March (1)
      • ▼  Mar 31 (1)
        • You Rock - Women - Be your own kind of Beautiful
    • ►  February (1)
      • ►  Feb 08 (1)
  • ►  2019 (18)
    • ►  July (2)
      • ►  Jul 31 (1)
      • ►  Jul 27 (1)
    • ►  June (2)
      • ►  Jun 25 (1)
      • ►  Jun 18 (1)
    • ►  May (2)
      • ►  May 27 (1)
      • ►  May 10 (1)
    • ►  April (2)
      • ►  Apr 21 (1)
      • ►  Apr 04 (1)
    • ►  March (1)
      • ►  Mar 06 (1)
    • ►  February (3)
      • ►  Feb 19 (1)
      • ►  Feb 18 (1)
      • ►  Feb 05 (1)
    • ►  January (6)
      • ►  Jan 29 (1)
      • ►  Jan 21 (1)
      • ►  Jan 13 (1)
      • ►  Jan 09 (1)
      • ►  Jan 08 (1)
      • ►  Jan 01 (1)
  • ►  2018 (28)
    • ►  October (1)
      • ►  Oct 23 (1)
    • ►  September (3)
      • ►  Sep 20 (1)
      • ►  Sep 10 (1)
      • ►  Sep 08 (1)
    • ►  August (4)
      • ►  Aug 22 (1)
      • ►  Aug 18 (3)
    • ►  June (3)
      • ►  Jun 25 (1)
      • ►  Jun 09 (1)
      • ►  Jun 03 (1)
    • ►  May (2)
      • ►  May 21 (1)
      • ►  May 07 (1)
    • ►  April (3)
      • ►  Apr 22 (1)
      • ►  Apr 06 (1)
      • ►  Apr 05 (1)
    • ►  March (12)
      • ►  Mar 26 (1)
      • ►  Mar 22 (1)
      • ►  Mar 19 (10)

Labels

  • altered art (3)
  • home décor (1)
  • inspiration (1)
  • mixed media (7)
  • scrapbook layout (1)
  • step by step tutorial (1)
  • tutorial (1)

Search This Blog

  • Home

Follow me


Follow me


Subscribe To

Posts
Atom
Posts
All Comments
Atom
All Comments
Awesome Inc. theme. Powered by Blogger.